Okay, I admit it. I enjoy choosing paint colors about as much as I enjoy going to the dentist. Is anybody with me on this? For those of you who feel my pain, as well as those of you who might need a little refresher, I've decided to share what I've learned as a result of living through a number of home renovation projects that literally Drove. Me. Crazy. when it came to choosing just the "right paint." So, are you ready?
Getting Started: Using Paint Chip Cards
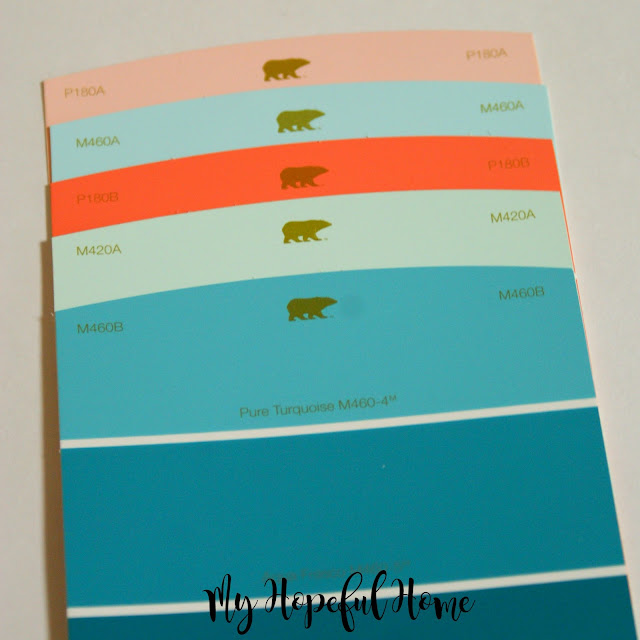
First off, you need a vision. You need some type of idea as to what color paint speaks to you for a particular room. Can you say Pinterest? Once you have an idea of the color family you're looking for, you need to go to the big box stores and/or specialty paint stores (Benjamin Moore, Sherwin Williams, etc.) and look at some paint chip cards. They'll be a great starting point, but know that the colors on the card aren't always what the paint actually looks like.
CAVEAT: Another revelation about choosing a paint color is that every color has subtle (and sometimes not so subtle) undertones. Gray can look blue, green, violet or taupe (can you say greige?), depending on the actual shade you choose and what kind of light there is in the room you're painting. You should try and read up on what possible undertones your chosen color is known for. Either that, or just ask the person who works at the paint store!
Buy Sample Paint Jars
What better way to get a feel for how the color will actually look in your home than to purchase a sample jar to try for yourself? If you're anything like me, though, it's also quite easy to get carried away with this step. I managed to rein it in and stopped after purchasing 7 jars (too many, I know): 5 grays and 2 whites (plus 2 gray samples we already had on hand from our DIY White Modern Farmhouse Painted Kitchen Cabinets project).
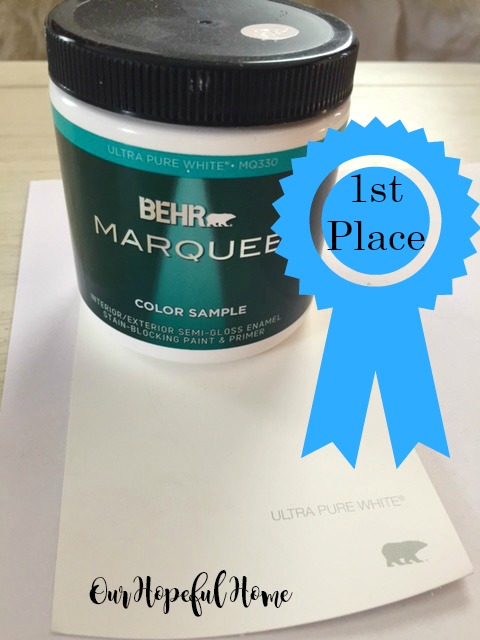
Here you can see a dot of the actual paint they mixed for me on top of the lid, as well as the paint chip card for the same color paint. Doesn't the actual paint look darker than the card?
CAVEAT: Prices vary on sample paint jars, depending on the particular paint sheen you choose (hopefully that's fodder for another post) and the store where you purchase them. The jars pictured ranged in price from $2.98 to $4.98. See what I mean? It can really add up if you're not careful!
3 Ways To Put Your Paint Samples To The Test
1. Paint the WallsOne way to test the sample paint color is to actually paint a large swath of it directly on one of the the walls in question, sometimes on numerous walls in the same room (which I would advise you do). This way, you can see how the paint will look (hidden undertones and all) during different times of the day and under different lighting. Be sure to use two coats, and even a primer coat if that's what you think your wall is going to ultimately need. Primer is used in most instances where you are painting over a very dark color paint with a light paint. Can you say "light gray over burgundy"? Yup, that's me.
Caveat: I usually hesitate to use this method since I feel like once you paint those sample coats on the wall, you've changed it forever. So much so that I would be afraid that when you actually painted the wall for good it will look different in the areas where you first tried the test paints. Am I making any sense here?
2. Try Your Paint on White Board
Another way to test out your prospective paint color is to paint two coats onto a white board (like foam board or poster board) and then put that board up on the wall. Some people swear by this. I, however, don't recommend it because painting a poster board is nothing like painting an actual wall. There's just no way the paint will look the same both ways. I did try this method with our kitchen makeover but I really didn't think it helped any more than painting it directly on the wall, which we did as well. I still had a hell of a time choosing a color. My concern there was being able to completely cover some unwanted 1990's hand painted fruit on the soffits. Lovely, right?
3. Try Sureswatch Clear Film
A third way to test your paint color, and the method I chose this time around, was to use something called Sure Swatch. (I'm not being paid for this, I just wanted to share my experience.)
According to the gauge it said that we do not need to use primer in the living room. But since we'll be covering a dark burgundy with a fairly light gray -- I say better safe than sorry. So we will be using primer.
Here are three of the paint colors I tried with Sure Swatch:
Dorian Gray
Elephant trunk
Flannel Gray
They are all in egg shell enamel.
And here are two of the same three colors on the wall in the dining room -- Elephant Trunk and Flannel Gray. As you can see, they look a bit different than they did sitting on the floor in the prior photo. And what's with that third, lighter gray? I'll get to THAT in a moment. As an aside, I'm guessing you can see why I'm excited to be replacing that 1990's wallpaper?
Just when I was about to throw in the towel, along comes Agreeable Gray by Sherwin Williams. What? ANOTHER gray? Yes, gosh darnit and I knew I had to try it. I stumbled across it while reading a lovely blog called Edith & Evelyn. I loved how beautiful Cindy's living room looked so I asked her what color gray she used. She kindly told me and I went straight to Sherwin Williams to get some! In the above light it looks like a very light gray.
However, on the living room wall, flanked by two whites I was considering, you could see its taupe undertones! Aarrgh! I swore I would NEVER use greige! Well, never say never folks cause that's the paint I'm going with --mainly because I do believe that for the most part it will be the gray tones that we see. Here's to hoping that I'm right! It really is a crap shoot, which is why I consider this such a chore.
So, let's recap:
1. Know what color family you want to consider.
2. Nab a bunch of free paint chip cards and/or books and fandecks.
3. Purchase sample paint jars.
4. Figure out which way to test the paint that's right for you.
5. Don't hate me: Make a decision!
Bottom line is that there's no looking back once you move forward with a paint project. Many people will tell you that "it's only paint" and that you can just repaint if you don't like how it looks. Me, I'd rather pick the right color the first time around and be done with it! Can't wait to share once the painting commences!
Let me know if you, too,
have a hard time choosing
have a hard time choosing
just the right paint color.
How do YOU do it?
I hope you enjoyed reading about
How To Choose Interior Paint Colors:
A Preliminary Guide. And thanks so much
for spending time with me today!
for spending time with me today!
Be sure to stay in touch:
Just click on my Facebook, Pinterest, Twitter or Instagram icons in my top right sidebar. You can also sign up there to receive my blog posts via email as well.
If you sign up via email, you should receive a confirmation email in your inbox. If not, please check your spam folder
(and/or your "Promotions" folder if you have gmail)!
Thank you!
Don't forget to Pin it!
Don’t miss another thrifty,
DIY home décor post!


Leave a Comment!
It really is a big decision. isn't it? You can think you have the right color and it looks so different in the room. I always paint big areas on the wall to test it in different light, too. Lots of good hints in this post!
I don't usually have a hard time picking a color until I get it home and it clashes with the tile or counter top. Then. Sigh. Hm, I may need to get a sample of Agreeable Grey. It looks like it would be a good choice for my studio. I hope it works for you. Bye bye wallpaper! Thanks for the tips. I'm still not sure about my kitchen color.
Trying to pick a paint color off those little cards was always maddening to me...so many choices, even if you sort of knew what color you wanted. I definitely agree the sample jars are the way to go to help you make the choice. Great post & pinned.
Post a Comment