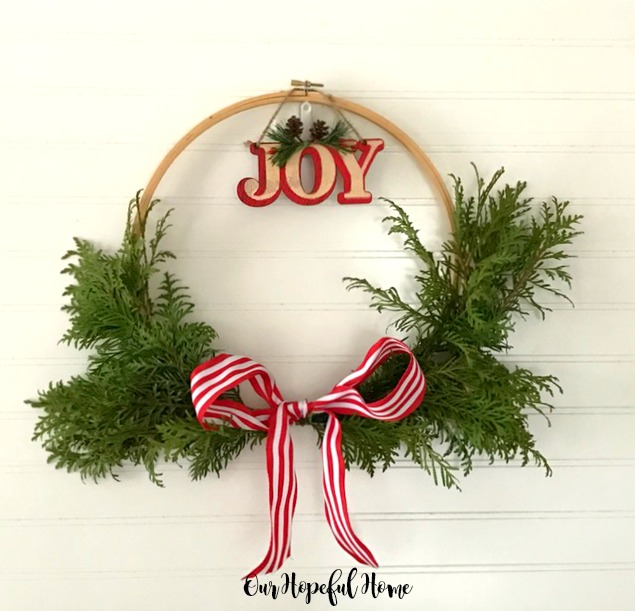
Hello, guys! I'm pretty excited to be sharing this embroidery hoop Christmas wreath tutorial with you today for two reasons: 1. I've finally finished a Christmas project to blog about and 2. It's a knock-off of a wreath I originally saw online from a famous retailer. They just announced a new celebrity line of home goods and holiday wares, including a wreath similar to this one. I dare not mention the actual names involved for fear that the knock-off police will come and shut me down. Seriously. So you'll just have to guess which store and celebrity-endorsed line I'm talking about. (Rhymes with parget. Yes, that's a word.)
*This post contains affiliate links. A purchase of any of these items helps to support this blog and its creative efforts at no cost to you. To read more, please see my disclosure page.
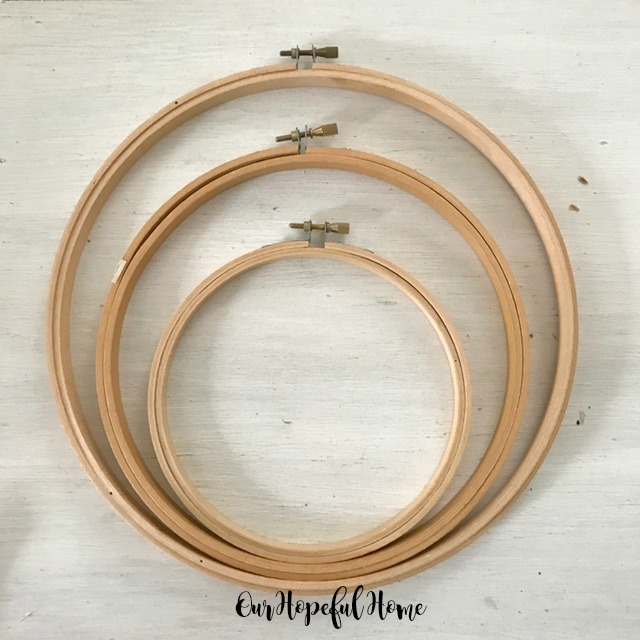
It all started with a set of embroidery hoops. I picked up a group of three for a song a few years ago in the hopes of using them as artwork -- filled with vintage doilies and lace I've accumulated over the years. Yeah, so that never happened. And the hoops sat. And sat. And sat. Then I started seeing all kinds of "embroidery hoop wreaths" on blogs, on Pinterest and in magazines. Then recently I saw a holiday hoop wreath being offered by a well-known retailer and the light bulb went off: I can make that myself. So here's how I did it.
Embroidery Hoop Christmas Wreath Tutorial
Fresh greens (I used arbor vitae from our yard)
red and white striped Christmas ribbon (not in picture)
ornament of your choice (I got mine at the Dollar Store, but you can get the same one here.)
1. Make sure the hoop's hardware at the very top of the hoop is twisted as tight as it can go.
2. Start by separating the greens into two bunches. Play around with the bunches until you get a natural look, then use floral wire to wrap each bunch together at the bottom.
3. Again, using the floral wire, carefully wrap it around each bunch of greens to secure them to the hoop on either side, meeting in the middle at the bottom of the wreath.
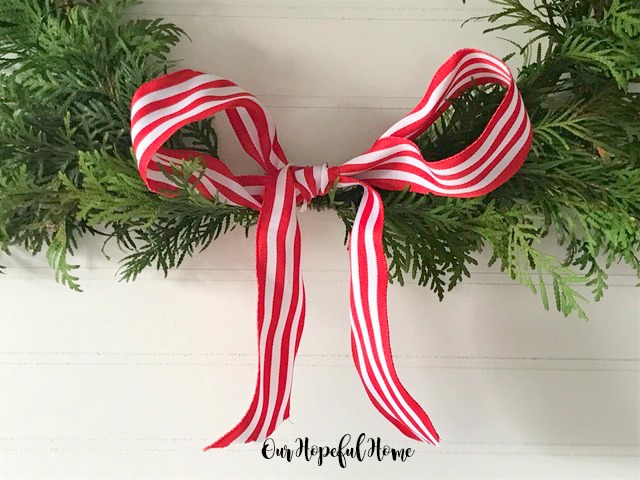
4. Cut your ribbon and make a bow. Attach it to the hoop with a twisty tie or floral wire.
5. Add your ornament of choice to the top of the wreath. I just hung mine right over the hardware with the jute string provided. (The white hook you see is actually a magnet that's holding the hoop up onto the beadboard background.)
Here you can see some additional holiday greens sitting beneath the wreath. I'll be sharing their back story with you some time later next week. Let's just say that they were the icing on the cake when I made an estate sale purchase last weekend. I can't wait to show you what it was.
You can change these up in lots of ways -- hang bells instead of a bow, or just use an ornament in place of the bow. You can go as simple or ornate as you like. I debated painting this one gold but chose to stay natural instead. The reason I like this one is because of its simplicity. And I do think I'll be making one or two more and hanging them all together for a really festive look. I also think they'd look lovely on the front door as well.
And I'm also happy to be sharing with you today's treat:
A Creative Christmas Link Party! See details below, and enjoy!
The Creative Christmas Link Party is hosted by Janet of Shabbyfufu and the the bloggers of Blogging 50. Please visit all of the talented bloggers below!
Well, that's it until next time, friends!
I hope you enjoyed reading about
my DIY Embroidery Hoop
Christmas Wreath Tutorial.
Be sure to stay in touch:
Just click on my Facebook, Pinterest, Twitter or Instagram
icons in my top right sidebar. You can also sign up there
to receive my blog posts via email as well.
If you sign up via email, you should receive a confirmation
email in your inbox. If not, please check your spam folder
(and/or your "Promotions" folder if you have gmail)!
Thank you!
Don't forget to Pin it!


Leave a Comment!
I love that your project is so versitile and you can create so many different looks! Those embroidered rings are amazing and so handy for so many things. Your project is lovely. Happy Thanksgiving.
Maria
Kathleen, I love this! Making an embroidery hoop wreath is on my list this Christmas. I dare say this is prettier than the one sold at the place that rhymes with parget. :)
Super cute idea! Loved it and can hardly wait to get to the store to pick up what I need to make it. Thanks. Grinned and Pinned!
Really cute wreath!
Very pretty Kathleen! Love the red and white ribbon. It's just the perfect finishing touch.
Great project, Kathleen! Simple, but so pretty :)
This is really lovely, Kathleen!
Oh Kathleen! This is so cute! Everything goes together so well...from the ribbon, to the hoop, to the greens. I have some hoops sitting idle too...you've inspired me to make one. I can't believe the one from "Parget" could be any cuter.
O how beautiful!! What a great idea!! LOVE IT!!
Post a Comment