With Christmas right around the corner I guess you could say it's about time I got my annual DIY Target Placemat Christmas pillows finished. I know you've all been waiting with bated breath -- ha-- since I do this every year! I know I'm excited because I think this year's pillows are particularly cute! And I'll show you how you can do it with any type of placemats from any store throughout the year. Target placemat pillows: they're not just for Christmas anymore! I'll also give you a peak at my darling DIY Christmas pillows from years past.
*This post contains affiliate links (Materials List and placemat names in gold, below). A purchase of any of these items helps to support this blog and its creative efforts at no cost to you. To read more, please see my disclosure page.
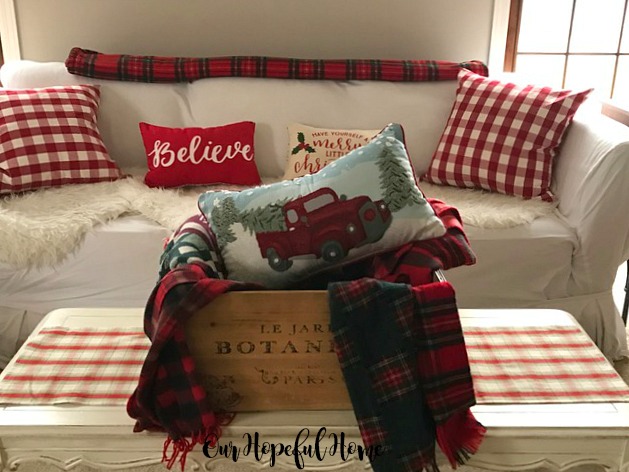
I originally thought that there would be no cute, affordable placemats to choose from. By affordable I mean really cheap. Now I know I'll never get Goodwill prices at Target -- but sometimes I can get lucky. Which is exactly what happened one day while perusing the Bullseye Playground section of Target. As I sifted through the myriad piles of Christmas decor and entertaining items I came across an absolutely adorable "Believe" placemat for $3.00. Hhhmmm, I thought. Pillow potential for sure. But what about a back side? Enter an equally attractive plaid placemat and voila I had a plan!

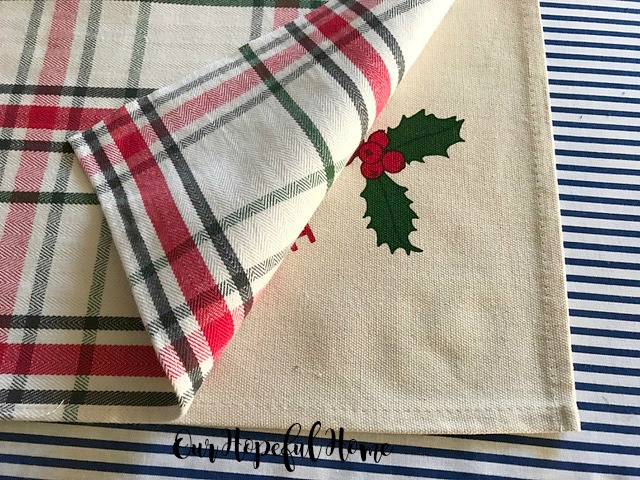
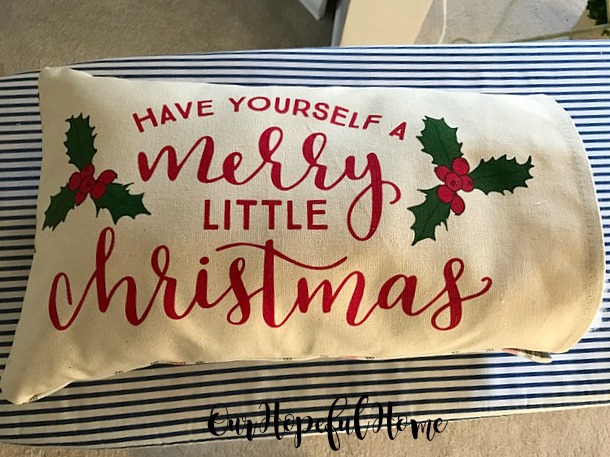
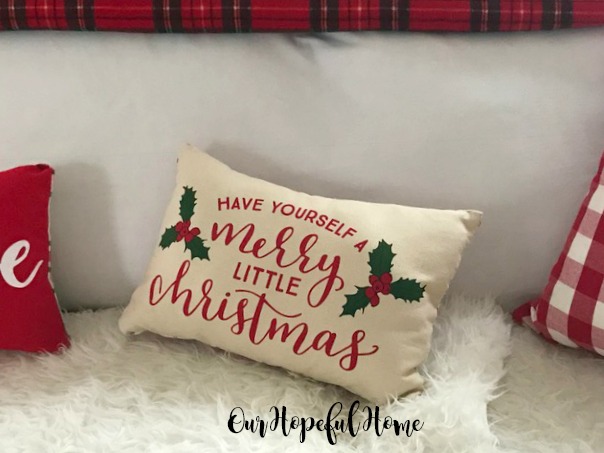
As is wont with most plans in my life, before I could even get that pillow started, I found yet another perfect pair of Christmas placemats in the same place on another shopping trip. "Have Yourself a Merry Little Christmas" has always been a favorite Christmas song of mine, and the phrase has been wildly popular in Christmas decor over the past few years. So, I thought, why not? I picked up one of those for the front and another plaid placemat for the back side of the pillow. Now I had the materials for two pillows so it really was time to get to work! And I'm happy to say that I was thrilled with how they turned out.
Materials for DIY Target Placemat Christmas Pillow
two placemats of your choice
fusible webbing (I use Stitch Witchery)
iron
hankerchief (for Stitch Witchery process)
sewing needle
invisible thread (or regular old thread for you veteran hand sewers)
polyfil or pillow insert(s) (I used an entire 16 oz bag for the two pillows combined)
How To Make A Placemat Pillow
1. Iron both placemats.
2. Place the mats together, good sides facing in.
3. Make sure the two pieces of fabric are the same size. Unfortunately, my two placemats were not the exact same size, so I had to cut the larger one down to make them even.
4. For pillows filled with polyfill: Insert Stitch Witchery between the two mats along the seams on all three edges. For the fourth and final edge, again place the Stitch Witchery between the mats, but covering only about 75% of the opening. You want to leave a wide enough opening so that you can place your hand into the finished pillow and stuff it with your polyfill (after which you will sew closed the small opening by hand).
One time I bought a bag of polyfil that came with a "free stuffung tool!" I was pretty excited. Come to find out that the "stuffing tool" was basically a wooden chopstick. Go figure. So if you have any chopsticks lying around, by all means use one to help you properly stuff your pillows.
5. For pillows filled with pillow inserts: Insert Stitch Witchery between the two mats along all three edges, leaving the entire fourth edge open so you can insert the whole pillow form (after which you will sew closed that entire side by hand).
6. Following the instructions on the package, using the iron, a damp hankerchief, and Stitch Witchery, firmly seal the edges of the pillow closed.
7. Turn the pillow right side out.
8. For pillows filled with polyfill: Stuff your pillow with polyfil until you're satisfied with its fullness, then sew closed the seam along the entire open side.
9. For pillows filled with pillow inserts: Place your insert into the new pillow cover and sew the final open side by hand.
Here's the finished products!
Do you know who this is? Santa from The Polar Express! A dear sister-in-law sent him to our kids many years ago and he's still a staple in our Christmas decor. (When the kids were little our tradition was to watch The Polar Express together on Christmas Eve right after mass.) When you squeeze his hand he says, "Remember, the magic of Christmas lies in your heart."
And here is our resident ham, never to miss a photo shoot.
Riley says Merry Christmas! She can't wait to open her stocking full of goodies.
For other how-tos from prior years you might like:

1. Easy DIY Christmas Pillow From Target Placemat
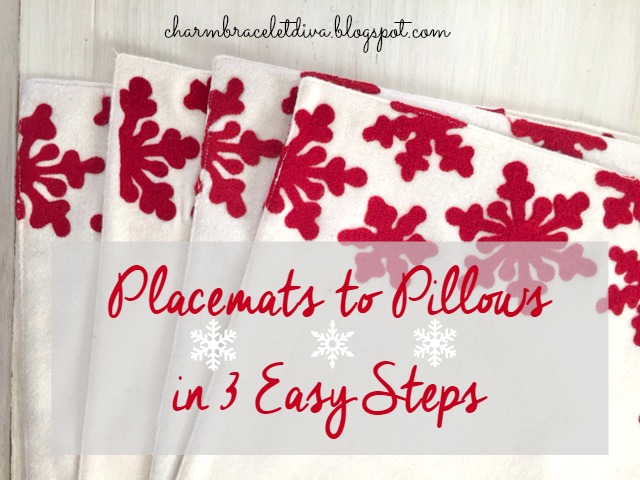
2. From Placemat To Pillow In Three Easy Steps

3. DIY Placemat Christmas Pillow Round-Up
I wasn't kidding when I told you that you can do this all year long! Here are just a few examples of adorable placemats that are just begging to be turned into pillows! I've chosen a group of French farmhouse patterns that I know you'll love.
Here's some black and green buffalo check placemats that I just love! It would look great as winter pillows in a den or family room.
European grainsack placemats go perfectly with my vintage French farmhouse vibe.
Need I say more? Here's French farmhouse personified in these Cafe de Paris placemats.
Okay, I'm in love and need to order these stat. Just don't tell my husband! Understandably, his query would be "How many pillows do we really need?" And my response? "An infinite amount, dear, an infinite amount."
So what say you? Can you ever have too many pillows? I think you know my answer to that!
Well, that's it until next time, friends!
I hope you enjoyed reading about my
5 DIY Christmas Pillows
Made From Target Placemats
and that I've inspired you in some way.
Don't forget to Pin it!










Leave a Comment!
Isn't this a great trick! I made throw pillows from AC Moore (on sale), brand new Goodwill, and brand new Salvation army (.50!) placemats for gifts and our church bazaar this year. I usually use coordinating cloth or solid color placemats for the backs. The ACM ones almost look like tapestry/needlepoint. Some had fringed ends so I sewed them wrong sides together along the edges. People were impressed, not knowing how easy it was! Merry Christmas!
These are darling! I've been making placemat pillows for years and recently helped a friend that I am teaching to sew, make one. I have to say I'm jealous though because the same friend and I hunted Target and the one we shop didn't have the cute placemats you found! I DID buy Christmas cards with the same "Merry Little Christmas" design though--great minds ;) Merry Christmas!
Love these Kathleen--I took a page from your book for fall and made some lovely pillows with placemats. I'm guessing I'm too late to buy the awesome ones you found at Target, though :( Maybe after the holidays I'll find some on sale...Merry Christmas, friend!!
Post a Comment