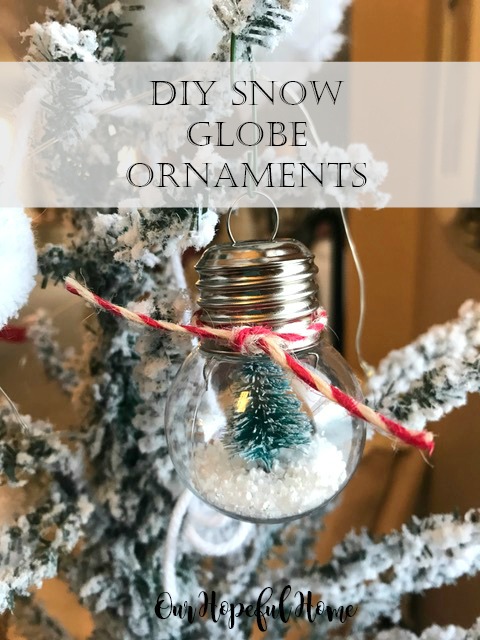
Every Christmas I somehow manage to come up with new versions of the classic Christmas snow globe. I've been known to fill gumball machines, salt and pepper shakers, cloches, and even glass lamps! And this year was no exception. I decided to fill some clear plastic ornaments in the old snow globe fashion. (Can't believe I've never done it before!) And boy, was I pleased with the result! Easy and inexpensive, so really anyone can do it. I promise. I'll show you how to do it using two different types of ornaments. So let's get started!
*This post contains affiliate links (Materials List in gold, below). A purchase of any of these items helps to support this blog and its creative efforts at no cost to you. To read more, please see my disclosure page.
Materials Ornament #1

faux snow (can be either little snow beads or epsom salts or faux whispy snow)
tweezers (Not shown)
1. After removing the top metal portion of the ornament, place a few glue dots on the bottom of your tree.
2. Then, with the tweezers, carefully place the tree onto the bottom of the ornament. Hold it steady in place for a moment or two to be sure you have it secured well.
3. Pour in whatever snow you've chosen to use.
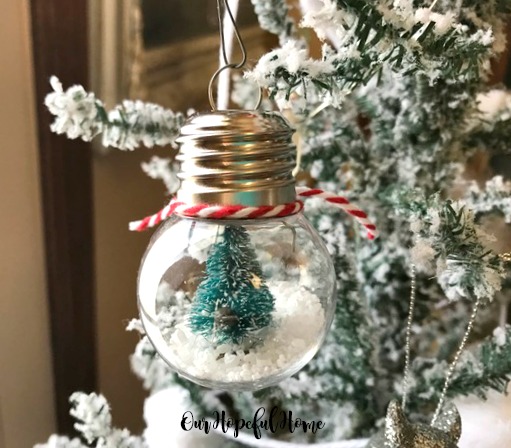
4. Replace metal cap, tie some festive twine around the top, and hang!
Are these adorable, or what?
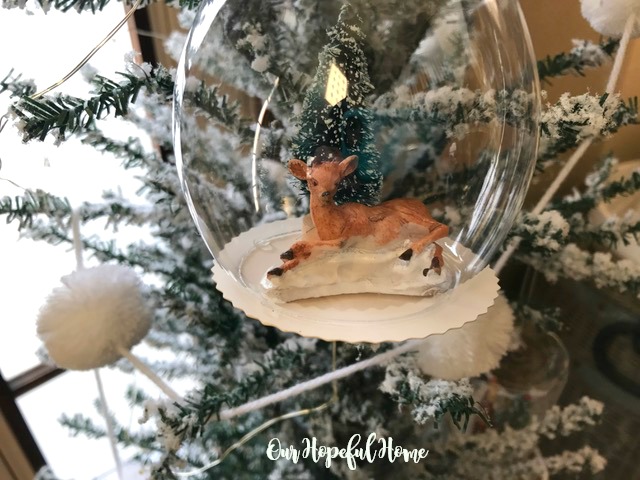
The next snow globe ornament was made using a much bigger clear ornament with a very different shape, as you'll see below.
Materials Ornament #2
tweezers (Not shown)
1. Place your items (tree, deer, etc.) onto the round, paper bottom and set them in place in the middle of it as best you can. (This is to make sure they're out of the way of the plastic dome when it comes time to glue it all together.)
2. Once happy with the placement, add glue dots to each of the items and gently attach them to their spots on the paper bottom.
3. Now for the fun part: using a foam brush, add some Sparkle Mod Podge onto the paper surrounding your figurines and then sprinkle some extra fine glitter over that.
4. Once you're happy with how the sparkly "snow" looks, let it dry.
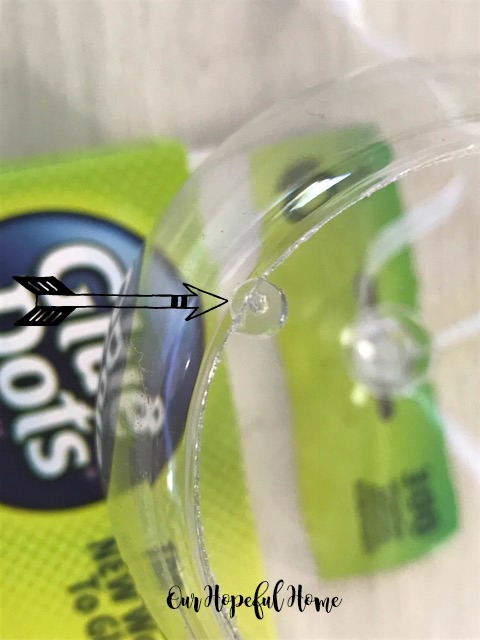
5. Once it's dry, it's time to add some glue dots to the bottom rim of your plastic dome using tweezers. (I used 4 dots.) I know, they're really hard to see!
6. Gently ease the plastic ornament down over the winter scene you've created, and hold firmly for a few moments until you're satisfied you've achieved a secure seal onto the paper bottom.
7. Admire your handiwork and hang!
You can also make some without glitter snow if you'd prefer. Here's one I made without it.
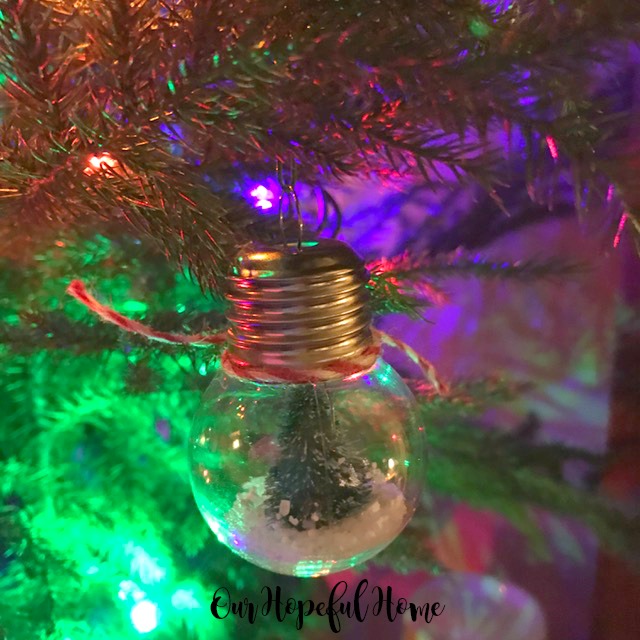
I do think I like the ones with glitter snow the best, though. As for the "light bulb" ornaments, I also took some pictures of them at night hanging on my four foot tall Norfolk pine tree. I placed the tree in my vintage Skotch cooler and laced it with colored lights.
Well, that's it until next time, friends!
I hope you enjoyed reading about
my DIY Snow Globe Ornaments
and that I've inspired you in some way.
Don't forget to Pin it!
Be sure to stay in touch:












Leave a Comment!
Hi Kathleen!
I made the same Christmas tree bulbs and sold them at my craft fair last year. Did you find a way to close off the top hole? The only issue I had with them is that the snow can spill out. I love the deer ornaments!
Adorable! Pinned!
You are the snow globe queen! Love it!
I learned to put a dab of hot glue to fill in the hole and sometimes even glued the lid on so little hands didn't shake snow or sand ALL OVER! I made some small jars with BBTs and deer, too! Got 2 boxes of 6 glass bulbs caz I needed 1; I love making beachy scenes in them. Made my first cut up wedding invitation in one of these; was very pleased with the results. I love the combination of tiny cotton snow and glitter.
Post a Comment