Today I'm excited to share with you my simple DIY Spring hoop wreath. It's my most recent (ahem, only) Spring-themed DIY home decor project so far this year. It's basically a fresh take on the DIY Embroidery Hoop Christmas Wreath I created this past Christmas.

Simple DIY Spring Hoop Wreath Tutorial
Materials
1. wooden embroidery hoop - size of your choice (mine is 12" in diameter)
2. floral tape
3. floral wire
4. ribbon
5. scissors
6. wire cutters (not shown)
7. two separate groupings of faux flowers
I had been having visions of what I wanted to do and then I saw the most gorgeous spring hoop wreath from On Sutton Place. Ann is so talented and I love her style. So this one ended up being my take on her beautiful wreath. I started out with two bunches of vibrant pink and purple faux flowers.
First things first, I cut the store tags off the flowers.
Here's the screw closure at the top of the hoop that you're going to want to camouflage with your ribbon.
First I laid out the two bunches along the top rim of the hoop, making sure the screw was in the middle of the two.
They were bendable so I gently bent them to curve around the rim of the hoop a bit.
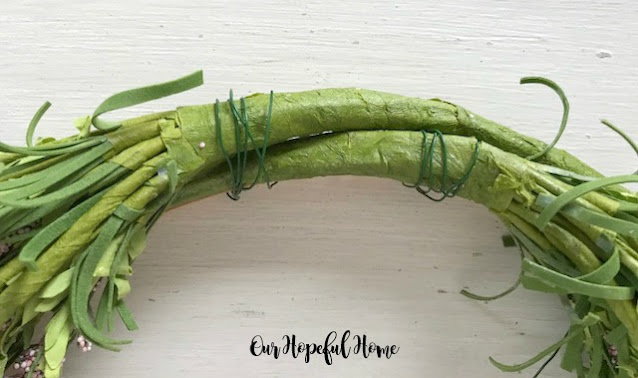
Then I just used some floral wire to secure them, one bunch at a time, to the hoop. I secured each bunch in two places.
Then I covered the wire with floral tape to better blend in with the green stems.
Then all you do is start looping both long ends around the middle, over and over, until you end up with just enough ribbon to make your bow.
Then I just plopped the whole thing on top of a door magnet wreath hanger.
I've been moving it around the house trying to decide where I like it more. Unfortunately, I can't hang wreaths like this on our front door because we don't have a covered porch. But I can enjoy it inside from now through spring and maybe even summer. The colors really lift my spirits, especially in times like these when I look outside my window and literally all I can see is snow! Are you ready for spring like I am? What are you changing around your house to make things a bit more spring-y?
Well, that's it until next time, friends!
I hope you enjoyed reading about my
Simple DIY Spring Hoop Wreath
and that I've inspired you
in some way.
Don't forget to Pin it!

Click HERE to subscribe.
Don’t miss another thrifty,


Leave a Comment!
I love how easy it is and how cheerful it looks. No snow here but plenty of grey days. I'm ready for Spring too! I haven't taken down my winter decor yet - maybe today! I need some springtime to look at!
Hugs,
Cecilia
Really lovely, Kathleen! Spring fever is beckoning ;)
Such pretty! I love the hot pink. I am so ready to see some Spring time for us. Hoping some of this snow begins to melt and clear away. Have a great week. The wreath is gorgeous.
Kris
Your wreathe is so cheerful; I would slmile every time I go by it! Winter here in Maine is 3 weeks longer than it was where I grew up in NH and I have a touch of seasonal affective disorder. I use color as a "cheap upper" along with fragrances, upbeat music (and friends), judicious doses of chocolate, extra vit D, and meds. That pink is better than my faux daffodils! I had to smile when I saw your choice of flowers. I got a small blue/purple bunch at ACMoore and cut the small flowerets off to make pots of dollhouse flowers! Got some metal galvanized looking tubes--probably lead, they are so heavy at Restore and made florist tall pots with different kinds of silk, plastic, dried flowers in them.There's a show Sat. that I do every year. Mix my scrapcraft in with the storebots and your eyes see what it is supposed to see. One of the paper buds went onto a friend's Valentine! Will use the rest somehow.
How simple I sweet! I adore the colors you selected.
Gorgeous and so perfect for Spring. We're in the process of moving so I haven't been making anything lately. Living vicariously through other's creations. Featuring when my party opens up tonight!
Post a Comment