My original plan was to create a cotton boll garland, and the project just morphed from there. More importantly, it was -- like most of my projects -- simple and inexpensive to make. Cotton boll wreaths are incredibly expensive in the stores, but I promise you that you can make one for yourself for much less.
This post may contain affiliate links. A purchase of any one of these items helps to support this blog and its creative efforts at no cost to you. To read more, please see my disclosure page.
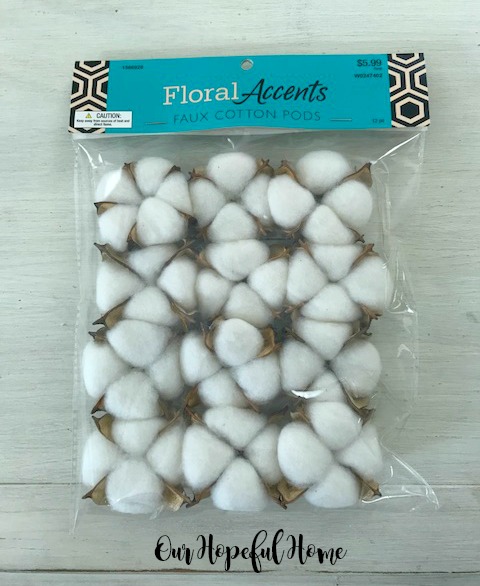
DIY Fall-Inspired Cotton Boll Wreath Supplies
1. 18" grapevine wreath. I got mine at Hobby Lobby for $3.00 (40% off coupon).
DIY Fall-Inspired Cotton Boll Wreath Instructions
This is really simple, folks. Just take the end of your floral wire and insert it into the cotton boll on one side of the pod. Gently push it all the way through the cotton until the wire comes out the other side.
Here's an overhead view to give you a better idea of wire placement. I tried to keep the wire close to the base of the cotton boll.
Once I got a number of them threaded onto the wire (essentially a garland of sorts) I started laying the wire out around the wreath to determine how many more cotton bolls and pine cones I would need to make it around the entire wreath.
I tried to space out the pine cones as equally as possible but you really don't need to be exact. I just left a space on the wire anywhere I wanted to place a pine cone.
NOTE: You could stop here and have a garland and call it a day.
Here it is in progress, still attached to the floral wire supply. Once I had it all placed where I wanted, I cut the garland off from the wire supply and I proceeded to attach the garland to the grapevine wreath with individual strips of floral wire, wrapping the strips over and around the garland wire, using them like twisty ties.
.
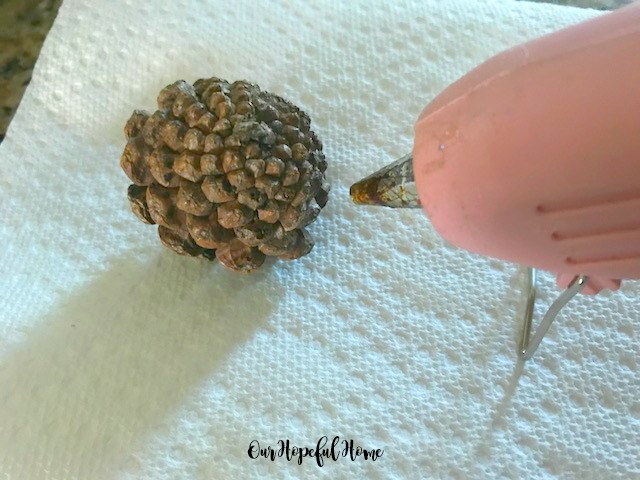
I did this all around the entire wreath, leaving open space for the pine cones. Then I went back and attached the pine cones with hot glue.
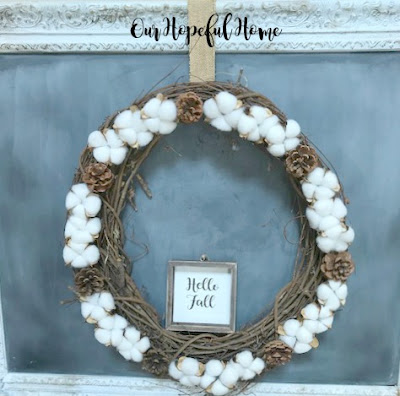
Initially I was going to leave it like this but I felt that it needed something more. I apologize for the bad quality photo. It was originally hanging in my foyer on a chalkboard and I could not for the life of me get a picture that had any semblance of normal lighting.
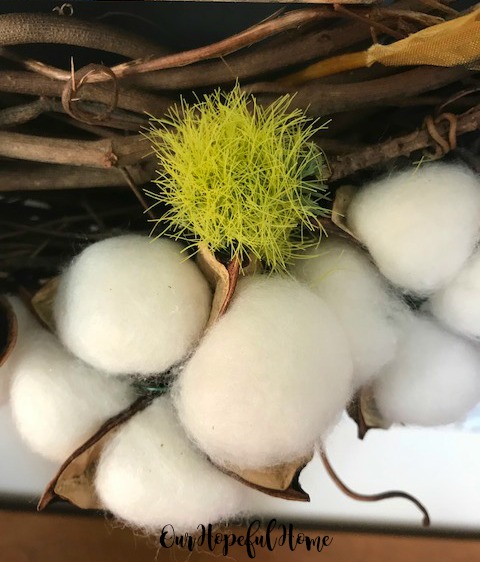
Ta-da. I scrounged around in my stash and came up with some Dollar Tree faux bright green fuzzy (Dianthus) flowers as well as some decorative feathers in fall colors.
I just detached the fuzzy flowers and feathers from their stems and literally stuck them into the wreath -- no wire and no glue. Easy peasy.
It was really starting to feel more fall-inspired and rustic at this point.
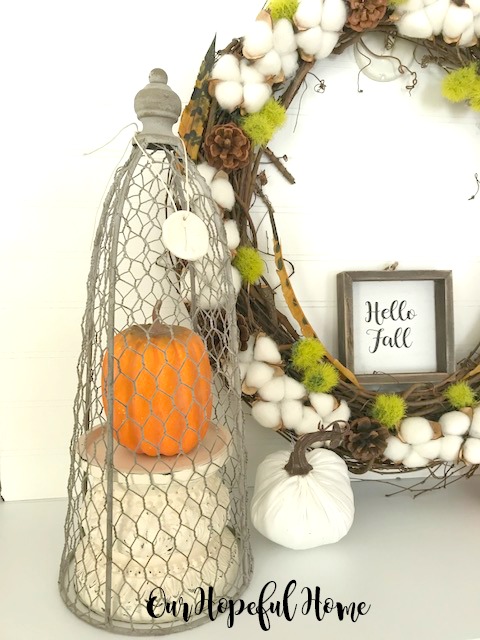
It is sitting in a wire cloche that I have absolutely LOVED for years. I bought two of them on sale at JoAnn's and have never regretted it.
I picked up the little Hello Fall sign for 40% off at Hobby Lobby, and I think it works perfectly sitting happily inside this rustic wreath.
The plush white and orange pumpkins were each $1.00 at Target's Bullseye Playground.
Here is a Hobby Lobby price tag for a pre-made 18" cotton boll wreath. Granted, you can always buy it with a 40% off coupon. But even at that rate it will cost you $36.00 for the wreath. I spent approximately $13.00 for my version, which I like even more since it has some fall elements and theirs does not.
So, a garland turned into a wreath. Go figure. I hope I've motivated you to tackle a fall DIY project. There is plenty of time left to create something -- maybe even this wreath.
Well, that's it until next time, friends!
I hope you enjoyed reading about my
DIY Fall-Inspired Rustic Cotton Boll Wreath
I hope you enjoyed reading about my
DIY Fall-Inspired Rustic Cotton Boll Wreath
and that I've inspired you in some way!
Don't Forget To Pin It!











.png)


Leave a Comment!
Love it! Awesome project and great vignette. Seeing as I am a New Englander (NH, now Maine), cotton bolls are such a novelty to me. Grape vines have proliferated around here and I have made several wreathes (Yard work and crafting; great combo!). This would be a GREAT way to use them.
Your wreath came out beautiful, Kathleen. Thanks for sharing it!
How cute, Kathleen! Great idea!
Post a Comment