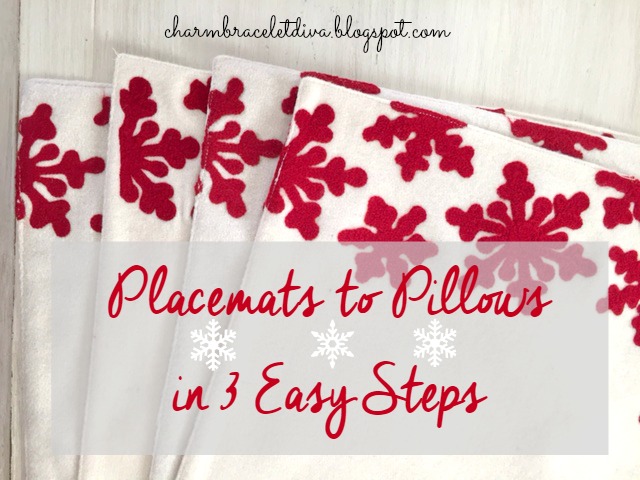
Welcome to Our Hopeful Home's DIY Target Christmas Pillow Extravaganza! Let's be honest, I'm a sucker for Christmas pillows. But I'm not a huge fan of their high price tags. So each year for the past 3 years, as well as this year, I've DIY'd my own Christmas pillows with nothing more than Target placemats or flannel gift sacks and some filling. Super simple and super inexpensive. So before I unveil this year's creation, let's take a trip down memory lane, shall we?
This post contains affiliate links. A purchase of any one of these items helps to support this blog and its creative efforts at no cost to you. To read more, please see my disclosure page.
2015

2016


2017
2018
Per usual, this year the Target Dollar Spot did not disappoint. I ended
up with not only a few Christmas placemats, but I also picked up some
awesome red, black and white plaid flannel draw-string gift bags for $3.00
each. I knew as soon as I saw them that they would be my 2018 Christmas
pillow covers. So technically this year I didn't use placemats. I used, of
all things, flannel gift bags, or "sacks" as the label called them. And
I'm happy to report that it was one of my easiest and most inexpensive DIY
Christmas pillow projects to date.
Target Plaid Flannel Gift Sack DIY Christmas Pillow Tutorial
Supplies
1. Plaid flannel gift sack
2. 18" x 12" (at a minimum) pillow form insert
I used pillows I already had on hand --my thrifted (yet brand new) Ralph Lauren down-filled pillows. They fit inside the sacks perfectly. I like being able to use pillows I already have since we all only have so much storage space for Christmas decor. This way I don't have a ton of bins filled with just Christmas pillows.

I can fold up the covers and put them away until next year. I do the same thing with my red buffalo check pillow covers from Ikea.
2. Small safety pins
The smaller the better. The ones I used were approximately 3/4" inches long (like the two on the left). I used 10 pins for each pillow.
Just place your pillow form into the gift bag and use the small safety pins to close off the open end of the bag.
I inserted the pin starting from the inside of the bag near the seam on one side and then reached over and inserted it into the other side of the bag near that seam before closing the pin. By doing this I was able to keep the pins inside the bag and out of sight. If you're worried about the pins causing a problem you can always hand-sew the bag closed, or use fusible bonding web like Stitch Witchery to close the seam.
I ended up spending all of $6.00 for the two pillows since I already had the pillow forms and the safety pins. I've become enamored with Christmas plaid over the past few years so this was a great project for me. Not only do I love how the pillows look but I know I can just unpin them and take them apart after the holidays. Who knows, maybe next Christmas I might actually use the bags as gifts bags rather than pillow covers.
I'm keeping it simple for now since all our Christmas decor except for a few items are still either in the attic or the basement. Right now I just wanted to decorate the living room around the new DIY Target gift sack Christmas pillows. Many more Christmas pillows will be coming out soon.
I purchased the white birch logs at a local vintage holiday market this past weekend. It came with the ribbon, some greens and a pretty red cardinal on it. Once Christmas is over I plan to remove the ribbon and the bird and keep the stack of wood near the faux fireplace in the living room.
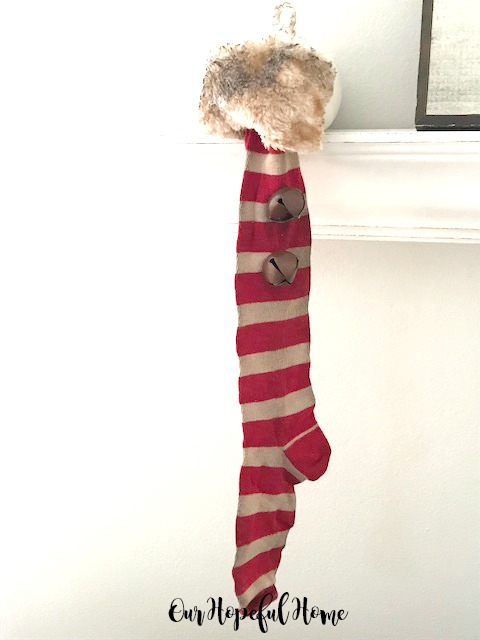
And how about those skinny red and white striped vintage-inspired Christmas stockings? I fell in love with them at another holiday market held by a favorite local shabby chic vintage thrift shop. Bells have been sewn on, and the tops are rimmed with faux fur. I think they're just adorable. I like how they're so different from your average ho-hum Christmas stocking.
Our local Trader Joe's was selling this fabulous rosemary "tree" for the
holidays. As soon as I saw it I knew it was coming home with me. I
actually had numerous shoppers asked me where in the store I found it
because they wanted one too. When that happens you know you found a
keeper. You can see my DIY Magnolia wreath
in the background hanging on a vintage ladder.
Last but not least I picked up this wooden painted Christmas sign at Kirkland's for a song during their Veteran's Day sale. I'm not sure I totally like it here so it might be moving into the dining room. Time will tell.
Well, that's it until next time, friends! 6
I hope you enjoyed reading about my
DIY Target Gift Sack Christmas Pillows
DIY Target Gift Sack Christmas Pillows
and that I've inspired you in some way.
Don't forget to Pin it!
Be sure to stay in touch:
Click HERE to subscribe.
Don’t miss another thrifty,
DIY home décor post!


Leave a Comment!
Love your pillow covers! Keep it simple! I sew cloth gift bags for home and our church bazaar. We used to consider it a good Christmas if we filled the woodstove 4 times with the used wrapping paper! Now it is maybe twice. I also use tins a lot caz I love tins. I made pillow covers this year and like them better than the bulk of pillows. Plus stuffing is SOOOO expensive now. And space! Your home looks lovely for the holiday. Happy Thanksgiving!
Such a cute craft!
Happy Thanksgiving to you and yours!
So pretty, Kathleen, I love the plaid fabric. I hope that you are all enjoying your Thanksgiving weekend.
Amalia
xo
Brilliant and beautiful as always Kathleen. Featuring when my link party opens tonight.
Post a Comment