Welcome to Farmhouse Friday, friends! Today's project? How to make a magnolia wreath for less than $25.00. Magnolia trees are a common sight mainly in the southern United States. And those gorgeous farmhouse-style magnolia wreaths that are all the rage these days are a common sight in most self-respecting modern farm homes, thanks to Chip and Joanna Gaines and the show Fixer Upper. Unfortunately, the cost is staggering. So today I'm sharing a tutorial on how to DIY a faux magnolia wreath and avoid the huge price tag.
This post contains affiliate links. A purchase of any one of these items helps to support this blog and its creative efforts at no cost to you. To read more, please see my disclosure page.
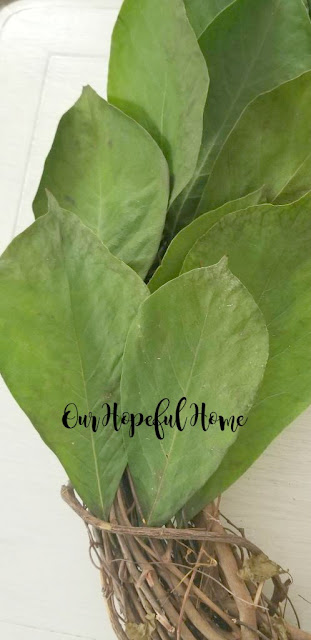
I originally tried to DIY a magnolia wreath with real magnolia leaves. Despite living in the midwest, it appears that we have a huge magnolia tree in out front yard. At least I think it's a magnolia tree. So I happily collected fresh leaves from the tree and then inserted them into my grapevine wreath. At first it looked lovely.
But after a short time it became apparent that the leaves were curling up and drying out. I'm not sure what I could have done to prevent this. I've read other tutorials that state real magnolia leaves should last at least a few months before fading and drying out. Despite the setback I was still determined to make a DIY magnolia wreath -- so on to faux leaves I went.
When in doubt, go to Hobby Lobby. They have 40% of coupons every week (off one regular priced item) as well as regular sales on things like faux flowers and greenery.
I purchased two faux magnolia leaf bunches at 40% off for a total of $21.00. That's still a bit steep for my usual DIY wreaths, but in light of the price range I've seen for magnolia wreaths ($30.00 to $158.00 for sizes 15" to 24") it was an incredibly good deal. I purchased the 24" grapevine wreath at 40% off from Hobby Lobby for $3.79. So my total cost was less than $25.00. If you don't want to get your supplies at Hobby Lobby I've included links for alternate online purchases below.
DIY Magnolia Wreath Supply List
DIY Magnolia Wreath Tutorial
- Start by cutting away at any type of material holding the "bouquet" together. In this case it was tightly wound raffia.
- Then cut through the floral tape holding the stems together. This will leave you with exposed stems.
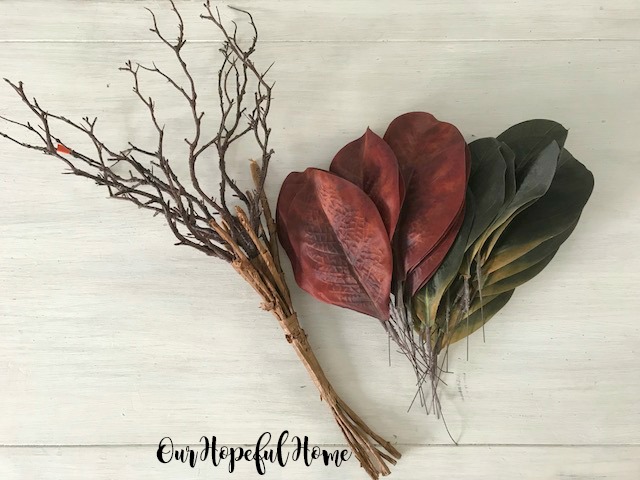
- Start pulling the stems up and out of the bouquet so that you end up with individual leaves (on the right) and a bare skeleton of a bouquet (on the left). Put the leaves aside, organizing them by color and size. Mine came in two sizes -- large and small, and two colors -- green and red.
- Place the first leaf onto the grapevine wreath to get an idea as to where you want to start. Then insert the floral wire directly into the wreath so that it disappears as indicated by the arrow.
- Start combining the leaves together by twos, by entwining their wires and then inserting them into the wreath as if they were one. In essence you're creating two layers of leaves in one fell swoop. It makes the wreath look much fuller than with a single layer of leaves.
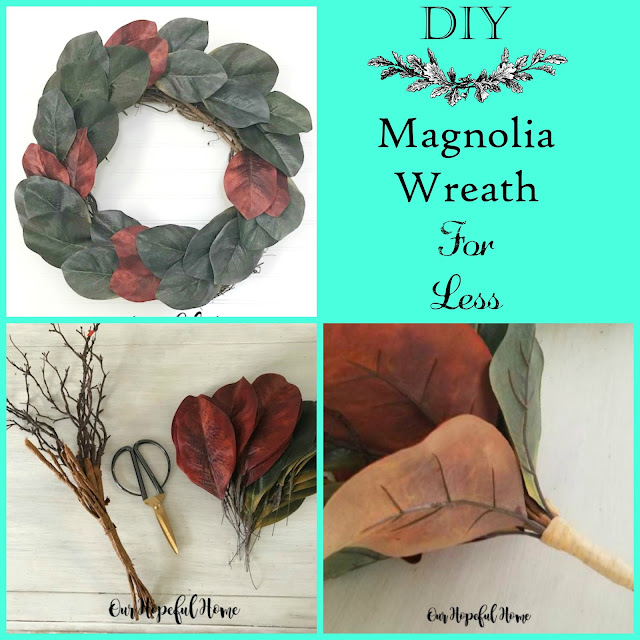
I placed the red leaves sparingly in an effort to replicate the look of a real magnolia wreath. I ended up using 21 green leaves and 8 red leaves. Depending on the size of the base wreath the number of leaves you'll need will vary. A smaller grapevine wreath means you'll need less leaves, perhaps only one bunch instead of two. I am thrilled with how my DIY magnolia wreath turned out.
Right now the wreath functions as everyday farmhouse decor, but I'm sure it can be embellished for the holidays. How would you turn it into a Christmas wreath?
Well, that's it until next time, friends!
I hope you enjoyed reading about my
DIY Magnolia Wreath.
DIY Magnolia Wreath.
Don't forget to Pin it!
Be sure to stay in touch:
in my top right sidebar. You can also sign up there to receive
my blog posts via email newsletter as well.
Sign up for my newsletter --
don’t miss another thrifty,
DIY home décor post!


Leave a Comment!
Post a Comment