Join me today as I share my DIY shabby chic vintage French farmhouse clock table and prove that with a little bit of paint and some stencils you can easily breathe new life into old furniture.
The stencil was provided by Stencil Revolution but all opinions are my own. Also, this post contains affiliate links. A purchase of any one of these items helps to support this blog and its creative efforts at no cost to you. To read more, please see my disclosure page.
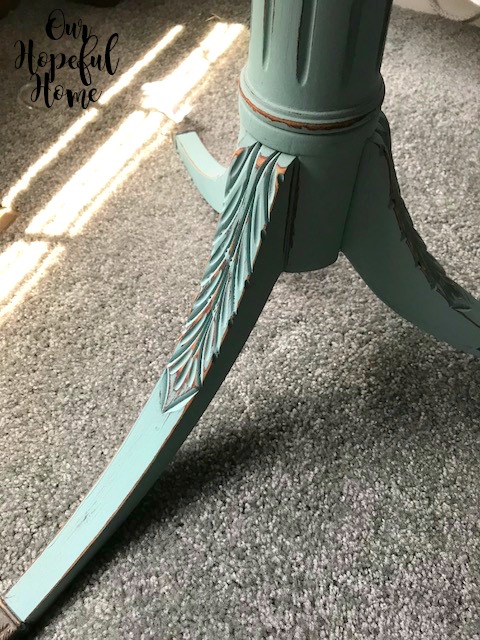
Although the carving details are undeniably lovely.
And the distressing revealed what looks like gold leaf underneath the blue paint. Score!
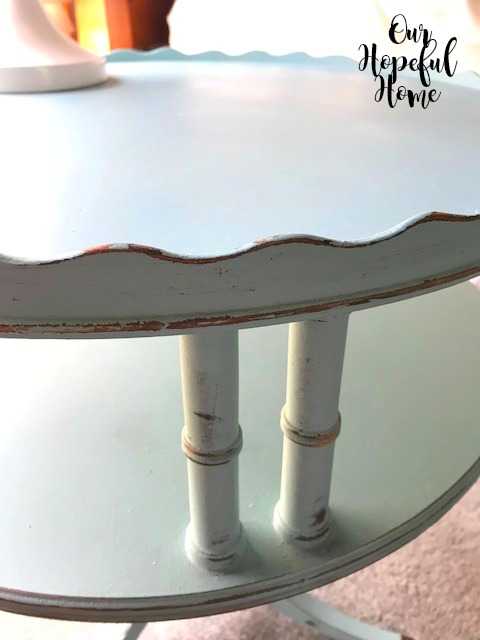
This picture shows just how "blue" this table really was.
Fast forward to my being asked to review some stencils made by Stencil Revolution. After reviewing their website and stencil choices, I knew there was at least one stencil I just had to have: their Clock stencil. Coincidentally, the stencil was the perfect size to fit on top of my vintage round French farmhouse table. The stencils I ordered were expertly packaged and arrived in perfect condition. All of Stencil Revolution's Mylar plastic stencils are laser cut. There's such a big selection that they have something for everyone. They even sell wall stencils. (I found it hard to choose!)
Here's what you'll need to get started:
Materials List
1. stencil of your choice
2. something to stencil on (furniture, canvas, basket, etc.)
3. chalk paint for the table
4. acrylic paint for the stenciling
4. acrylic paint for the stenciling
5. paint brushes for your main piece
6.paint brushes for stenciling (or actual pouncers)
6.paint brushes for stenciling (or actual pouncers)
7. sanding pad or sanding sponge
8. cheese cloth (optional)
9.baby wipes (to clean paint off of stencil)
How To Stencil A Clock Face Onto A Vintage French Farmhouse Table

The paint I used was Rust-oleum Chalked ultra matte paint in Linen White. They claim one coat coverage for most things but I actually needed three coats. I think that's due to the fact that I'm known to be shy when it comes to applying paint and my individual coats are sometimes too thin.
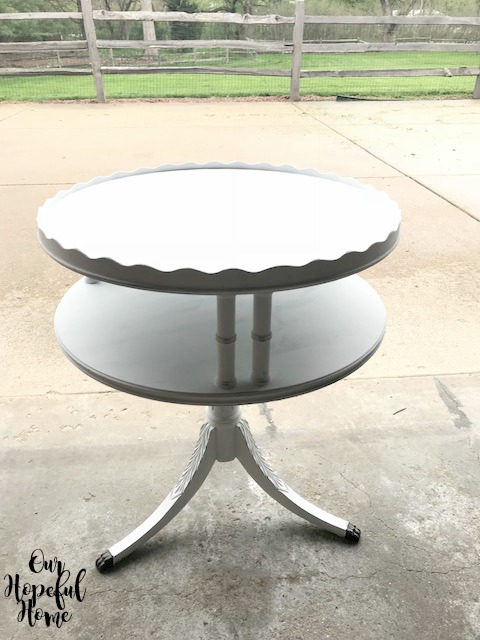
Even after painting it white the detail work on the legs looked great.
3. After distressing the table I used a piece of cheese cloth to wipe off most of the dust. I finished it off by using a clean, dry paint brush in all the nooks and crannies. If you don't have cheese cloth it's okay to just use the paint brush. A small shop vac might come in handy as well.
4. Since the stencil is square -- but the table is round with fluted edges -- the stencil couldn't lay flat on the table. You can see where the stencil extends over the edges of the table in the above photo.
Therefore, I took the liberty of cutting off the square corners of the stencil so that it could lay flat. It's important that your stencil is as flat against the surface as possible before you begin filling in the stencil with your paint. You can see in the above photo that after I cut the corners off the stencil it laid perfectly flat.
5. The next step is to secure the stencil to the surface with painter's tape. You need to make sure the stencil won't move around while you're painting.
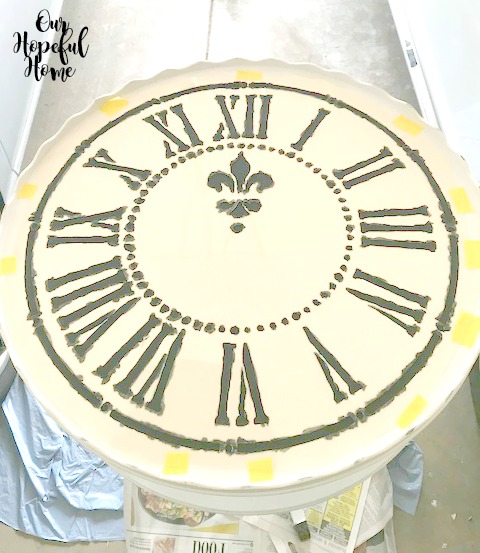
5. Once secured, I began filling in the stencil using a small paint brush and my black acrylic paint. You are perfectly welcome to use "pouncers" (as opposed to paint brushes) which are made specifically for stenciling, however, I stopped using pouncers a long time ago since I actually prefer using a paint brush. Technique-wise you'll need to make sure not to put too much paint on your brush to ensure that the paint won't bleed underneath the stencil. You also have to be careful of bleeding even if you opt to use the pouncers.
NOTE: Once you're done filling in the stencil, but before lifting it up, your project might not look as pretty as you had hoped. Don't panic! It will ALWAYS look better once you lift the stencil and uncover your final work. (Also.the stencil cleaned up nicely afterward with just a few baby wipes.)
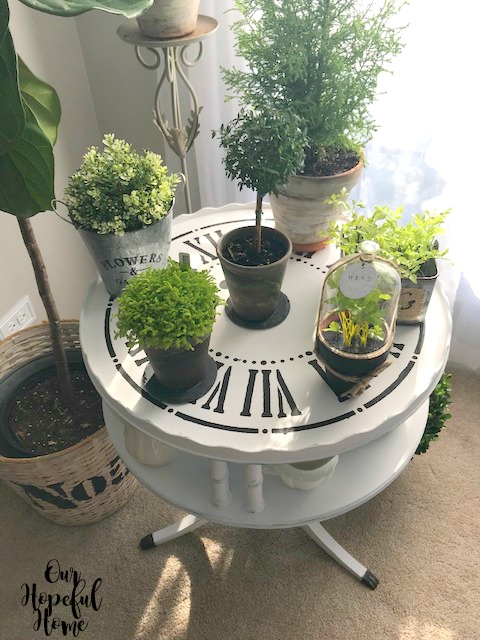
Here it is in my French farmhouse living room sitting in my only east facing window on the first floor. My plants really seem to like it there. (I know, the fiddle leaf fig tree looks sad there, but I watered it afterwards and it's all good!)
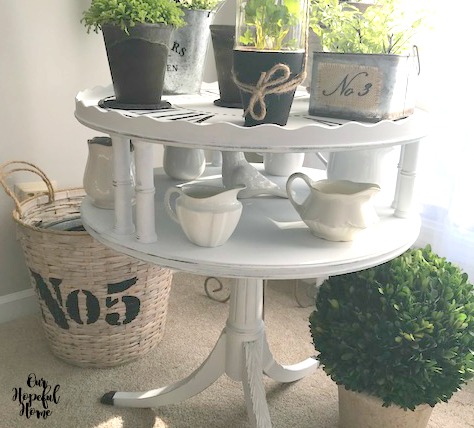
I was thrilled to be able to display some of my ironstone collection on the bottom shelf.
Here's my large, boxwood topiary ball that I picked up at an estate sale.
And here's my DIY painted basket that I turned into a planter for my fiddle leaf fig tree.
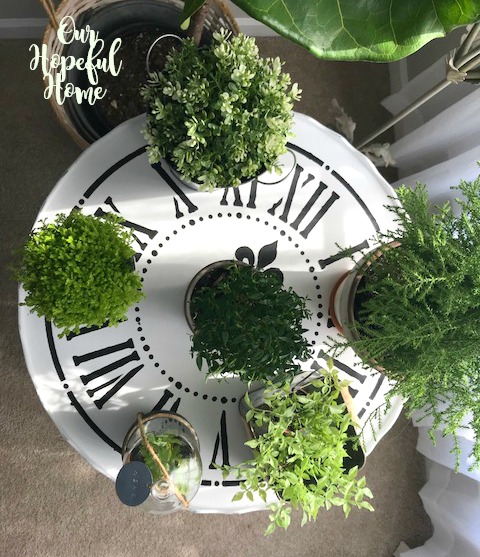
The table looks great with nothing on it, but I also think it looks great with the plants on it.
I don't see this baby going back into the bedroom any time soon. I'm loving it too much in the living room where I can see it all day long.
It's definitely one of those projects that makes me smile every time I see it. Thank you to Stencil Revolution for hooking me up with some of their awesome stencils.
Well, that's it for today, friends! I
hope you enjoyed reading about my
hope you enjoyed reading about my
Vintage French Farmhouse Clock Table
and that I've inspired you in some way.
Don't forget to Pin it!














Leave a Comment!
Kathleen,
What a wonderful transformation!! Love the clock on the top of the table!! So charming!! Thanks for sharing!!
Hugs,
Debbie
What a great stencil! Love how this turned out!
Kathleen this was a great project. I enjoy duck egg blue for some pieces but that was a weird color. The clock stencil looks great and I think bits peaking out from the plants is nice.
I love your ironstone collection on there too. I have been stenciling for 20 years and never thought about baby wipes to clean them Thanks for the tip. Baby wipes seem to work on just about everything.
Enjoy your day
Cindy
Love this Kathleen. It looks fabulous. Great job. I cannot wait to see more from you. It is great we are finally starting to see summer coming hopefully soon.
Have a great week.
Hugs,
Kris
Awesome. I wouldn't have believed that it would come out so well! Almost gives me courage to try stenciling again! Will be on the lookout for small tables to try a stencil on!
Such a fabulous makeover Kathleen. That stencil was a perfect fit for your tabletop.
Thank you for sharing this project at our Create, Bake, Grow & Gather party this week. I'm delighted to be featuring it at tonight's party and pinning too.
Hugs,
Kerryanne
Post a Comment