Christmas shadow boxes are nothing new, but they've become hugely popular over the last few years. You can certainly buy them, but I prefer to DIY mine since it's such an inexpensive and simple craft that's sure to add some real retro charm to your Christmas decor. All you need is a thrifted container that can stand in as a shadow box, some miniature figurines, some glue or Mod Podge, some glitter or "snow" and your imagination. Let's get started!
SUPPLIES FOR MY DIY CHRISTMAS SHADOW BOXES
1. Thrifted shadow box or frame with ledge thick enough to use for a display shelf
2. miniature bottle brush trees
3. miniature gold tinsel tree
4. Dollar Tree gold glitter Merry Christmas ornament
5. miniature deer figurines
6. Mod Podge Sparkle/sponge brush for applying
7. Martha Stewart iridescent glitter
8. Dollar Tree miniature gold glitter garland
9. Tacky putty, glue dots, craft glue or glue gun
10. Paint/paint brush (optional)
HOW-TO MAKE A DIY CHRISTMAS SHADOW BOX
First up is this thrifted shadow box I picked up at Goodwill for $1.99. As soon as I saw it I knew that it was perfect for this project. It was white (my fave) and beat up just enough to look vintage!
1. If necessary, paint the background of the box to match your intended scene. I painted the background with Rust-Oleum Chalked Ultra Matte Paint in Linen White to match the frame.
2. Once the paint dries, spread sparkly Mod Podge all over the background, immediately followed by a heavy sprinkling of fine glitter.
Using a sponge brush I slathered on some Mod Podge Sparkle, and then shook some Martha Stewart iridescent glitter in Sugar Cube all over it. This gave me my shimmery, snowy look for the background.
3. Determine placement for the miniatures, then add them to the box.
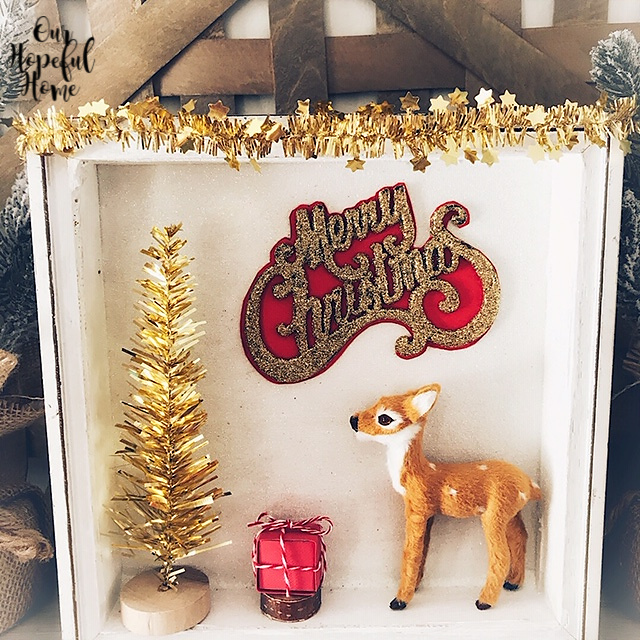
Once the glitter dried I set about placing my miniatures. I used tacky putty to adhere everything to the box so that I could remove them and replace them with other figurines in the future. For a more permanent display you can attach them with glue.
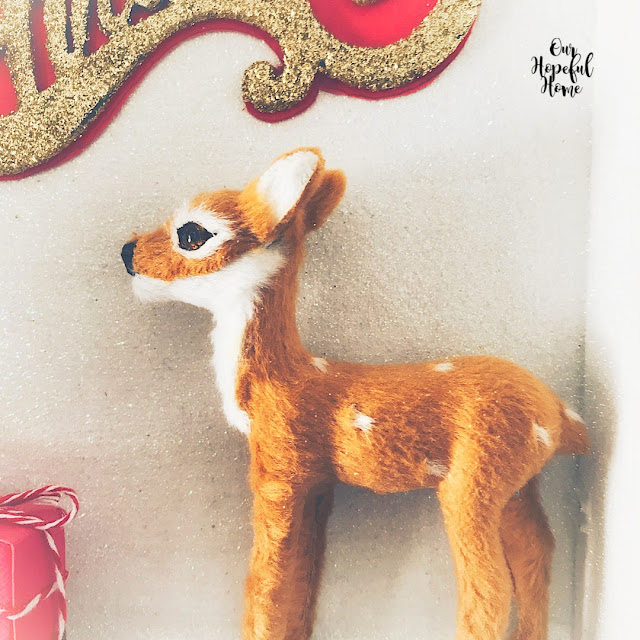
Since I was going for a vintage feel, I naturally leaned toward using a miniature deer. I picked this one up in a three-deer set at Target last Christmas. I chose it because of its size. You have to be really careful to make sure that your figurines are in proportion to your shadow box, and to each other.
I used a gold tinsel tree I got from Target's dollar bin this year.
I also used a gold glitter Merry Christmas ornament that I picked up at Dollar Tree last year (in a package of 5).
I also created a red "gift" by wrapping up a rubber stamp (it was the right size) with red construction paper and then tying it off with a twine bow. I placed it on top of a wood slice for some added texture and rusticity.
Lastly, I added the final touch with some Dollar Tree mini gold glitter garland. We used sparkly garland like this on our tree when I was growing up, so it brings back happy memories.
I'm in love with how it turned out. I think it really has that retro look I was going for.
It's a little too early to actually decorate for the holidays so this Christmas shadow box will be put away for a few weeks.
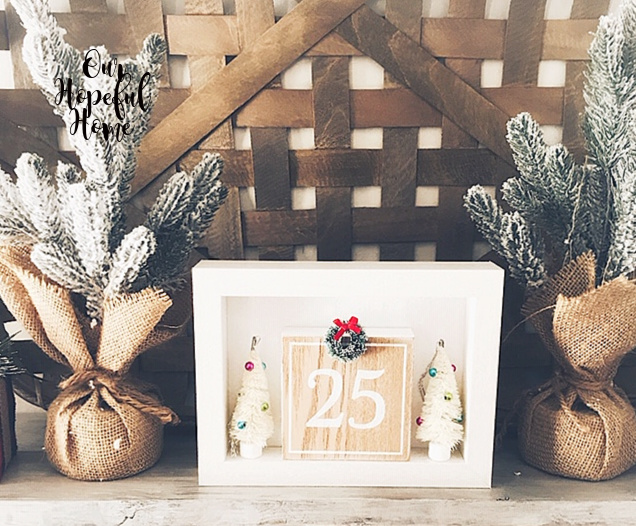
Shadow box number two is made out of a thick, white frame that I thought could also work for this type of project. I got it at Goodwill for 99 cents.
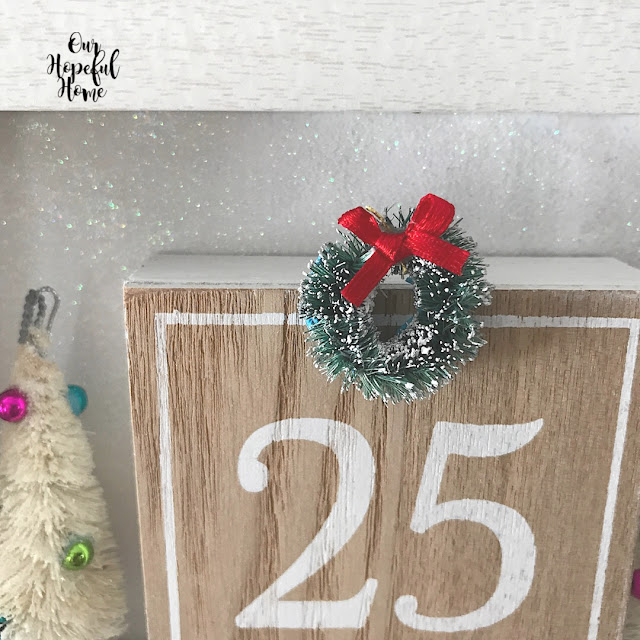
The first thing I did was take out the glass since glass makes taking pictures almost impossible due to the glare. Then I flipped over the paper insert that came inside the frame (onto its white side) where I slathered on Mod-Podge Sparkle followed by glitter. Once dried, I placed the snowy paper "background" into the frame. You can see the snowy glitter in the background above the "25."
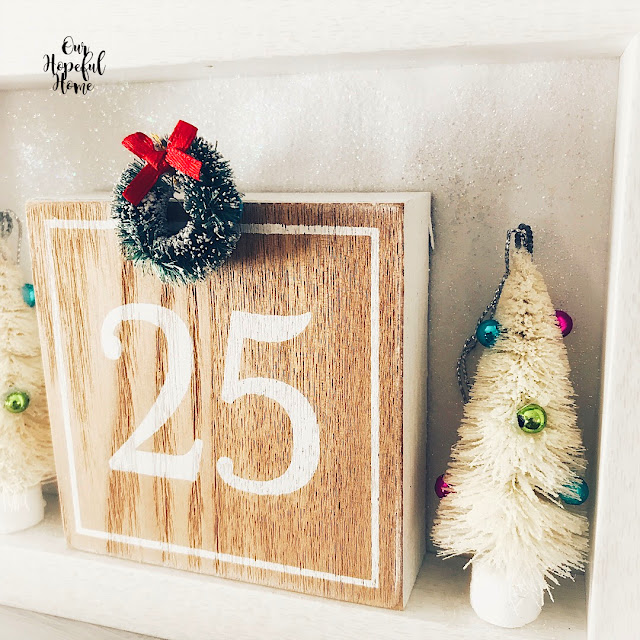
Next I added two of these retro mini bottle brush trees. They were $1.98 (for four) from Wal-Mart this year. Two were just right for this size frame. I again used tacky putty to set them in place so that I can reuse the frame for other projects at a different time.
Lastly I added a wooden block with the number "25" on it, placing it right in the middle between the two trees. The block was $1.00 from Target last year. I also attached a mini bottle brush wreath to the block with putty for good measure. I like the pop of red it adds to the mostly otherwise winter white scene.
Jut like the first DIY Christmas shadow box, this one will be put away for the next few weeks until I start decorating all-out for Chrismas. I'm also working on a much larger Christmas shadow box that I can't wait to share with you, so stay tuned!
Well, that's it for today, friends!
I hope I've inspired you in some way and that
you've enjoyed reading about my
you've enjoyed reading about my
DIY Retro Christmas Shadow Boxes!
Don't forget to Pin it!
Be sure to stay in touch:










Leave a Comment!
These are so sweet, Kathleen! I love them both!
these are supe cute, a fun way to use small vintage pieces. I love that little deer!
These are so cute, Kathleen! The ornament trees are the perfect size for a project like this!
Post a Comment