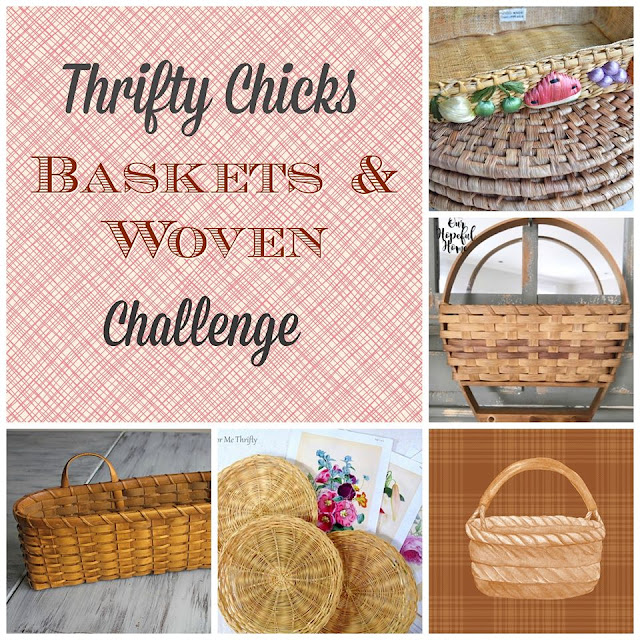
I was invited to participate in a monthly bloggers' challenge by a group of very talented women known as The Thrifty Chicks! This month's theme is baskets. I had no trouble finding a unique farmhouse style basket to re-love. So stick around to see not only my basket transformation, but those of my talented friends as well!
This post contains affiliate links. A purchase of any one of these items helps to support this blog and its creative efforts at no cost to you. To read more, please see my disclosure page.

I found my basket for this Thrifty Chicks' challenge at Goodwill for $3.99. That's more than I would usually pay but I knew as soon as I saw it that it was different from any other basket I had ever owned, and that it had great potential as farmhouse decor.
The weaving of this particular basket reminded me of the many Longaberger baskets I collected back in the day. After an online search I came up with similar baskets made in the 1970's. One Etsy description called it a wall pocket woven wood basket. I liked that it was flat backed which made it perfect for hanging. The fact that it was missing a peg made it more attractive because I thought, gosh darnit, I can save this basket! All it will take is one new peg and it'll be good to go. Little did I know.
Here's the empty hole. Again, I figured how hard could this be, to replace a common wooden shaker peg?
Another interesting feature of this basket is that it can fully stand on its own and doesn't have to be hung up.
So the mission was simple: find a wooden peg to fit this hole. You'd have thought I was searching for the holy grail considering how hard it was to find one. I kid you not! I really thought I could waltz into any craft supply store and find the right sized peg. I was wrong.
I went to Michaels and JoAnn's and came up empty. Each store carried only one or two sizes of wooden pegs and none of them were my size. I started thinking that maybe I was foolish to have thought I could easily find a peg to fix this. But then I went to Hobby Lobby and thankfully found a remedy. Just be aware of the fact that there are many sizes of wooden shaker pegs out there before you begin a project.
While Hobby Lobby's choices were also limited, I did find one set of pegs that I thought was the closest fit to what I needed. They were 2 1/2" long and had a 3/8" tenon (the little bit on the end of the peg that actually fits into the hole). I was afraid the tenon was too fat but it was the closest to what I needed that I could find. So I threw caution to the wind and bought them ($2.49 minus 40% off), hoping that I could somehow make it work.
After literally sawing the tenon down with a metal file, I was able to make it fit into the empty hole. I stopped filing at the point where I knew I could jam it in there pretty securely although it would never be a perfect fit. You can see the extra space in the above photo. But close enough! I was afraid if I kept filing it down I might file it down too much. So I added some Gorilla wood glue and placed it in the hole. Done deal. Whew.
Nothing left but the painting at this point. So I went ahead and used my favorite Rust-Oleum Chalked Ultra Matte Paint in Linen White and covered the basket with one coat.
After the paint dried I added a few faux flowers and berries I already had in my stash and I hung some of my favorite wooden farmhouse beads.
All in all I'm glad I decided to take a chance on a less-than-perfect basket by giving it a new look, new purpose and new home.
For a different look I added an enamelware farmhouse sign to the front of the basket. I didn't even hang it -- I just placed it above the pegs. That way I could still add the pair of farmhouse bead garlands to the shaker peg hooks. You can find a similar sign here.
I got the beads a few years ago but you can get very similar ones for a reasonable price here. I'm also convinced there's a laundry list of other things I can hang from those pegs, depending on where I happen to hang the basket, for example:
herbs
candles
beads
keys
wreaths
dog leash
shopping bag
I think you get the idea.
Six DIY Thrifted Basket Transformations
Prior to this project I've completed many basket restorations and transformations. I've come up with an abbreviated list of some of those projects that I thought you might enjoy:


Well, that's it until next time, friends!
I hope you've enjoyed reading about
How I Saved A Farmhouse Hanging Basket.
How I Saved A Farmhouse Hanging Basket.
Don't Forget To Pin It!
And be sure to visit my friends' basket projects as well!
1.
1. DIY Vintage-Inspired Fiber Placemats from Lora B Create and Ponder
2. Quick and Simple Farmhouse Basket Re-Do
from Itsy Bits and Pieces
3. Repurposed Wicker Plates Into Art
from Color Me Thrifty
4. Upcycled Boho Basket
from Little Vintage Cottage
Be sure to stay in touch:


Leave a Comment!
Such a cute basket! I love the paint on it. I would never have known about it being hard to find those pegs. UGH!!
Very pretty. Who knew it would be so hard to find a wooden peg. xo Laura
I love how you saved this basket, Kathleen! A good reminded not to pass up something you like, even if it needs a little repair! Love your other basket projects, too!
That's so pretty! Great job with this challenge!
Tania
I LOVE the shape of your basket! Great job bringing it back to life! Great theme for a challenge!
That is certainly an unusual basket, Kathleen; what a find! Love the refreshed color and glad you were able to find another peg. It looks really cute on your pretty cupboard. Great vignette!
What a pretty transformation, Kathleen. You would never know the peg was a replacement! I think the whitewash is so farmhouse chic and I can see you enjoying this basket in many ways for years to come. Lovely.
Post a Comment