Today I'm sharing how to make your own DIY chinoiserie vase.
Yes, you can DIY your own chinoiserie vase -- and I can show you how. I've become a huge fan of chinoiserie -- that pretty blue and white pattern seen on ginger jars, as well as many other home decor items including artwork.

My first foray into DIY chinoiserie came in the form of DIY chinoiserie pumpkins. Drop by How To Make Chinoiserie Pumpkins DIY Decoupage to
see how I did it and what I learned from that experience. THE PUMPKIN POST HAS
STEP-BY-STEP INSTRUCTIONS THAT YOU CAN USE FOR MAKING THE CHINOISERIE
VASE LIKE I DID HERE! I highly recommend you read that post before continuing if you're interested in learning the details.
For your convenience I'll set forth the supply list here again:
DIY CHINOISERIE VASE SUPPLY LIST
1. Chinoiserie paper cocktail napkins (I used Caspari chinoiserie paper cocktail napkins from Amazon. I ordered two packages.)

2. Mod Podge Gloss (or Mod Podge Matte of you prefer a less glossy look)
3. Flat-edged paint brush (or Mod Podge paint brush)
4. Rust-Oleum Chalked Ultra Matte paint in Linen White (or any white paint you might have on hand).
5. Glass vase (from thrift store or Dollar Tree)
6. Scissors
7. Wax paper (to place your project on while it dries)
In my search for the perfect "test" vases, not surprisingly, I found them at Dollar Tree. I wanted to have a few different shaped vases to experiment on. I believe the middle one is actually a champagne glass!
I followed the step-by-step instructions from my DIY chinoiserie pumpkin tutorial and absolutely love how they turned out!
Having finished these three "test" vases, I was ready to move on to my bigger project.
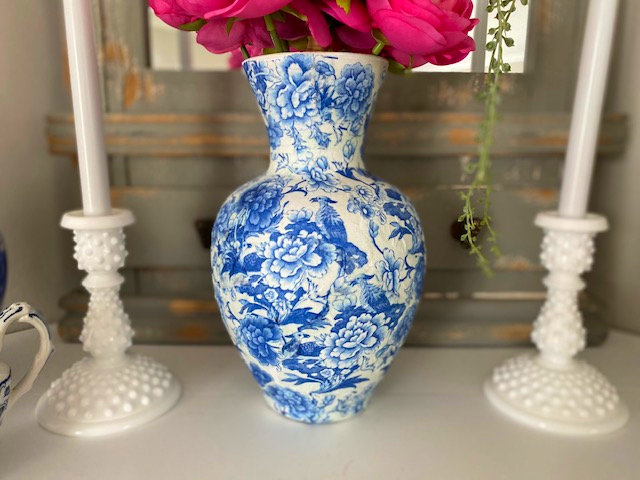
Here it is -- my $4.00 belly vase. Yup, that's what it's called. I picked it up on clearance at Old World Pottery because I knew that this particular shape would look lovely covered in a chinoiserie print.
I started out by painting the vase white with Rust-Oleum Ultra Matte Chalked Paint in Linen White. I don't recommend skipping this step as it gives you a good background to work on and the overall appearance of the finished product looks much better. I didn't paint the test vases first and wished that I had. Live and learn.
Once the vase was painted white I proceeded to cover it with the napkins and Mod Podge using a small, flat paint brush. You can see my step-by-step decoupage tutorial over at How To Make Chinoiserie Pumpkins DIY Decoupage.
Here's a shot of the vase in progress. I started at the top and worked my way down.
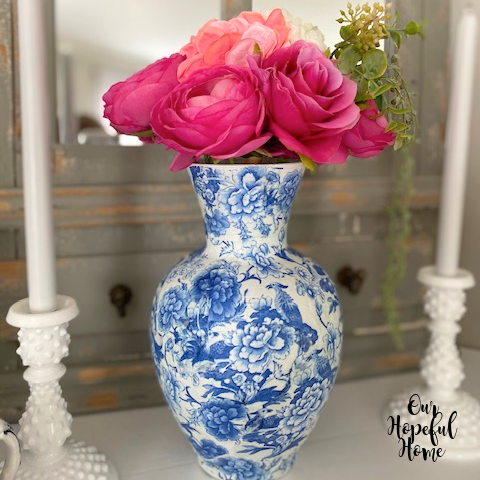
And here is the beautiful finished product.
 I displayed it on the mantel between my thrifted hobnail milk glass candlesticks.
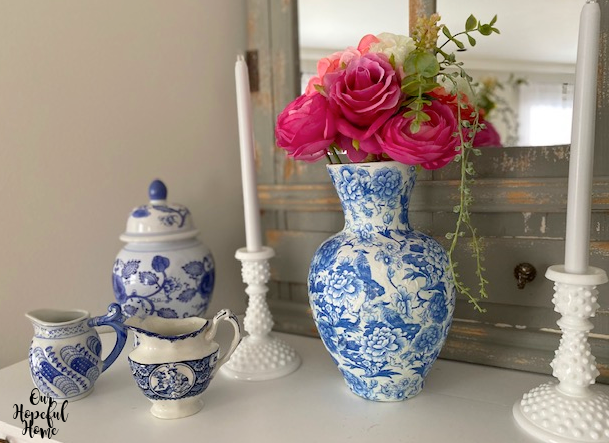
I think it looks right at home sitting among some of my chinoiserie collection.
I recently picked up a thrifted chinoiserie pitcher that I haven't yet shared with you. I got the ginger jar for my birthday.
I picked up this chinoiserie cachepot in an antique mall in Michigan.
I could not be more in love.
A FEW TIPS:
The size of the napkin pieces you cut out will depend on the size and shape of your vessel. For a smaller vase you'll want to cut smaller pieces, but for a larger vase like this one you'll want to cut larger pieces that cover more area. You can always go back and fill in any small, missed spots at the end.
You'll inevitably have some areas that are not totally smoothed out due to the nature of the thinness of the napkin, but the pattern is so forgiving that it will most likely go unnoticed. And white paint underneath helps camouflage any errors.
I purposefully did not try to decoupage the upper inside of the vase in the event that I use water in it at some point. Water is not a friend of decoupage since Mod Podge and tissue paper are water-soluble.
For now I've chosen to fill it with faux flowers. Easy peasy and no need to worry about changing the water! I'm now on the look out for another belly jar to transform with decoupage so that I can have a set to display together! Yes, I'm hooked.
Well, that's it until next time, friends!
I hope you enjoyed reading about my
DIY Chinoiserie Vase


Leave a Comment!
Nice thank you for the idea I have everything to do it!
These are so pretty. Some of the napkins out are gorgeous prints so this is genius. What a great way to make a pretty vase for very little money. Have a great day. xoxo
Kathleen, I LOVE your vase transformation. Pinned, thank you!
Blimey! I was looking on the Internet for beautiful vases for my wife, as she is a florist and loves them very much, and I saw yours! It looks very cool and it seems to me that my wife will like the vase that I will make myself a hundred times more) it is also so easy to make it) and, what is the coolest, there are much more options for napkins with prints than cool vases) I think I shock my wife ! Thank you very much for sharing such ideas, because perhaps I will not be the only one to make such a beautiful vase! Continue in the same spirit
Fabulous upcycle! I’d love for you to join us over at the Creative Crafts Linky Party every Wednesday through Sunday
https://creativelybeth.com/creative-crafts-linky-party-29/
Followed and Pinned! 🙂
Creatively, Beth
WOW. This one totally fooled me! I thought it was a lovely high end vase, but you paved a way to have this effect on anything! Gorgeous!
I've featured this in this weekend's DIY Salvaged Junk Projects. Thanks for linking up!
This is gorgeous! I found some vintage, yellowed Blue Willow napkins that I would love to try this with. The coat of white paint was a brilliant brainstorm! Will thrift a vase next time I'm at GW!
Is it necessary to paint the vase if it is already white?
Post a Comment