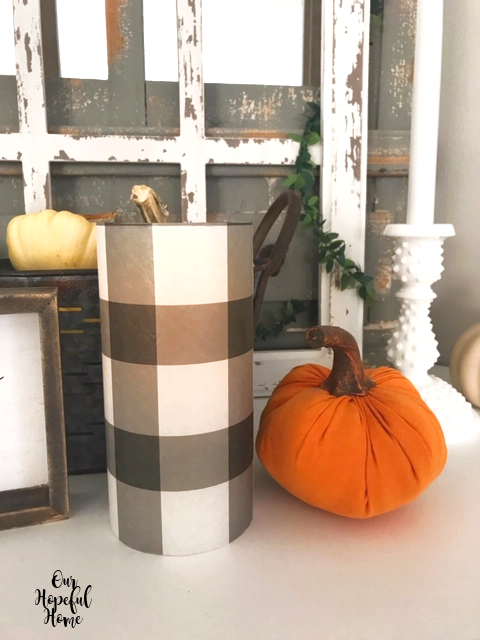
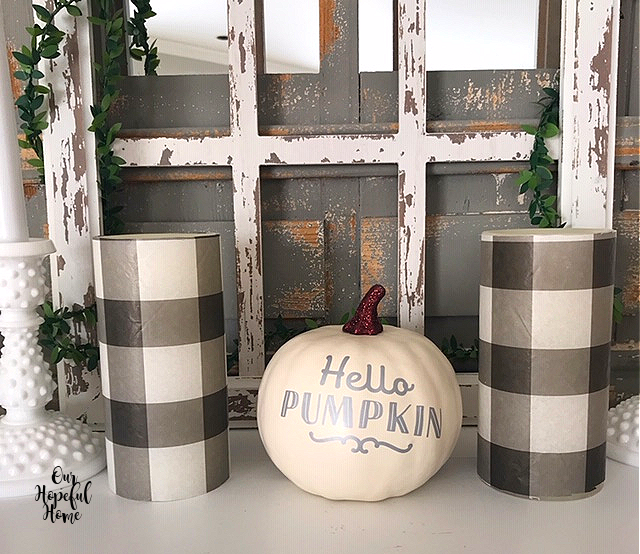
Buffalo plaid (or buffalo check) LED candles have become quite popular, especially with farmhouse decor enthusiasts. And you want to know a secret? They're super-easy to make! They're perfect for fall, and with Christmas right around the corner they'll surely make a welcome addition to your farmhouse Christmas decor. So I'm going to share how I easily and inexpensively made my own buffalo plaid (buffalo check) LED candles.
This post contains affiliate links. A purchase of any one of these items helps to support this blog and its creative efforts at no cost to you. To read more, please see my disclosure page.
You can find these candles for sale in stores and online. But after
creating some DIY chinoiserie pumpkins this past Halloween I had an epiphany
-- if I could decoupage an orange Dollar Tree pumpkin into a classy
chinoiserie pumpkin with a gold stem, I could certainly figure out a way to
make my own buffalo plaid LED candles.
Originally, I planned on using some tall, plain devotional candles from Dollar Tree and decoupaging buffalo plaid cocktail napkins onto them. Since they come in a glass jar I thought they would be perfect. But if my pumpkin decoupage project taught me anything it's that your end product looks best if you paint the underlying item white before you begin. I thought about that for a while and then came to the conclusion that what I really wanted to use were LED candles, so no painting or decoupaging would be needed.
You can certainly go this route if you prefer, and to get the low down on how to do it you can visit How To Make Chinoiserie Pumpkins DIY Decoupage. Just replace the chinoiserie cocktail napkins in that post with buffalo plaid cocktail napkins.
As for this project, I actually had some buffalo plaid tissue paper packs in my stash -- so between the tissue paper and the LED candles I already owned -- I was set to begin. (I'll also be sharing a more austere version using buffalo check ribbon and twine at the end of this post.)
How To Make DIY Buffalo Plaid (Buffalo Check) LED Candles
Supplies
1. buffalo plaid (buffalo check) tissue paper
2. LED candles
3. glue dots or double-sided tape
4. scissors
5. ruler
6. pencil
7. Optional: buffalo plaid (buffalo check) ribbon and twine for ribbon-wrapped version
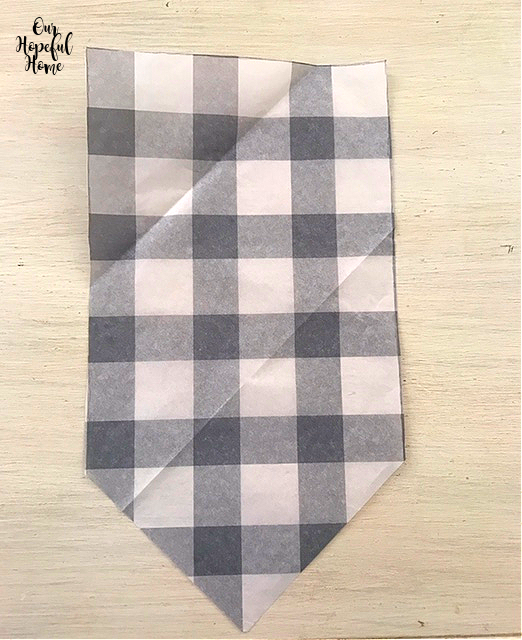
My tissue paper wasn't exactly classic buffalo check -- the black and white
"stripes" were actually set at an angle (rather than vertical, or straight up and down), so I had to lay my
candle onto the paper sheet at an angle as well, in order to ultimately get the
vertical buffalo check design I wanted. And I needed to start rolling the
candle inside the paper as close to the angled corner of the paper that I
could possibly get. Props to my husband for helping me figure out this "spatial relations" problem -- clearly not my forte!
If you have classic buffalo check paper you won't have to worry about
angling your candle.
Either way, make sure to line up the top edge of the candle with the straight line you'll be using as the top of the "sleeve" (because that's what
is is, essentially -- a sleeve to wrap around your candle).
Then I just gently rolled the candle inside the paper until I could see
that the full candle was covered in checked paper. Then I took my pencil and
marked off a guide to follow for cutting away the extra paper. (This sheet of tissue paper had been used for something else before this project so please disregard how one area has already been cut out.)
My pencil lines were too light to see in a photo, so I copied over them
with green lines in PicMonkey so that you can see where I drew them.
Once I cut along the green lines I was left with this.
Using double-sided tape I attached the pointy end of the sleeve directly onto
the candle and then just rolled it up until the whole candle was covered. If
you have classic buffalo check pattern paper you won't have a pointy end.
You'll basically have a rectangle to work with. I finished it off with another
small piece of double-sided tape.
If there's some paper that's visible above the top edge of the candle just carefully snip it off with a pair of sharp craft scissors.
This easy and inexpensive DIY turned out to be a warm and cozy farmhouse decor project that's just perfect for the fall and winter months, Christmas included.
The nicest thing about this project is that you can just remove the tissue paper when you're done with the whole buffalo check thing and either leave it plain or replace it with something else when you're ready for a change.
Here they are, lit up in all their warm and cozy glory.
Whoa, what's this? An easy alternative! I used a real pillar candle (versus an LED) but you can use whatever type candle you'd like. Just cut some ribbon, wrap it around the candle and secure it with some twine. Pretty cute look. Just be sure to take it off it you you're using a real candle and you're going to light it.
Well, that's it until next time, friends!


Leave a Comment!
Lovely stuff that will liven up every corner of the house! Thanks a lot for sharing!
What a clever upcycle, Kathleen!
Love these my friend! And great tips on how to line up the tissue.
Simple, but perfect touch that's interchangeable. I like it!
Post a Comment