Today I'm sharing how to make lighted outdoor Christmas stars.

I've been a DIY home decor blogger for many years
now. And my husband has been a huge supporter of me and my crazy DIY
projects and home decor shenanigans since day one. He's helped me with DIY
projects every now and again and I'm very grateful for his help and
expertise. (Some day I'm going to learn how to use power tools.) This post
is about an outdoor Christmas lights project he came up with and designed
himself and I'm super happy to be sharing it with you today!
This post contains affiliate links. A purchase of any one
of these items helps to support this blog and its creative
efforts at no cost to you. To read more, please see
my disclosure page.
My husband proposed a grand scheme for this Christmas lights project --
to make larger than life stars that would hang from the trees and twinkle
into the night. He had seen a similar display in a neighboring town years
before and wanted to recreate it. On a budget, of course.
How To Build Lighted Outdoor Christmas Stars
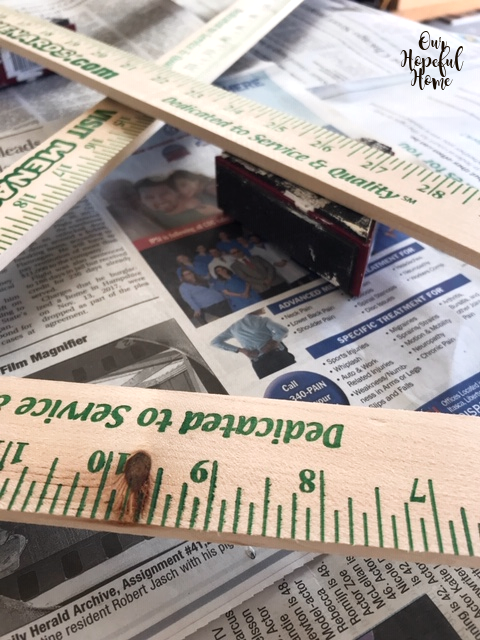
What better wood to make hanging stars with than yard sticks? They're
cheap, they're the right size for the job and they're easy to work
with.
You'll need five yards sticks for each star. Your first step is to drill
two holes in each stick -- one at either end.

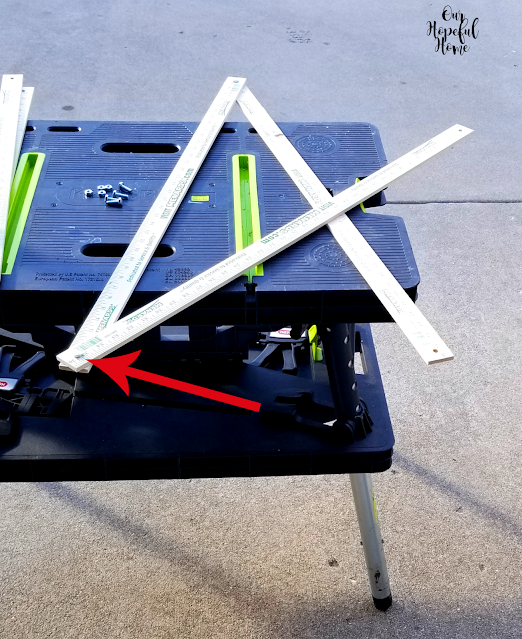
Then you'll connect the first two sticks together at their tops with a nut
and bolt as pictured above. It will look just like a triangle but without
the bottom base.
Now you'll position the third yard stick and connect it to the bottom of the first
yard stick.
Then you'll attach the bottom of the fourth yard stick to the bottom of the
second yard stick.
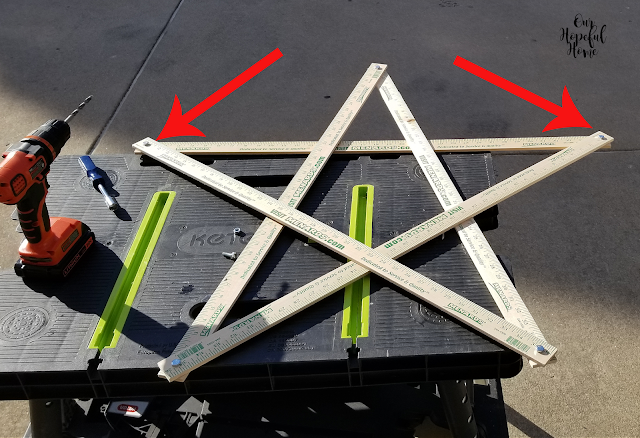
Now you'll connect the fifth yard stick at both top corners to finish off the star.
Lastly, you'll need to do two things:
1) drill another hole into the star (in addition to the ones at all the five points) at the spot shown above -- because without adding an extra bolt there the star won't be stable enough and
could lose its shape once hung (especially in the wind), and
2) drill another extra hole into the tops of both yardsticks near the
apex of the star (more on that later).
Then you paint them.
How To Paint DIY Wooden Stars

I used Rust-Oleum Painters Touch 2x Ultra Cover Spray Paint + Primer in semi gloss white (it's just what I had on hand). I also highly recommend the Rust-Oleum Comfort Grip handle that makes it super easy to spray without getting a sore hand.
If this had been a piece of furniture I definitely would have primed it
first with a separate primer. It took two coats of spray paint to get a decent
covering. I might have done a third coat, but again, it's not a piece of
furniture so I stopped there. I knew it was just going to take a beating
from the elements hanging outside. I painted both sides of each star since they'll be visible from both sides while they're hanging. Some might have added a coat of polyurethane for protection but I was living large and skipped it.
I used 4 risers underneath each star while painting them so that they didn't
stick to the newspaper.
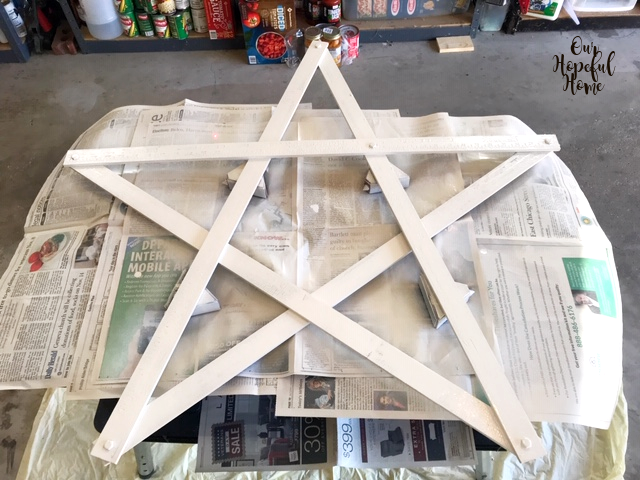
This is after one coat of paint. Be sure to follow spray paint can
instructions. You won't have to wait long between coats if you're not using
primer.
After two coats of paint I placed the star onto 4 soup cans for
drying. Once dry, I flipped each star over and painted the other side with two
coats as well.
Each star was then wrapped in a (120) miniature light set with some of the strand left over (as in hanging
at the end of the star -- I'll address that later). Initially, my husband
planned on using extension cords like the one shown above to attach each set of
lights to the other (from star to star). However, to do that he needed the extension cords to have a polarized plug but the cords he bought weren't polarized.
So he opted instead to use
additional light strands that could be plugged into each other and provide continuity between the stars. You'll see how he used the paracord below.
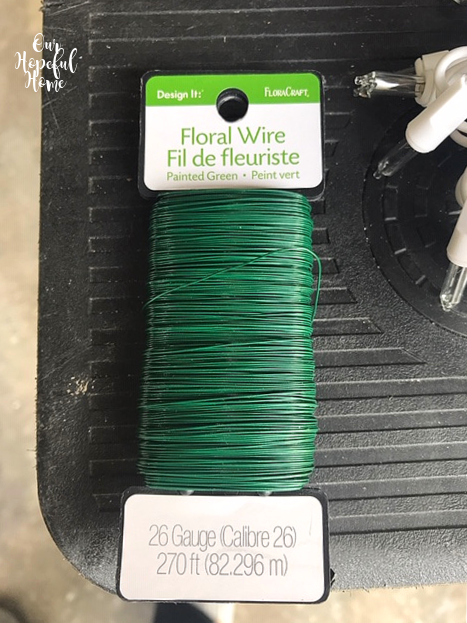
You'll also need (at least) 26 gauge floral wire to secure the light strands to the
stars. Anything thinner and it won't be strong enough.

Just cut the wire and use it to tie the light strands onto the wooden stars at
various intervals until you're satisfied the light strands are secure.

Here's a fully painted star covered with lights, ready for hanging. You
can see that the light strand is hanging off of both sides of the star.
One side (on the right) is plugged into an outdoor extension cord (which is plugged into an outlet) while
the other end will eventually be plugged into another light
strand, and so on. This is star number one in the "chain" of stars.
Here are five of the seven completed stars before hanging.
Here are two of the extra light strands plugged into each other, connecting one star to another. If you choose to go this route remember you'll need to take out a
bulb from each "extra" light strand so that the strands no longer light up. (You only want to use the extra light strands as extension cords.)Before beginning the hanging process he ran some paracord through the two extra holes he had drilled near the apex of the star, then tied it off into a loop. This will be used later.
How To Hang Lighted Outdoor Christmas Stars
His first step in the actual hanging process was tying a small weight on to the end of a long rope. He then threw the weight upwards, hooking it over some pretty high
branches (we have BIG trees), and once over, used the weight to carry
the rope
back to the ground. After getting frustrated using the small weight, he ended up using a broken half brick - his throw was
more limited as to how high he could reach, but the extra weight carried
the rope easily to the ground after looping around a branch.
Once the throw rope was over the branch, he untied the brick from the rope.
Then
he tied a secure loop at the end of the paracord (throw rope) and connected it to
the carabiner. He then connected the carabiner to the second loop that was
made earlier (by putting paracord through the extra two holes at the top of the
star.)
He then repeated the process for each star.
Once the stars were all attached to their individual hanging ropes (a.k.a. throw rope), he attached the stars to each other using the extra light strands (with one bulb taken out). Each star was then hoisted up individually, after which he tied the loose end of the hanging cord (still in his hand) to the tree to secure the star to the tree for good. Here are two of the connected stars before being fully hoisted up.
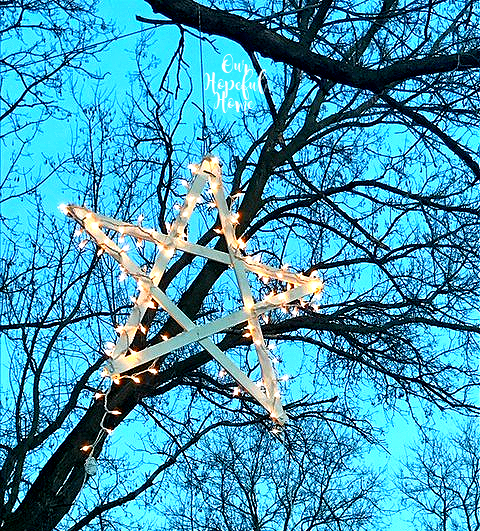
And here is one lit, finally, hanging high in the trees in our back yard.
Getting a decent picture of the stars lit up at night was virtually
impossible with my old iPhone. So I took a ton of photos on different days and
at different times (all around dusk) to see what I could get.

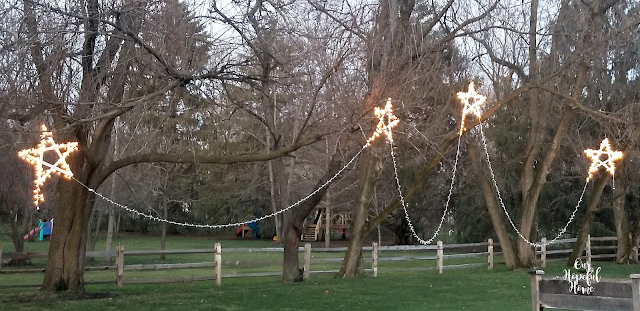
Four of the stars were hung in the back yard.
Even though the strands between the stars are really obvious during the day, once night falls you can't see them at all! All you see are large, bright, beautiful stars that appear to be suspended all on their own way up in the trees.

The other three stars got hung in the front yard. Here they are at dusk.
They have an almost magical quality about them as they
begin to light up the night as the sun goes down.
We have them on a dusk to dawn automatic timer.
The darker it gets the more beautiful they look.
While there's always something to be said for the sense of accomplishment one feels after seeing their vision come to life, not everyone wants to do it themselves. For those of you who would rather just order yourself some outdoor hanging lights while still in your pajamas -- go for it!
Well, that's it until next time, friends!
I hope you enjoyed reading about
How To Make Lighted
Outdoor Christmas Stars
and that I've inspired you in some way.
Don't Forget To Pin It!
Be
sure
to
stay
in
touch:
Don’t miss another thrifty,
DIY home décor post!














Leave a Comment!
Thanks for giving me the courage to make inexpensive, fun, captivating stars to light our Christmas way. We, too, have a hopeful home!!
Post a Comment