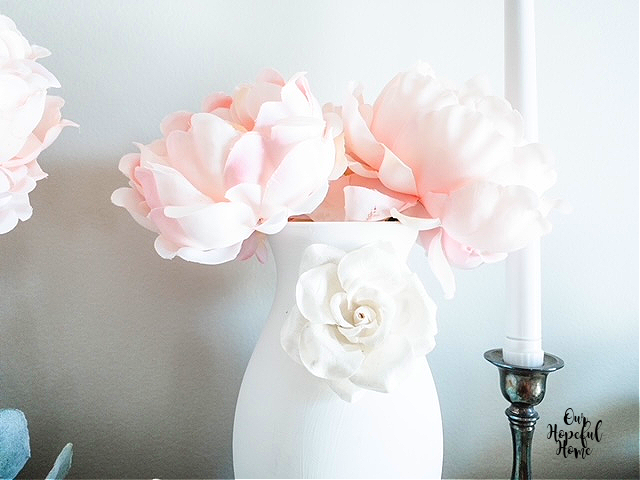
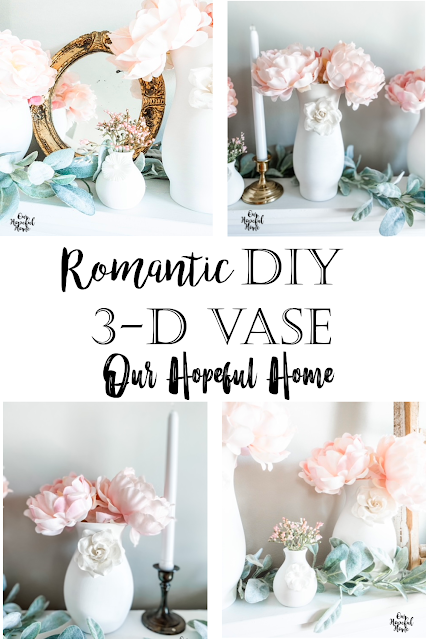
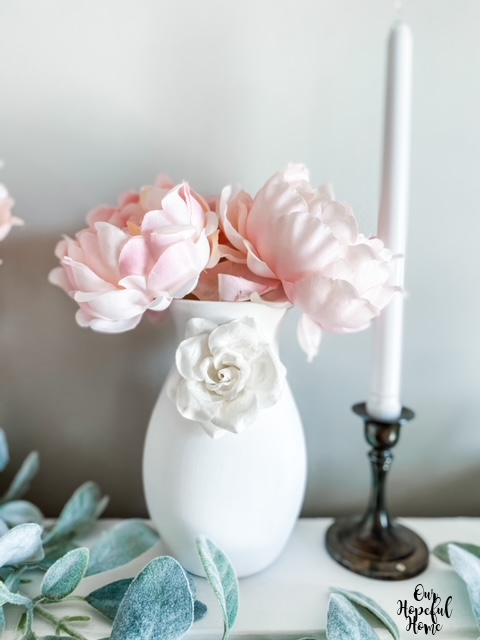
Today I'm sharing how to make a DIY white painted vase with 3-D floral embellishments. I'll also show you how to cure acrylic paint.
Ever see something and think "I can make that"? Happens to me all the
time. My most recent obsession appeared in the form of white ceramic vases
decorated with 3-D porcelain flowers.
This post contains affiliate links. A purchase of any one of these
items helps to support this blog and its creative efforts at no cost
to you. To read more, please see my disclosure page.
White Multifunctional Ceramic Vase
(non-affiliate link)
White Ceramic Bottle Neck Vase
with Raised Lily Flowers
(affiliate link)
Then when I saw them in a recent spread for Best of Flea Market Home & Living 2020 magazine it
finally put me into DIY mode.
Aren't these vases gorgeous? And just look at that vintage mantel! Swoon! Check out the magazine to see the entire swoon-worthy shabby chic home in an article entitled "Shabby To Chic."

Based on a recent DIY experience, I knew I could recreate the vases I'd been seeing for sale all around me. I had painted a glass vase with white paint (above) and was surprisingly pleased with the outcome. I say that because I had painted it as a base coat for my DIY Chinoiserie Vase. It was never intended as a plain white vase per se. But it ended up looking great as is after the paint job. Based on that experience, I knew I could recreate the vases I'd fallen in love with.
I started with three plain glass vases -- one from Dollar Tree and two from Wal-Mart ($1.97 and $2.97).
I painted them with two coats of my favorite white paint just as I did with the DIY chinoiserie vase. But they didn't look anywhere near as good! This time the paint just looked streaky and there were bare spots and brush marks no matter what I did. Super frustrating. So I switched gears and painted them with some white acrylic paint I had on hand. Three additional coats later I had something I could work with.
This time I also decided to "cure" the paint just to be safe.
HOW TO CURE ACRYLIC PAINT ON GLASS VASES
1. Place vase(s) onto parchment paper on a baking tray.
2. Put tray into a COLD (room temp) oven. NOTE: This is very important! Be sure that the oven is cold (room temp) so that the glass vase(s) gets a gradual change in temperature after you turn the oven on. (Glass can break otherwise.)
3. Set the oven to 350 degrees.
4. Bake for 30 minutes (includes warm-up time).
5. Turn oven off and let the vase(s) cool INSIDE THE OVEN.
6. Take out the vase(s) when the oven and the vase(s) are cool to the touch.
There will probably be a weird smell once they start baking. That's normal.
I did check mine periodically to make sure they weren't burning, but all was well! They say you can put something that's been cured on the top rack of the dishwasher, but personally I would only hand wash them.
While the original plan was to use large vases, I couldn't help
myself when I saw this trio of white ceramic bud vases at Target for $3.00. Best part? No painting necessary! If you can't find them at your local Target you can always get some small white vases online.
I'm in love.
CAVEAT: Before using the large paper flowers, I flattened them out to look more like the
flowers in
the Best of Flea Market Home & Living 2020
magazine article. Since they were made of paper it was fairly easy to gently pull out the outer two layers of petals and more or less flatten them. I left the innermost part of the flower intact. I then chose a spot on each vase and used my trusty glue gun to glue the flowers on!
The smaller flowers were flatter so I didn't need to do anything with them other than glue them on. I think they're perfect!

The gorgeous pink peonies came from a wreath I've had for a few years. Last year I used it on the French farmhouse spring mantel in the living room. But when taken apart, the flowers, buds and greens can be used in SO many different ways around the house!
I also added my favorite faux lamb's ear garland into the mix.
And you can never go wrong with brass and silver candlesticks.
And this round gilded French mirror just ramps up the romance.
I'm super happy with how all of my white vases with 3-D floral embellishments turned out. Which ones do you like best? The large ones or the sweet bud vases?
All I can say is they're definitely a welcome addition to our spring decor. Only twenty more days until the first day of spring! After months of cold and snow I am very much looking forward to it. I'm sure I'll be adding more spring touches in the coming weeks so stay tuned!
Well, that's it until next time, friends!
I hope you enjoyed reading about my
DIY Painted White Vases
With 3-D Floral Embellishments
PLUS
How To Cure Acrylic Paint
Be sure to stay in touch:

Click HERE to subscribe.


Leave a Comment!
Kathleen these are so pretty. What a great and easy make over of clear vases. So pretty.
Post a Comment