Today I'm sharing how I made a modern farmhouse square tray pedestal riser.
This post contains affiliate links. A purchase of any one of these items helps to support this blog and its creative efforts at no cost to you. To read more, please see my disclosure page.
You don't have to love modern farmhouse decor to appreciate a square tray pedestal riser. No matter the shape of the tray (rectangular, round, square), these decorative risers have been around for a long time and I don't think they're going anywhere any time soon. So if you want to see how I made one myself -- for pennies -- read on!
I found this cute square wooden wall art at my local Dollar Tree. What drew me in was the blue and white pattern. I'm a collector of all things blue and white. You can't see it here, but the pretty pattern also spills over onto all four sides of the piece.
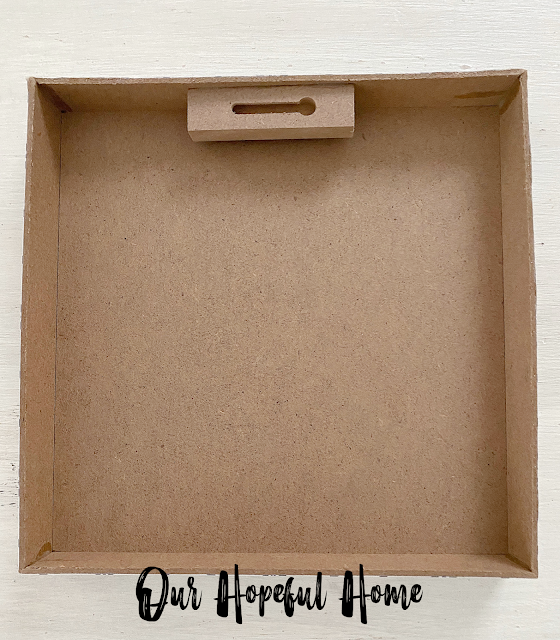
I chose this form of wall art because the back side of it was open and empty, so to speak. It was a little over one inch deep, like a tray. That's what sold me on it for this DIY project. I knew it would work.
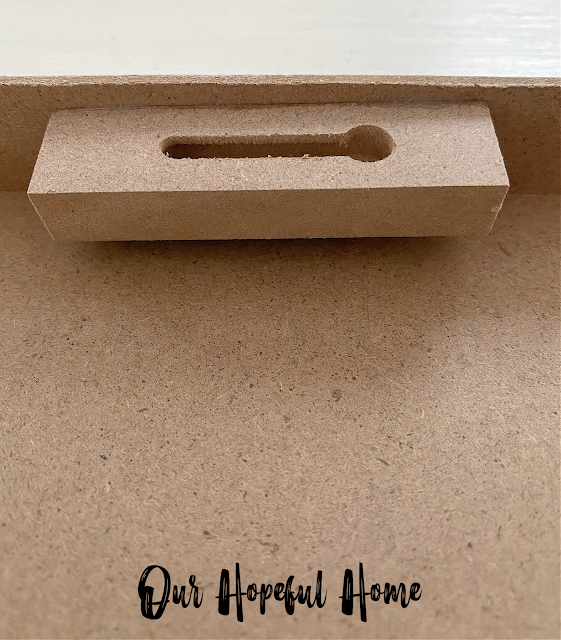
I really didn't think this keyhole hanger would be a problem. I figured I could just remove it, since hot glue usually isn't tough to remove (assuming they used hot glue on this). I was wrong.
I tried to break it away from the inside of the frame with a flat head screwdriver, to no avail. I was afraid that if I tried any harder I would break the whole thing into pieces. So I decided to leave it as is. I knew it would ultimately be covered by whatever tray filler I put into my tray anyway.
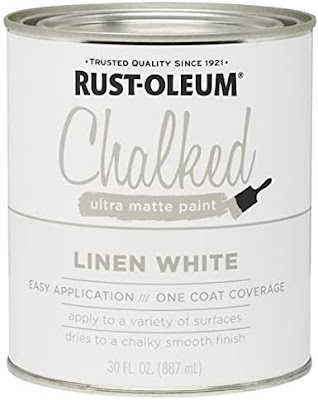
Next, I painted the back side of the wall art with white paint and let it dry. One coat of paint was sufficient. I used my all-time favorite white paint: Rust-Oleum Chalked Ultra Matte paint in Linen White. It was so basic I forgot to take any photos of this part -- sorry!
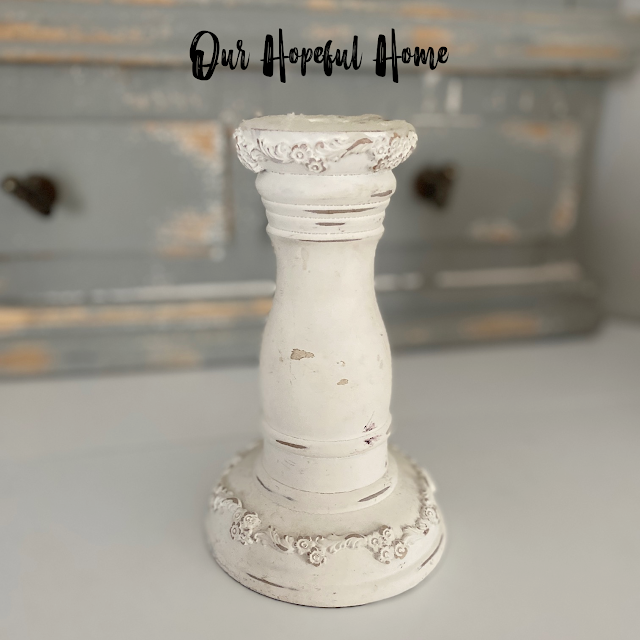
I've had this white, shabby chic candlestick for years. I thought it would be perfect to use as the base of the riser. It's a thrift store find I've used many times over the years for various projects (as well as using it for a candlestick, of course). It's one of my all-time favorites. It also works well as the base for a DIY cake stand (just plop a plate on top of it).
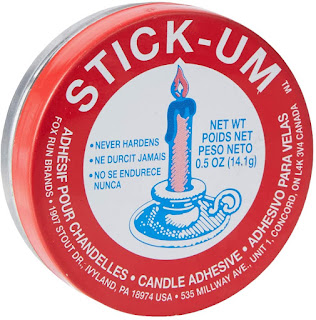
Using some Stick-Um Candle Adhesive I attached the newly painted "tray" to the pedestal, knowing I could always take the display apart at any time and reuse the candlestick. The adhesive also works well for DIY cake stands.
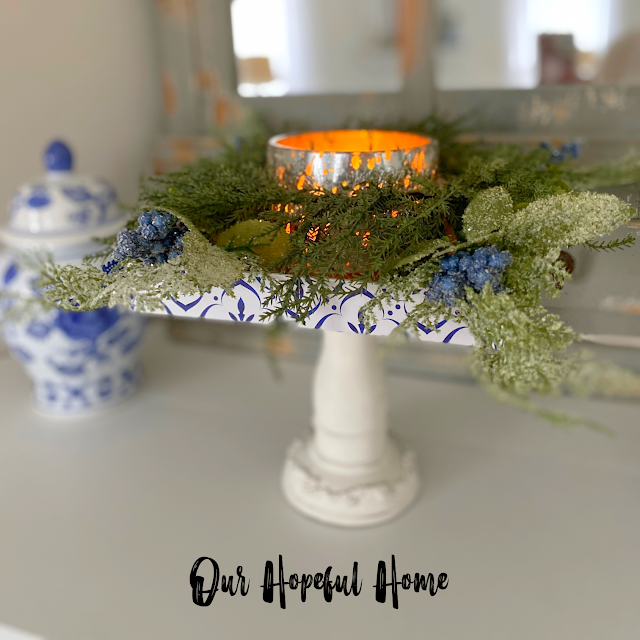
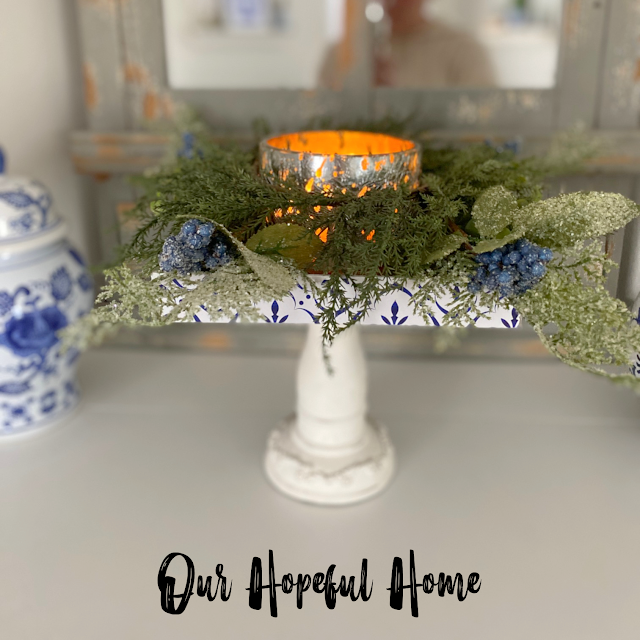
Then came the fun part -- styling the riser! You can't go wrong with candles and faux greens as your decorative tray filler.
Just look at the pretty blue and white pattern peeking out from the sides of the tray.
Well, that's it for today, friends!
I hope you've enjoyed reading about my
and that I've inspired you in some way.





Leave a Comment!
This is pretty cute. Have a great Wednesday. xoxo
I love this Kathleen!!! How creative!
Great upcycle--and the price was right, too--my favorite kind! You did a lovely job styling it! Kathy A
Post a Comment