Today I'm sharing how to make a ceramic Grecian urn head planter (or any piece of
ceramic or pottery) look like concrete.
For years I've wanted an old, weathered concrete Grecian urn head planter, but the price was never right. So I waited. After not finding one, despite all my thrift store and estate sale excursions, I decided I needed to move the process along and make one for myself.
This post contains affiliate links. A purchase of any one of these items helps to support this blog and its creative efforts at no cost to you. To read more, please see my disclosure page.
So I picked up this porcelain Grecian urn planter at, of all places, Michaels, for 40% off, and then got to work looking for tutorials on blogs and Youtube.
I combined a few different online versions and came up with the method below. Truth be told, the main instructions I use come from a tutorial I found on In My Own Style blog. I found her method to be most in line with my preferred 1) ease of use; 2) cost; 3) time involved. You can always google it as well to see what other methods are out there if mine isn't for you.
While I loved that this Grecian urn head was affordable (I got it for $10, and with a gift card at that!) I couldn't help but wish it were a bit more aged looking, and less smooth and shiny. You know what I mean by aged looking -- gray and grungy concrete, with a real time-worn patina.
I'm sure some people would be quite happy to leave the smooth white porcelain head as is, but I really wanted to see if I could turn it into the concrete Grecian urn of my dreams. So let's get started!
Supplies For DIY Faux Concrete Grecian Urn Head Planter
1. Grecian urn (or any other ceramic vessel you want to transform)
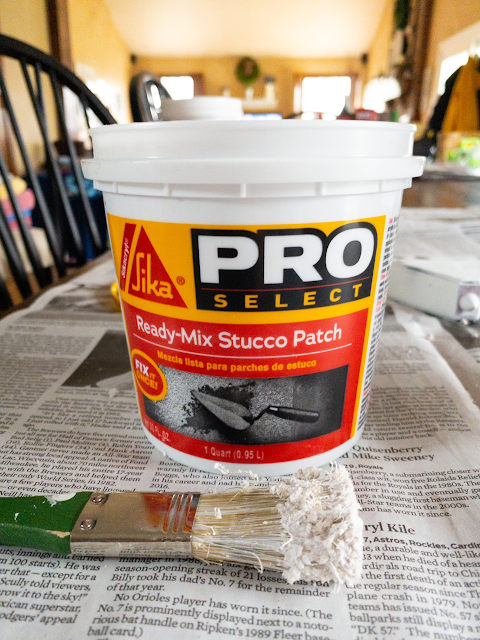
2. stucco patch 3. 100 grit sandpaper
4. primer
5. chip paint brush
6. sea sponge
7. craft paint (I used Folk Art Home Decor Chalk Paint in Parisian Gray)
How To Make A DIY Faux Concrete Grecian Urn Head Planter
1. Sand your piece down with 100-grit sandpaper. This helps create a good surface for the primer to adhere to. Be sure to clean off all the dust before moving on to the next step.
2. Cover with one coat of primer.
What color primer you buy will depend on what color you want your final piece to be. I blindly used white primer, but after the fact realized that I probably should have used a gray colored primer since that was the color I had in mind for the finished product. It still worked out using the white, but I think I would have been even more satisfied with a gray underlying primer.
Let dry. My primer was fully dry after one hour.
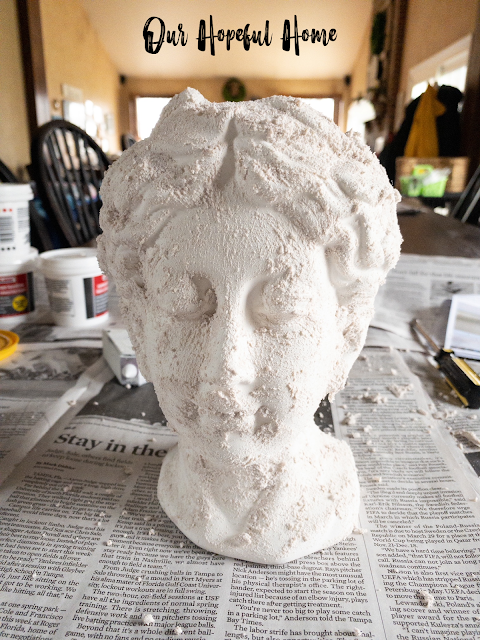
3. Dip your chip brush into the stucco mixture and begin dabbing it onto your piece. The nice thing is that you're not looking for perfection here (it is concrete you're going for, after all) so you can dab on as much or as little of the stucco as you like. Just know that the more you use, the grittier and more 3-D your surface will ultimately become.
I was afraid that all the detail surrounding my piece - the face, hair, ears, etc. - might be problematic to cover well, but that just wasn't the case.
Once satisfied with the look, let dry. I let my Grecian urn head dry for around 24 hours.
4. Now it's time to paint. Pour your paint into a plastic or glass container, and then thin it out with water, stirring it up to make sure it's mixed well. Then just take your sponge, dip it into the paint, and dab it onto your piece. Use as much or as little as you like. You can always add more paint if you accidentally thin it out too much. Be careful not to dab too forcefully or you might start knocking some of your textured stucco off the piece.
When satisfied with the look, let the paint dry. Mine dried to the touch in less than an hour.
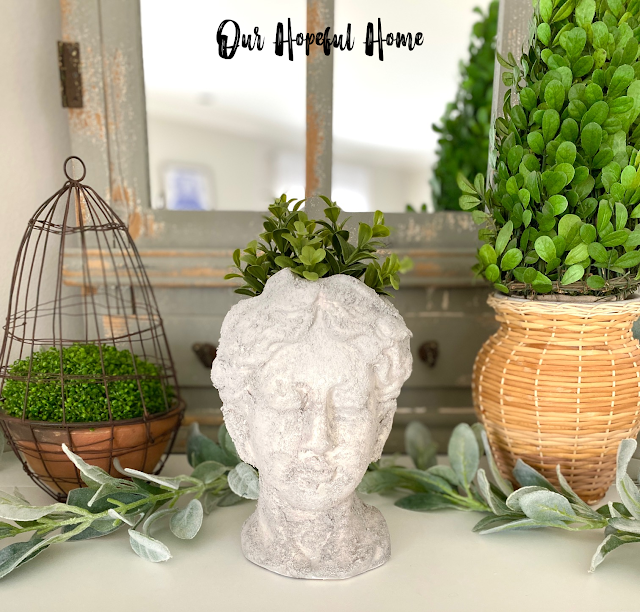
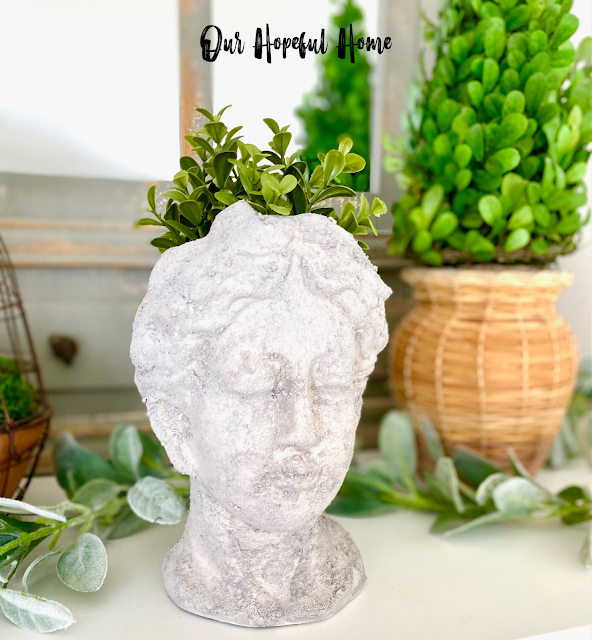
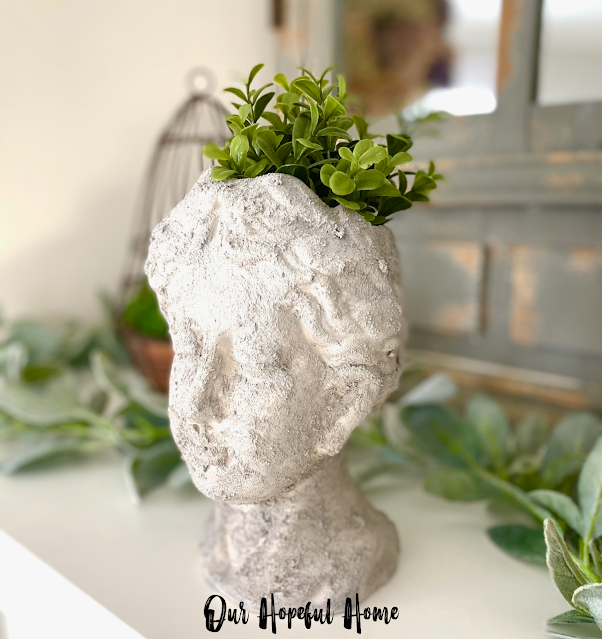
And here she is after the paint dried. So what do you think? I love it!
I was really feeling that aged concrete garden urn look, exactly the look I was going for.
One caveat though: this Grecian urn planter may NOT be used outside. The elements would do a number on it, and I'm afraid any rain would break down the stucco coating and you'd be left with, well, pretty much what you started with. But I'm ok with that. I never wanted to use it outside.
I am happy to use it indoors, changing out the greenery with the seasons. You can fill your urn planter with real or faux flowers and/or greenery. A $3.00 faux boxwood from Target fit perfectly! It's a great addition to the spring greenery I've got going on around the house right now.
When all is said and done, you can always buy a ready made Grecian urn head that looks like it's been aged by time and weather. Just check out this female statue head planter and you'll see what I mean.
Well, that's it for today, friends!
I hope you've enjoyed reading about
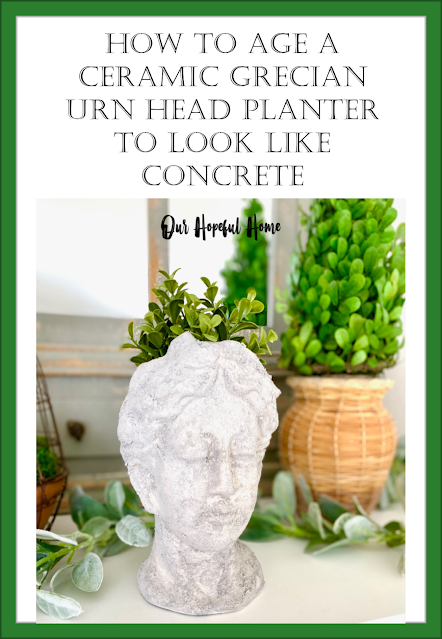
How To Make A Ceramic Planter
Look Like Concrete
and that I've inspired you in some way.
Don't Forget To Pin It!
Be sure to stay in touch:
Don’t miss another thrifty,
DIY home décor post!






.png)


Leave a Comment!
This looks like the real thing, Kathleen. Using the stucco under the paint finish is the key to a true concrete look. Great job! Pinning it!
This looks amazing, Kathleen!!! You would never know that it never was anything but! I love it and love how you will be able to use it in so many different ways!
This is great and looks so good. Happy Wednesday. xoxo Kris
LOVE the results--brilliant!
I really enjoyed your tutorial; very easy to follow. AND I like your version much better than the Amazon one--not even counting the savings! I have always wanted aged urns/busts/planters; will keep my eyes out now! Kathy A
Post a Comment