Farmhouse wood bead garlands are some of my favorite home decor
acccessories. Today I'm going to share how to make your own farmhouse wood
bead garland with wooden beads and twine from Dollar Tree.
This post contains affiliate links. A purchase of any one of these items
helps to support this blog and its creative efforts at no cost to you. To
read more, please see my disclosure page.
While multi-colored farmhouse wood bead garlands definitely exist these
days, I've chosen to stick with the more traditional natural colored one.
However, feel free to paint away and make your beads your own!
Supplies For Making A Wood Bead Garland
1. wood beads (size of your choice), mine from Dollar Tree. I used only the
largest bead which was approximately one half inch in diameter. This
required me to use 4 packages of beads to get a total of 73 beads. I've saved
the smaller beads for future projects.
2. twine (any color(s)), various thicknesses depending on your preference
(these are from Dollar Tree as examples of what you can use, depending on
the size of the bead's hole)
3. paint (optional -- I didn't paint mine)
4. paint brush (optional)
5. scissors
6. piece of cardboard or other strong material ( a book perhaps) or even
your hand, to wrap the twine around (optional) -- I call it a "tassel form."
7. floral wire
How To Make Tassels For A Wood Bead Garland
I've already blogged at length with detailed instructions explaining how to
make a yarn tassel, which is essentially the same as a twine tassel. To save
time (on my part) I am going to refer you to my previous post
How To Make Yarn Tassels For A Cozy Fall Throw. Since those tassels were later attached to a throw, you can ignore the
instructions relating to that part of the project since you'll be attaching
them to your wood bead garland instead (that part will be explained
below).
While I am listing a few tips from the yarn tassel post below, you'll still
need read to read
the post
to get the detailed instructions:
-
The thickness of twine you use should be commensurate with the size
of the tassel you want to make. For a stubby, more "full" tassel
you'll want to use a thicker twine. For a longer, thinner tassel
you'll probably want to use a thinner twine. I've purchased both types
at Dollar Tree.
-
The number of times you'll wrap the twine around your tassel form
will depend on the thickness of your twine and the size of the tassel
you're going for. Be sure to keep your twine in and around the same
area of your book, or tassel form. In other words, don't wrap the
twine from one side of your tassel form to the other. You want to wrap
over and over in the same area.
How To Make A Wood Bead Garland
-
NOTE: IF YOU ARE USING THE WOOD BEADS IN THEIR NATURAL STATE YOU'RE
READY TO BEGIN. HOWEVER, IF YOU WANT YOUR BEADS TO BE A DIFFERENT COLOR
OR COLORS THIS WOULD BE THE TIME TO PAINT THEM AND LET THEM DRY FULLY
BEFORE BEGINNING TO STRING THEM.
1. Decide how long you want your garland to be.
2. Figure out how many wood beads you'll need and how long you want the
tassels to be. (See above for actual tassel making information.)
3. Cut your twine, making sure to include whatever number of inches you'll
need at either end to attach to the tassels.
4. Make a knot on one end, again making sure to leave some length of twine
for the tassel to ultimately be attached to, and start stringing your beads
onto the twine. (I left 3 inches extra on each end.)
TIP: I always wrap a piece of Scotch tape around the end of the
twine that I'm threading through the bead. This helps prevent fraying and
makes the process go more smoothly. You can remove the tape when you're done
threading the entire garland.
5. Once you've strung all your beads, tie a knot after the last bead, making
sure to allow some length of twine remaining next to the knot so you can
later add your second tassel to that end as well.
Here's the garland before I added the tassels.
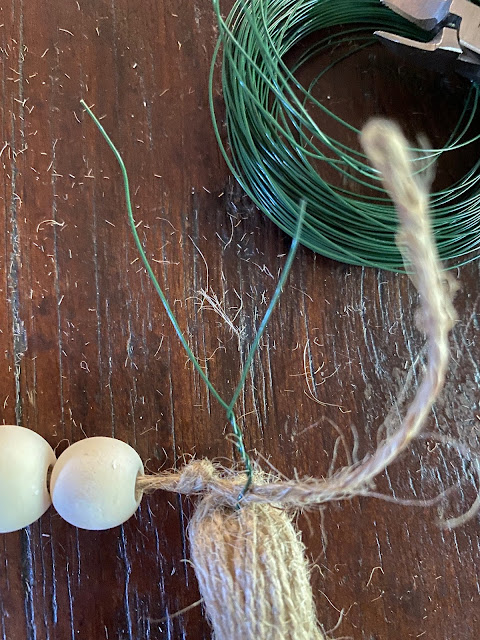
7. Once your tassels are complete it's time to attach them to your wood
bead garland. Start by inserting a piece of floral wire into and through the top of your
tassel.
8. Take that piece of wire and wrap it around the twine on the outside of
the knot, twisting tightly in order to attach the tassel to it.
9. Clip off any extra wire with wire cutters and, if necessary, hide any
remaining wire by pushing it into the top of the tassel.
10. Cut off any extra twine and make a small knot. You can also push the
knot into the top of the tassel to camouflage it.
I was thrilled to be able to add it to my coffee table vignette that
included various textures and a neutral color base.
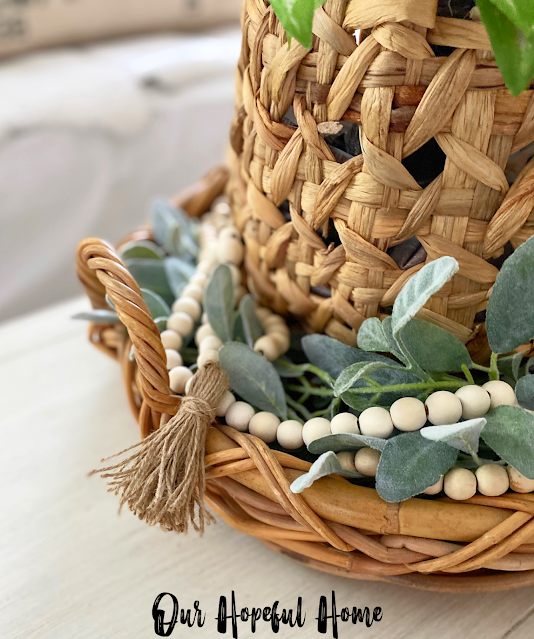
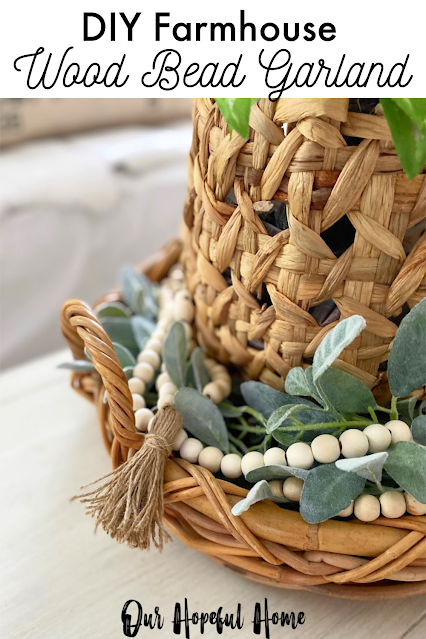
I wrapped my DIY wood bead garland around the rattan basket, weaving it in and out through the lamb's ear greenery. I added a store-bought wood bead garland as well. I think my DIY twine tassels fit the bill nicely.
The bottom garland was store-bought, while the garland above it is my
DIY garland.
I believe they work well together.
I'm loving my DIY twine tassels as well.
Recently I've become enamored of natural textures (including faux greens)
that I can mix in with my more traditional decor. The DIY wood bead
garland is included in that category.
The wood bead garland is something that was initially introduced as a
farmhouse decor accessory. While farmhouse decor may eventually become
passe, I believe wood bead garlands will be around for a long time to come.
They're versatile and super easy to make. If you'd rather purchase some you can always find them online:
Well, that's it for today, friends!
I hope you've enjoyed reading about
How To Make A Farmhouse Wood Bead Garland
With Dollar Tree Wood Beads And Twine
and that I've inspired you in some way.
Don't Forget To Pin It!
Be sure to stay in touch:
Don’t miss another thrifty,
DIY home décor post!


.png)


Leave a Comment!
Well Dollar Tree does it again! I think this is just adorable and definitely the tassels really add to it.
I LOVE this! Pinning, and DT is winning! Again.
I love your basket, Very nice tutorial with the bead garland. I can string beads, but really haven't mastered the tassels. I'll be trying your method its seem straight forward. Thank you.
Post a Comment