Today I'm sharing how to dry fresh garden thyme.
DISCLAIMER: While I'm an amateur gardener, I do not claim to be an expert by any means. There are many ways to dry, store and use thyme. I am merely sharing one particular method that has worked for me.
Do you grow herbs in your garden? Do you have a favorite one? Mine most definitely is thyme. A relative of mint and oregano, I just can't get enough of its flavor. (Keep reading for a favorite thyme-infused recipe, below.)
So what better way to experience it than to grow it in the garden and dry it myself? And the process is so simple you won't believe it. While it has been used medicinally dating back to the Egyptians, I just love it for the overall health benefits and taste!
Our thyme plant was hearty all summer with no signs of pestilence or problems. All we did was plant a store-bought thyme plant in one of our raised garden beds, water it regularly and voila!
How To Dry Fresh Garden Thyme
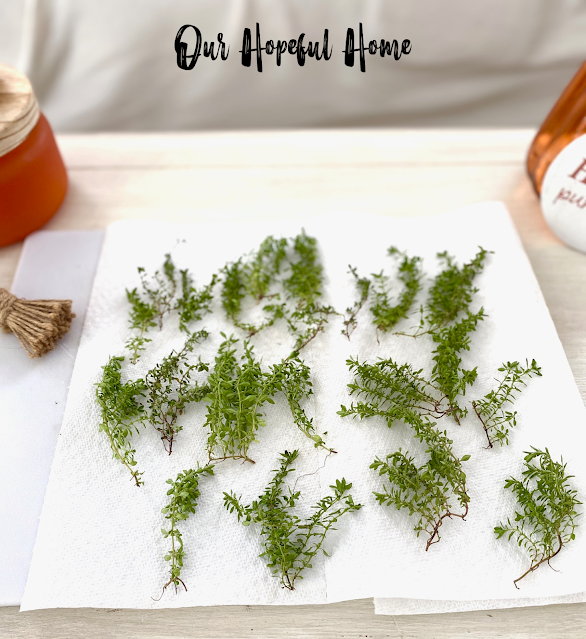
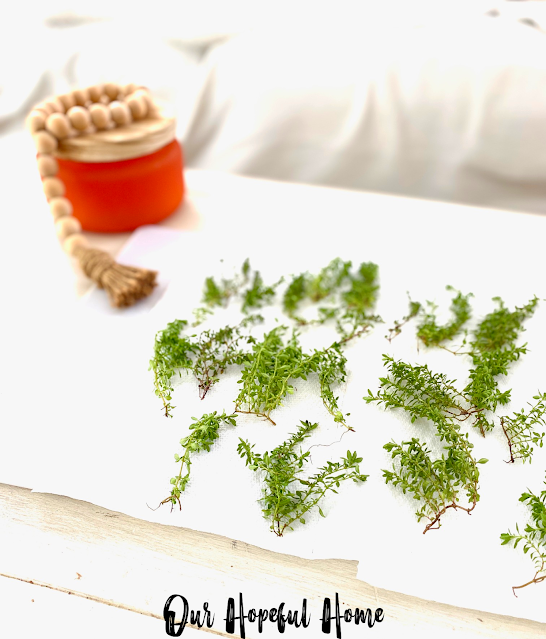
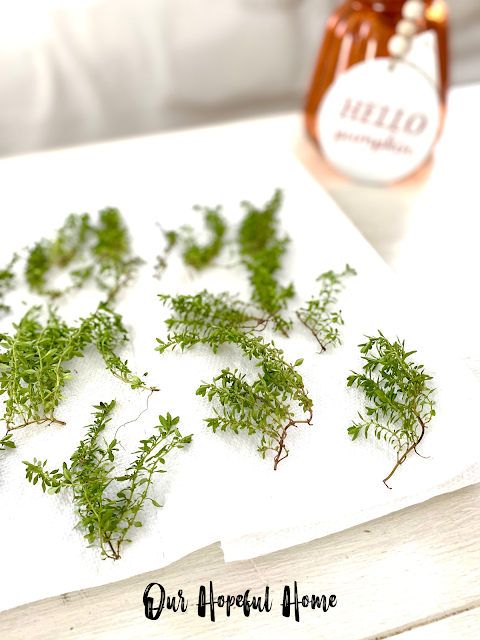
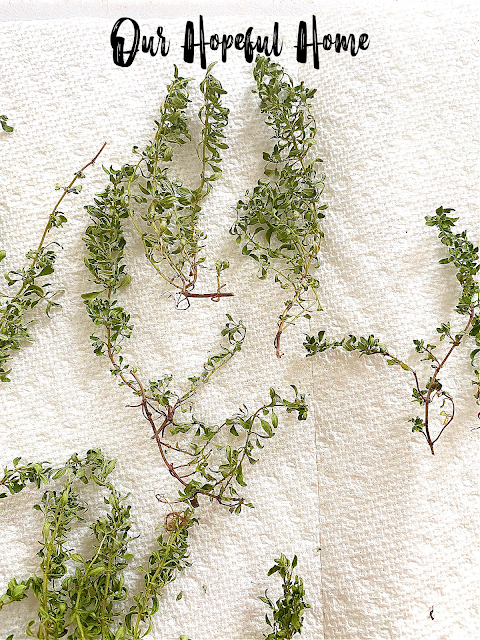
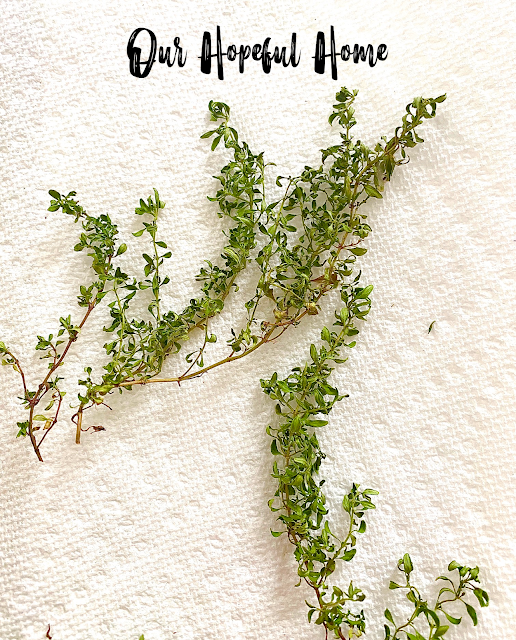
On day 4 you can see they're less green and definitely drier. I waited until day 4 to strip the leaves from the stems. You want the leaves to feel dry and just a bit crispy (for lack of a better word).
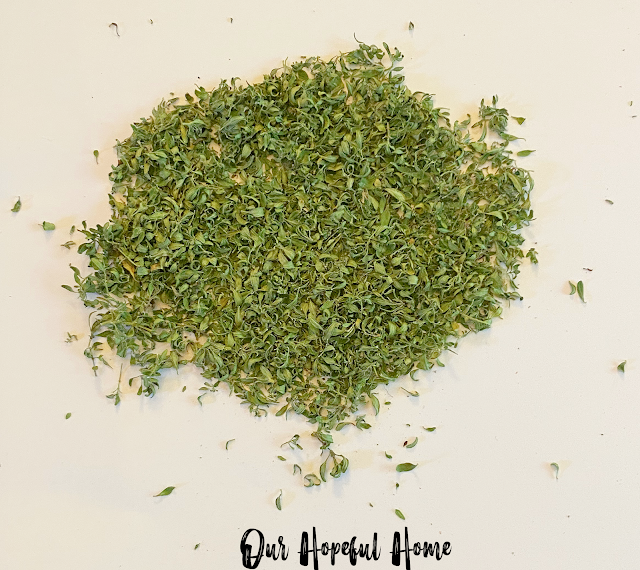
Step 4: Set up your area with a piece of white paper, over which you will pinch off the dry thyme leaves from their woody stems. (All I did was gently run my fingers up and down the stems and the leaves fell off easily.)
The thyme ends up on the paper that I then fold in half and use to funnel the dried thyme leaves directly into my container.
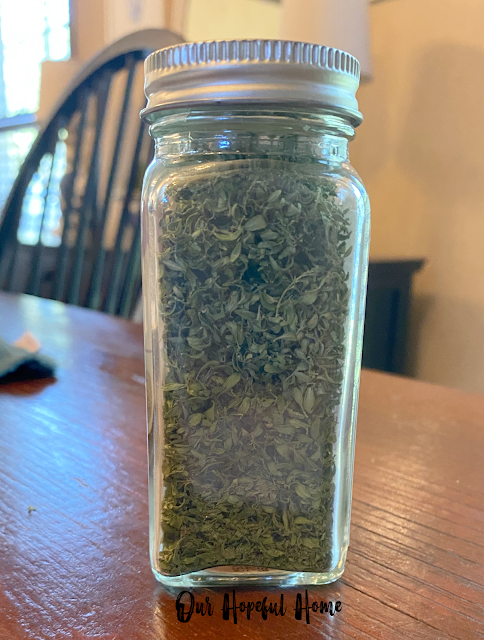
You can use any type of clean, dry, airtight container you might have on hand. Dollar Tree usually sells some small cute lidded jars. (Don't tell anyone, but I refilled an empty organic thyme jar from Target, seen here.)
I've read many amateur predictions as to how long dried thyme will last -- anywhere from 6 months to 1-3 years. I would advise not using it anymore if the aroma is no longer present and/or you find that it's just not adding that much flavor to your recipes. Totally subjective, if you will.
Speaking of recipes, I promised you a favorite recipe of mine that features thyme, so here goes.
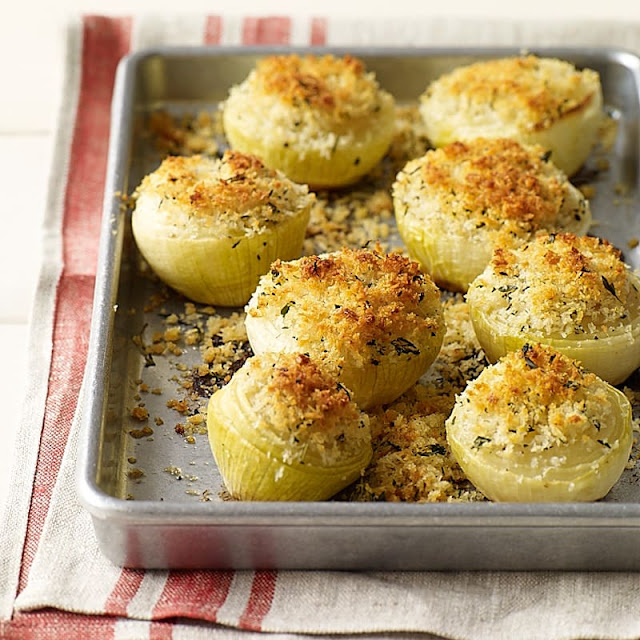
Crispy Panko-Topped Onions
INSTRUCTIONS
Preheat oven to 400 degrees. Line a 9 x 13-inch baking dish with aluminum foil and coat with cooking spray.
Place onions on tray, flat sides up, and coat with cooking spray; sprinkle with 1/4 tsp each salt and pepper.
Turn onions over on tray, flat sides now facing down, and coat other side with more cooking spray and sprinkle with 1/4 tsp each salt and pepper.
Bake until onions are light golden and slightly softened, about 40 minutes.
Meanwhile, in a small bowl, combine panko, butter, thyme, and remaining 1/4 tsp each salt and pepper; use mini whisk to mix well.
Remove onions from oven and flip over. Sprinkle flat side evenly with bread crumb mixture.
Bake onions until tender and crumbs are golden, about 25-30 minutes. (The bottom rings of the onion might get burnt but that's totally okay.)
Yields 1/2 onion and 1 1/2 tbsp bread crumb mixture per serving.
I can attest that these panko-topped onions are fabulous. They're a real favorite in my house. I hope you'll give them a try with or without fresh garden thyme (you can always use store-bought).
Well, that's it for today, friends!
I hope you've enjoyed reading about
How To Dry Fresh Garden Thyme
and that I've inspired you in some way.
Don't Forget To Pin It!
Be sure to stay in touch:

.png)


.png)

.png)
.png)


Leave a Comment!
Great post. I plant thyme each year and it usually doesn't grow while. This is the year I actually have fresh thyme to use. so I'm copying down your directions. Thank you.
I think I will try thyme next year and I definitely want to try the onion recipe; would be great when I am baking something else for supper! Kathy A
Post a Comment