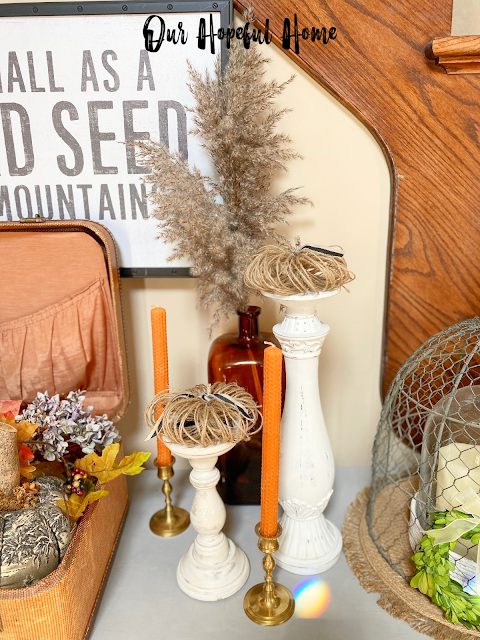
In honor of the rapidly approaching fall season, today I'm sharing how to make jute twine pumpkins.
This post contains affiliate links. A purchase of any one of these items helps to support this blog and its creative efforts at no cost to you. To read more, please see my disclosure page.
I'm embarrassed by how many different kinds of pumpkins I own. You name it: velvet, porcelain, cable knit, decoupage, wooden, painted, natural, white, green, orange, taupe. The list goes on and on. But believe it or not there is another type of decorative pumpkin I don't have, but knew I could make: decorative jute twine pumpkins.
Full disclosure: I got the idea for this project from a tutorial on the blog Creatively Beth, so thank you, Beth! I featured her tutorial in our weekly Vintage Charm Party #349. Be sure to stop by Creatively Beth and say hi!
I did make a few changes to the instructions based on what I found to be easier for me. Here's how I made them:
SUPPLIES FOR MAKING JUTE TWINE PUMPKINS
1. jute twine
2. floral wire (the thinner the better)
3. glue gun
4. glue sticks
6. rustic twigs (faux stem or something from outside)
7. wire cutters
8. scissors
9. finger protectors (optional)
10. faux leaves (optional)
HOW TO MAKE JUTE TWINE PUMPKINS
1. Cut 2 pieces of 6-inch floral wire with wire cutters. Set aside.
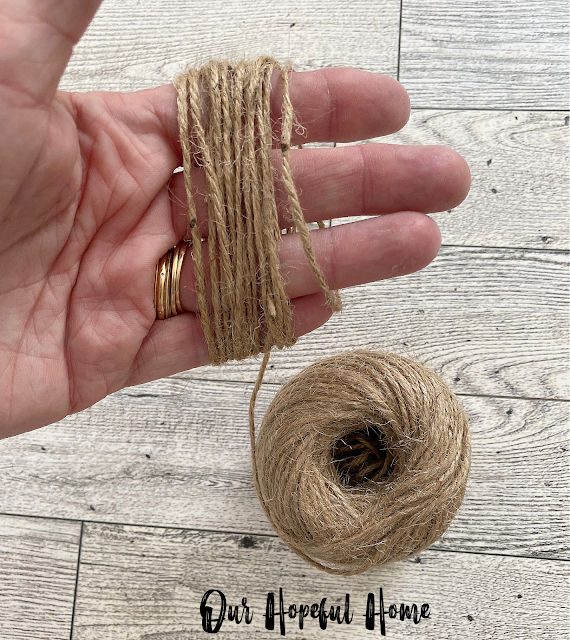
2. Thread the jute twine around your hand 13 times, creating a circle, and cut it off from the ball of twine. Set aside.
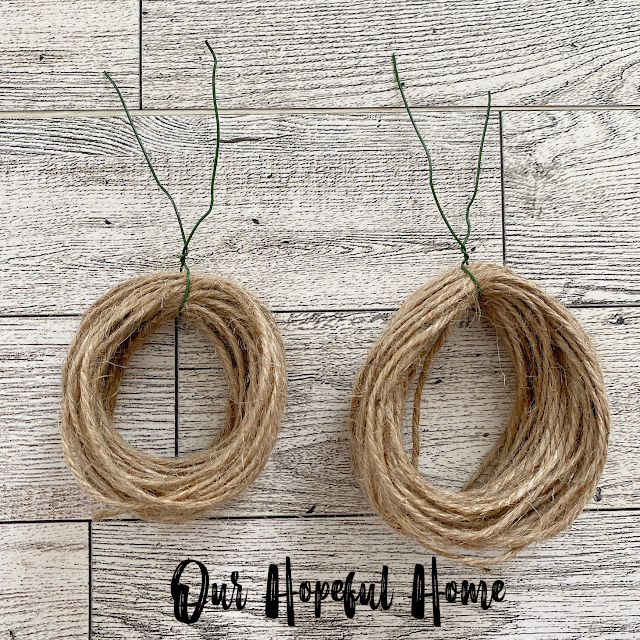
Do this 5 more times, creating a total of 6 circles of twine.
3. Take one piece of floral wire and use it to connect 3 of the jute twine circles to each other, twisting at the top to secure. Repeat with the other piece of wire and additional 3 jute twine circles. Trim down the wire as short as possible so that it won't be visible.
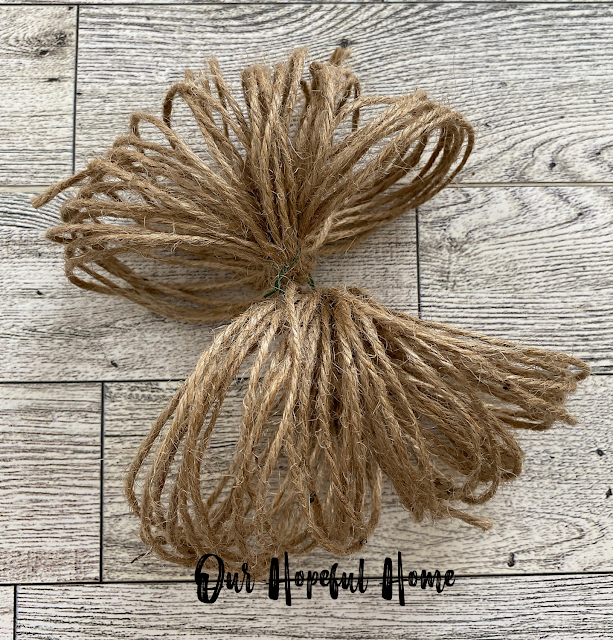
4. Fan out the twine of each bundle to create one half of the pumpkin, making sure to keep the wire centered in the middle of each circle. Here the twine has just begun to be fanned out, but not fully yet.
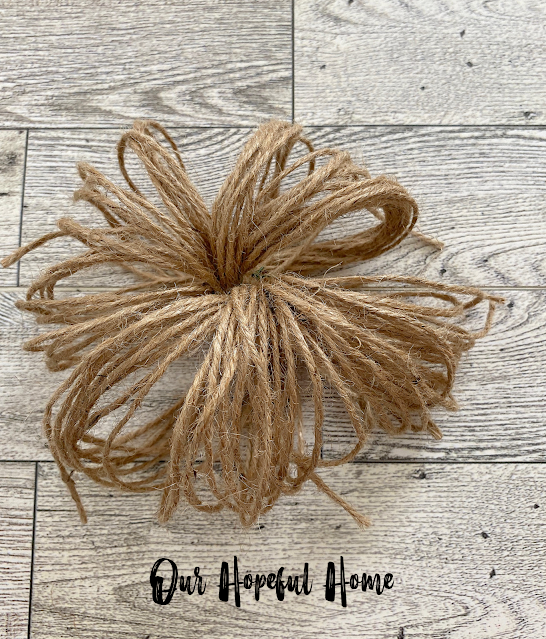
5. Apply hot glue to the middle of one of the bundles, then attach it to the other bundle. Hold for a few minutes, making sure it's secure. If necessary, turn it over and add more hot glue to the bottom of the pumpkin where the two sides connect together.
6. Hot glue a small piece of twig onto the middle top of the pumpkin to create the "stem." I had these twigs from the yard to choose from. I just used garden shears to cut them down to size.
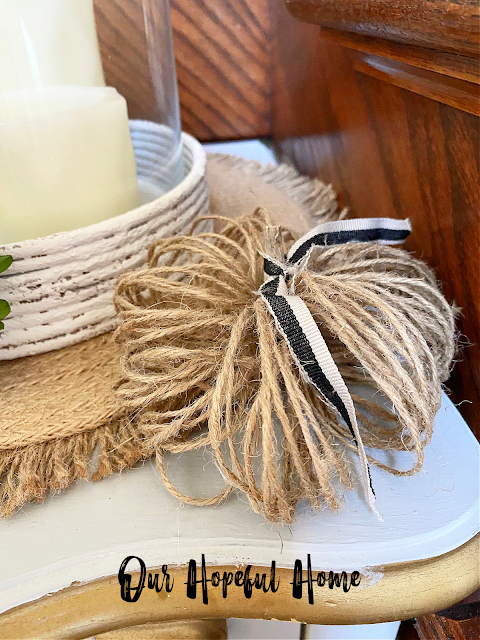
7. Once the stem is fully dry, tie some complimentary ribbon around the stem.
Well, that's it for today, friends.
I hope you've enjoyed reading about
How To Make
DIY Jute Twine Pumpkins
and that I've inspired you in some way.
Don't Forget To Pin It!
Be sure to stay in touch:





.png)



.png)


Leave a Comment!
Thank you for ideas to decorate and celebrate. Thank you for your step by step instructions, material list, measurements, and photos for crafts. We appreciate your decor presentations.
These are super cute and easy. Thanks for sharing with all of us. Have a great week. Hugs. Kris
Oh guy these are so adorable. I love they have such an organic and natural feel to them. Fun project to do with my girls.
Post a Comment