Today I'm sharing how to make a fresh boxwood wreath that should last you
well beyond the Christmas season.
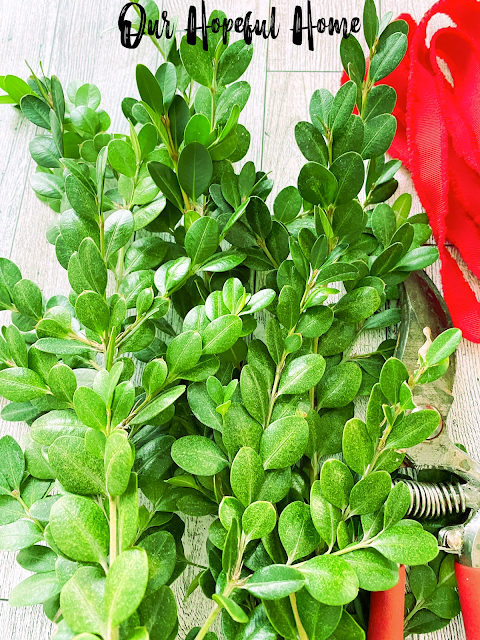
A few years ago I purchased three boxwood plants at a local garden center. Fast forward to today and we have three healthy boxwood bushes that have grown by leaps and bounds with no help from us.
This post contains affiliate links. A purchase of any one of these items
helps to support this blog and its creative efforts at no cost to you. To
read more, please see my disclosure page.
Seriously, we did not give them any special treatment -- we didn't even
water them. Hearty little devils, I must say. While I've read that boxwoods
don't do well in midwest winters, they've done beautifully here in Zone 5 in
Illinois.
And while I love preserved boxwood wreaths, they are very difficult to make at home*
-- so today's project will be made with fresh boxwood. If treated
properly, your fresh boxwood should last you at least through the winter
season .
*Preserving boxwood at home entails dye, glycerin, citric acid and
buckets of water -- not to mention a few weeks' time for the leaves to
absorb all those ingredients. Um, no thanks. I'd rather pay the premium
and buy my boxwood wreaths already preserved by someone else.
Back to fresh boxwood . . . . . . . .
SUPPLIES FOR MAKING A FRESH BOXWOOD WREATH
6.
wood bead wreath (I got mine at Dollar Tree) or any wreath form of your choice
How To Make A Fresh Boxwood Wreath
NOTE: After cutting your fresh boxwood stems and bringing them inside, it
helps to place them in a vase of water just like you would a bunch of
flowers from the garden. Let them soak up the water overnight before
beginning your wreath project.
Also, every few days you should spritz them with water which will
hopefully extend their life indoors throughout the winter season. (Cut
fresh boxwood stems actually do better outside where it's cooler and
moister than inside your home. So keep that in mind. Maybe you can
make an indoor and outdoor wreath as well!)
1. Cut your fresh stems down to manageable lengths, i.e., 1-3 inches
long, and gather three of those equally long stems together.
2. Wire each set of three stems together at their base. Above are three
separate groups of stems I wired together.
3. Wire one group of stems to the wood bead wreath, beginning at the
bottom center position of the wreath. Work your way out and up
each side.
4. Carefully bend and then wire down each grouping of stems, one at a
time, adding more groupings as you go, until you've covered however much
of the wreath you want covered.
5. Tie a loose knot at the top middle of the wreath with your velvet
ribbon, and let it flow down over the wreath.
6. Hang in a window or over a mirror or even on your kitchen cabinets
(personally one of my favorite Christmas decorating tricks).
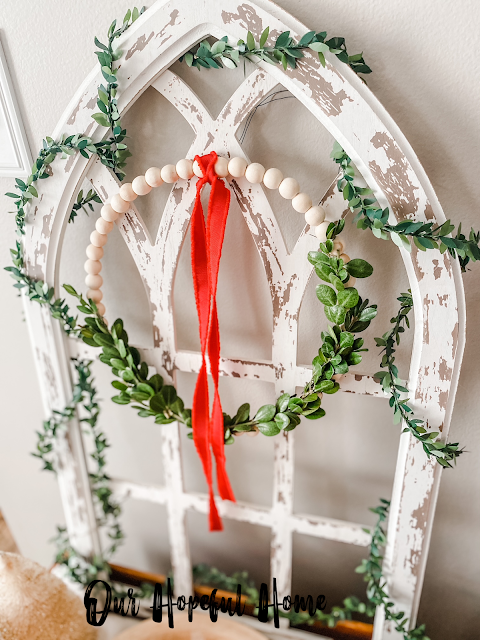
I decided to hang mine over a cathedral arch that was already trimmed
in faux greenery that actually looks a little bit like boxwood.

Initially I hung it on my vintage farmhouse ladder before moving it to the cathedral arch. I chose to make a
half wreath because I love the look of the plain farmhouse wood beads.
But you can totally cover the entire wreath with boxwood stems as
well.
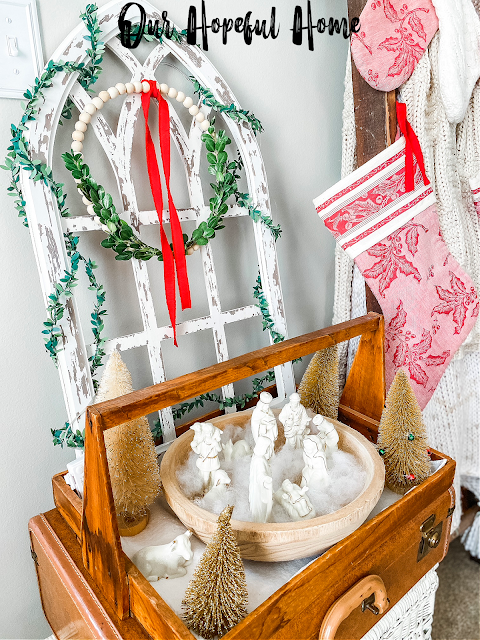
I love the rustic combination of a chippy arch, fresh greens and a wood bead wreath form.
I think the chippy cathedral arch really sets the wreath off beautifully.
I placed the nativity scene atop a rustic round wooden tray and then
placed that in the middle of a
vintage handmade wooden trug.
You can always stain or paint the plain wood beads to match your decor.
I, however, was happy with the beads as they were, providing that neutral, rustic
look.
Super simple, and inexpensive as well. Just my kind of Christmas DIY.
Well, that's it for today, friends!
I hope you've enjoyed reading about my
DIY Fresh Christmas Boxwood Wreath
and that I've inspired you in some way.
Don't Forget To Pin It!
Be sure to stay in touch:
Don’t miss another thrifty,
DIY home décor post!


.png)


.png)


Leave a Comment!
Post a Comment