Wooden risers and trays with beaded trim seem to be all over the internet
these days. Or am I just late to the party lol? Either way, I've become
obsessed with them, but of course I don't want to pay the price. So, welcome to my
tutorial on how to make your own distressed wooden riser with beaded trim --
easily and inexpensively.
This post contains affiliate links. A purchase of any one of these items
helps to support this blog and its creative efforts at no cost to you. To
read more, please see my disclosure page.
Here is my inspiration for this project: Mud Pie White Wood Beaded Trivet. So let's get started!
SUPPLIES FOR MAKING DIY DISTRESSED WOODEN RISER WITH BEADED TRIM
1. (4) 11" x 6" x 1/2" plank wood boards (Dollar Tree)
2. 1 package Crafter's Square Wood Shapes - I used the ones that look like snowmen - I just turned them upside down; they also make some that look like Christmas trees, which I think you can also use if you happened to pick them up this past Christmas season. (Dollar Tree)
4. Paint stirrers cut to size, or popsicle sticks (Dollar Tree)
5.
craft wood beads
(you can buy the beads: a) in a mixed-size bead package, b) as a wreath (see above)which you take apart, as I did, or c) strung on a string) (all from Dollar Tree)
I used 66 of the wood beads that came from approximately one and a half unstained round wood bead wreaths. Dollar Tree now also sells beaded wreaths made out of squared-off beads in both a dark stain and unstained finish as seen in the above photo.
10. sand paper (not shown)
12. paint brush
13. hot glue gun
14. hot glue sticks
How To Make A Distressed Wooden Riser With Beaded Trim
1. Paint the 4 plank wood boards on both sides -- two coats on the top sides and one coat on the under sides. These are the top sides of two of the boards drying after two coats each.
2. Paint 4 riser feet; let dry.
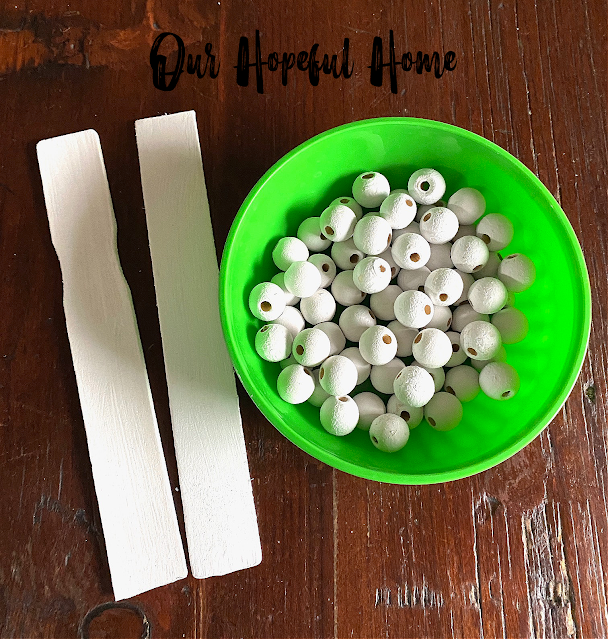
3. Paint 66 beads* and 2 cut-to-fit paint stirrers (or large popsicle sticks) on one side only; let
dry. You want the sticks or stirrers to cover approximately 3/4 of the width of the painted wood squares. In this case, that would be around 7.25" long.
*Bead Painting Process
I painted the beads by first pouring about one teaspoonful of paint onto a clear plastic plant saucer and then rolling twenty beads around in the paint. I ended up doing this two more times with two more teaspoons of paint. I rolled them around every few minutes until they dried. If the color doesn't seem dark enough to you, just add more paint and continue rolling the beads around until you're satisfied with the coverage.
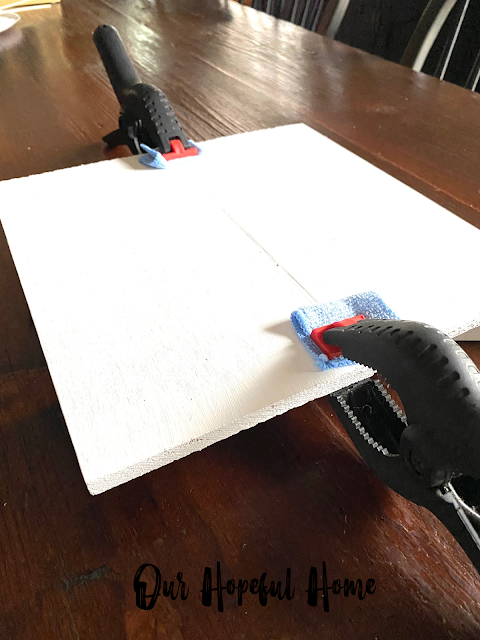
4. Glue the wood panels together in sets of two; add clamps and let dry according to Gorilla Wood Glue instructions. Be sure to use a wet paper towel and wipe away any excess Gorilla Glue right away because it does not dry clear. It's more of a brownish yellow. If worse comes to worst, you can always repaint over the mid-line with more white paint to cover the discoloration.
5. Glue paint stirrers (or popsicle sticks) perpendicular to the underside of each set of wood panels for extra support; let
dry.
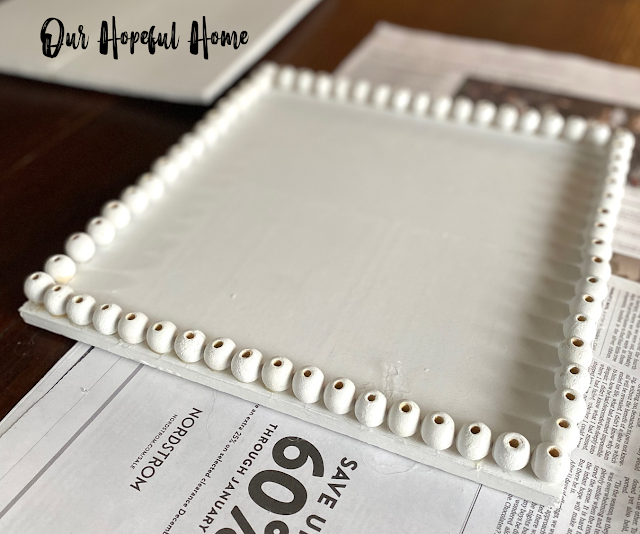
6. Hot glue the beads onto the top of the base tier of the riser; let dry.
NOTE: I chose to use a regular hot glue gun to attach the beads to the base. I did this so as to avoid any unsightly wood glue.
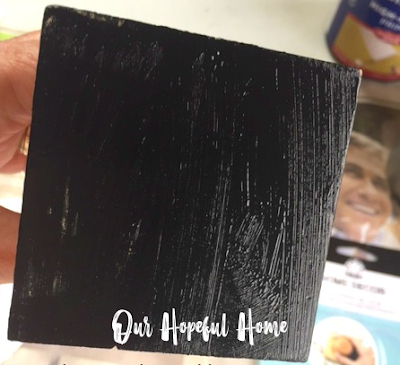
7. Put black paint on layering block.
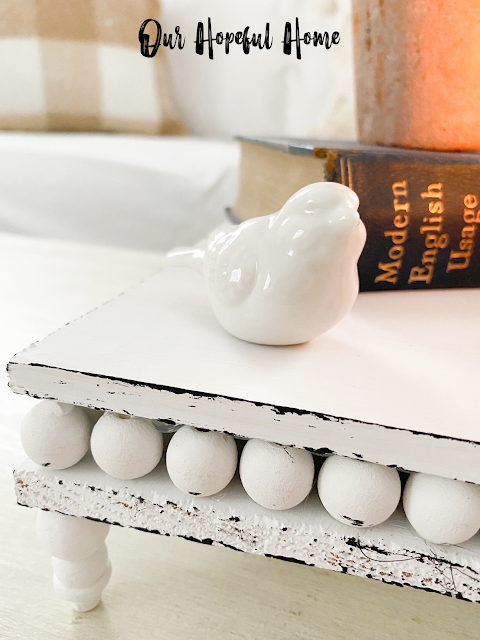
8. Use layering block to "distress" both the top and bottom riser tier edges, as well as the sides of the beads.
9. Hot glue the top wood panel onto the top of the beaded base.
10. Hot glue the 4 feet to bottom tier; let dry.
11. Have fun styling your DIY distressed wooden riser with beaded trim!
I certainly had fun styling mine!
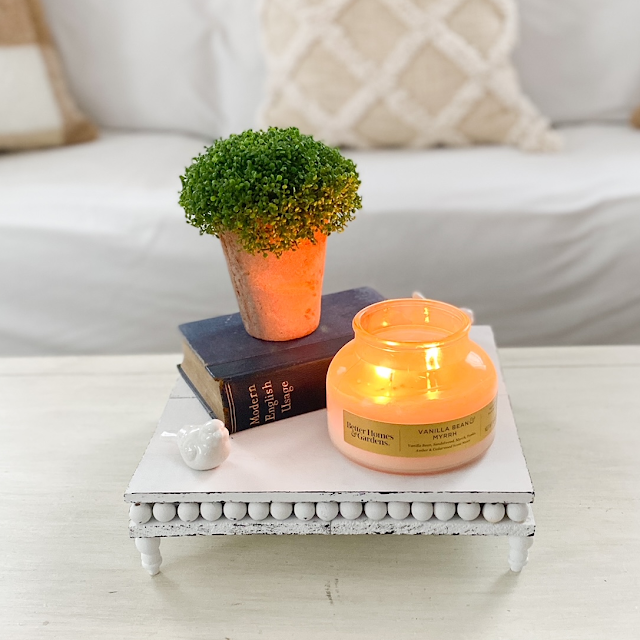
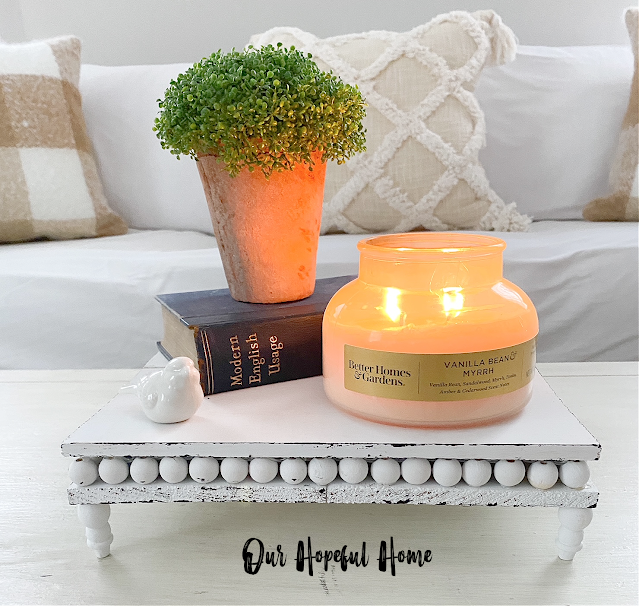
It became the star of my living room coffee table vignette.
After clearing the coffee table I placed the riser in the center, and topped it with a wonderful candle, faux greenery, vintage book and porcelain bird.
It created the perfect cozy winter vibe. The distressed edges were the icing on the cake, giving it that vintage look that I love.
The candle has turned out to be one of my all-time favorites. It's a Better Homes & Gardens vanilla bean & myrrh candle. I think it cost around $13.00. The smell is absolutely fabulous.
The two porcelain birds were found in a thrift store in my daughter's college town for $1.50. So sweet, right?
Even though some of the edges were raw wood they turned out just right after they were painted and distressed. The rustic nature of the wood only adds to the charm of the piece.
It's perfect for displaying my cherished vintage collections or anything I want to put on display as the spirit moves me.
You can use any size or shaped piece of wood for this project. A larger piece of wood would have eliminated the "line" running down the middle of the riser. But I'm okay with it. Mostly it'll be covered with decor, and the four panels only cost me $5.00. (I already had the paint and all the other supplies, so the only other costs were for two wood bead wreaths ($2.50) and and a bag of wood shapes ($1.25) from Dollar Tree.) So I spent a total of $8.75 for the project.
Well, that's it for today, friends!
I hope you've enjoyed reading about my
DIY Distressed Wooden Riser With Beaded Trim
and that I've inspired you in some way.
Don't Forget To Pin It!
Be sure to stay in touch:
Don’t miss another thrifty,
DIY home décor post!











.png)


Leave a Comment!
Good Morning Kathleen. Your wood bead riser is pretty cool. Have a good week. xoxo Kris
your wood bead riser is so pretty, it looks great on the table. Your instruction are easy to follow, what a nice project.
Very nice! 🙂 Thank you!
Post a Comment