I'm thrilled to be sharing my DIY vintage shutter turned French-inspired candle sconce with you today. It's been a project in the making (in my head at least) for a very long time. And today is the day I'm sharing all the details!
This post contains affiliate links. A purchase of any one of these items helps to support this blog and its creative efforts at no cost to you. To read more, please see my disclosure page
We had our window shutters replaced last year. So of course I told my husband to save them for future DIY projects! After doing some research I've been inspired by many shutter projects, but this one became the one I couldn't stop thinking about -- a vintage French-inspired candle sconce.
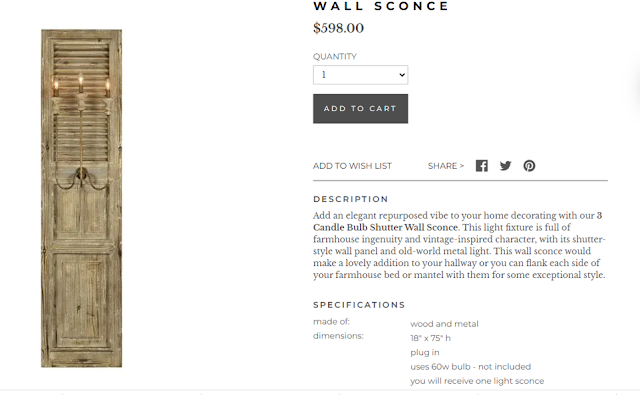
3 Candle Bulb Shutter Wall Sconce
I originally shared this idea along with 9 other possibilities in 10 Ways To Repurpose Vintage Shutters. For this project I ended up using one of the tallest salvaged shutters which is 72" x 16".
I knew my version would have to be distressed and chippy with some sort of light sconce attached. Hard wiring electrical lighting into a vintage shutter is not something I've mastered thus far (and honestly I'm pretty afraid of doing for obvious reasons), so I also knew the lighting, one way or the other, would be in the form of either traditional or electric LED candles.
Whitewashed Ornate Wood Wall Sconce
And then I saw this quite by accident at Hobby Lobby and knew right away that if it ever went on sale for half price I would buy it in a heartbeat for this project. Lucky for me, three days after I discovered it, it went on sale for half price! So of course I bought it for this shutter project!
SUPPLIES
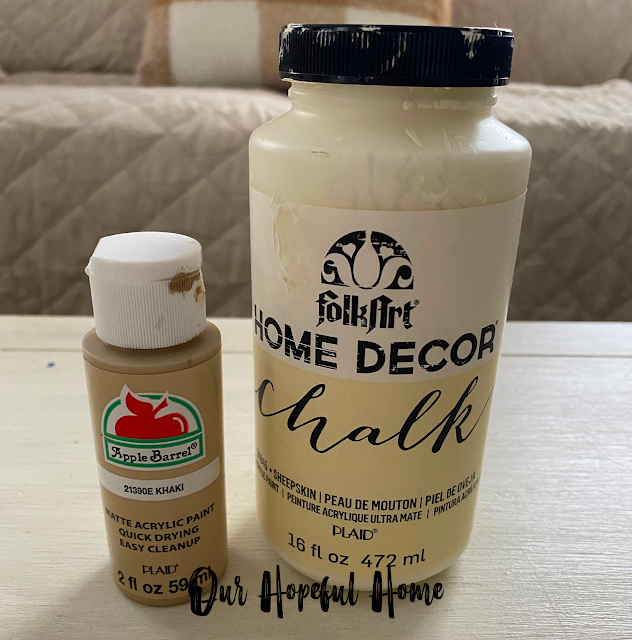
1. Folk Art Home Decor Chalk Furniture and Craft Paint in Sheepskin
2. Rust-oleum Chalked Ultra Matte Paint in Linen White
3. Apple Barrel matte acrylic paint in khaki
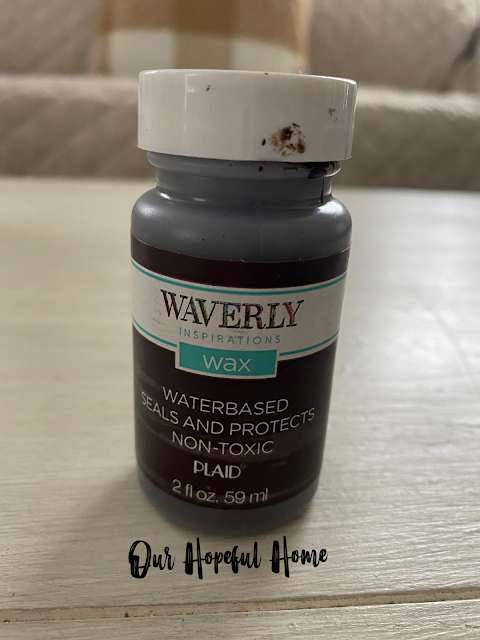
4. Waverly Wax in Antique (Wal-Mart) or Folk Art Home Decor Antique Wax
5. disposable bowl; disposable mixing spoon
6. lint-free cotton cloths (rags) or clean, old cut up T-shirts
7. sand paper
8. paint brushes
9. wooden applique onlay (optional)
10. pre-purchased candle sconce (I bought the Whitewash Ornate Wood Wall Sconce from Hobby Lobby)*
11. traditional tea light candles or LED tea light candles
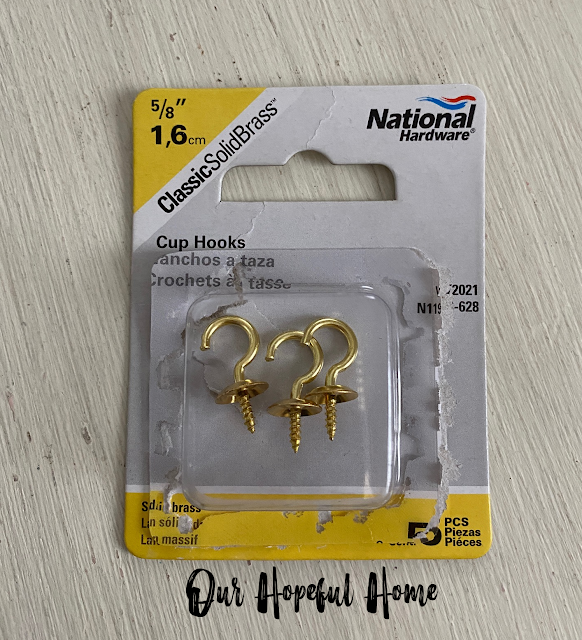
12. tea cup hooks
13. Gorilla Wood Glue (optional)
14. boxwood wreath (optional)
*Candle Sconce Resource (Antique Farmhouse):
Vertical Two Light Wall Sconce
Distressed Wood Shutter Wall Sconce Bundle
3 Candle Bulb Shutter Wall Sconce
How To Turn A Vintage Shutter Into A French-Inspired Candle Sconce
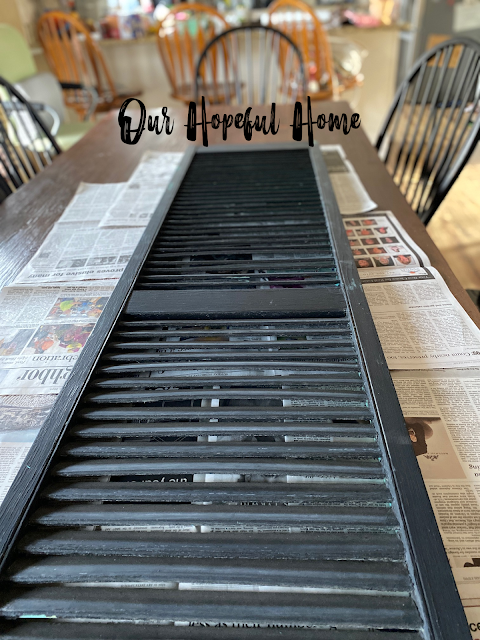
2. I painted the shutter with one coat of the Rust-Oleum paint. In this case it acted like a base coat, covering the original black paint, and serving as my second "layer" of paint.
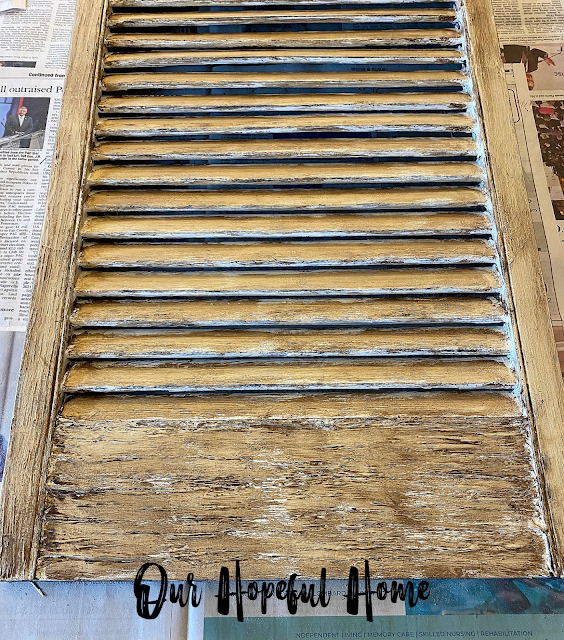
3. Once that was dry, I dry brushed a custom combination of two paints: Folk Art Home Decor Chalk Furniture and Craft Paint in Sheepskin and Apple Barrel matte acrylic paint in Khaki. I'd say I used two thirds sheepskin to one third khaki.
Dry brushing just means that after you put paint on the brush you go back and remove most of the paint from the brush before gently dabbing the now fairly dry brush onto your piece of furniture. This now added the third "layer" of paint onto my shutter.
4. Once all your paint layers have dried, take some sand paper and distress those parts of the piece that would normally show wear and tear over years of use (usually the edges).
5. Wipe down with a damp cloth or brush away any paint grit you created by sanding.
6. Now it's time to add some wax. I used Waverly Wax in Antique from my local Wal-Mart. You can also use Folk Art Home Decor Antique Wax.
Just take a paint brush and dip it into the wax, then "paint" your piece with it, small sections at a time. Immediately upon painting with the wax you must wipe it off with a soft lint-free cloth (I use clean, old T-shirts). This ensures that the color doesn't get too dark. You can apply as much of it as you want and then wipe it down to your liking.
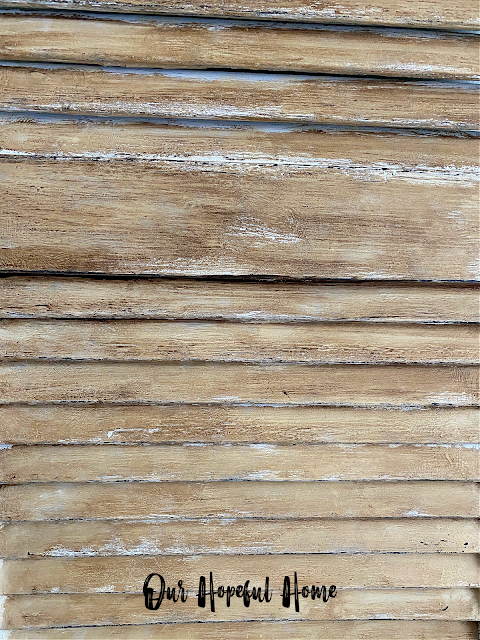
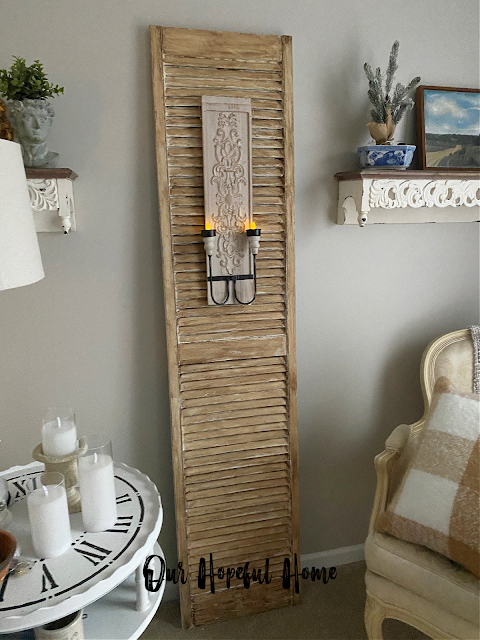
I'm thrilled with how the finish turned out.
It really does look vintage!
What do you think? I think it's gorgeous.
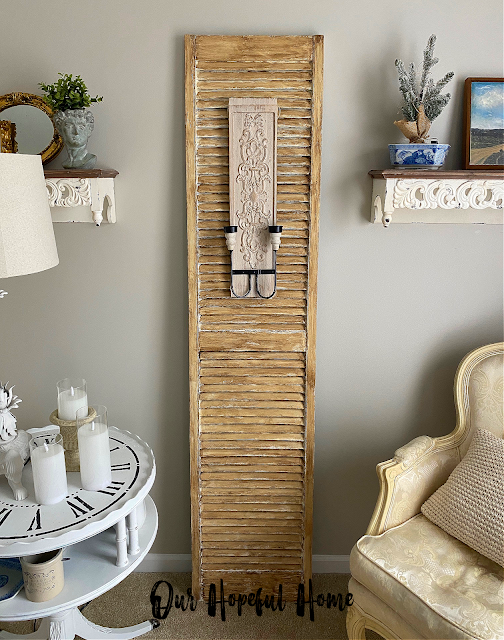
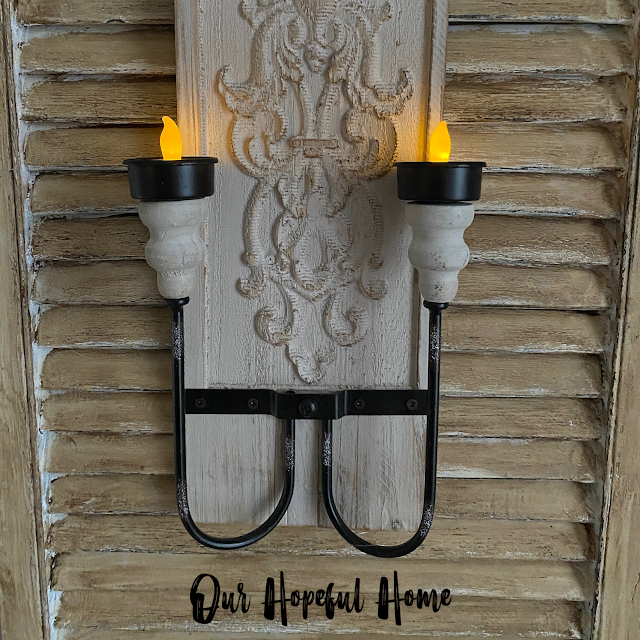
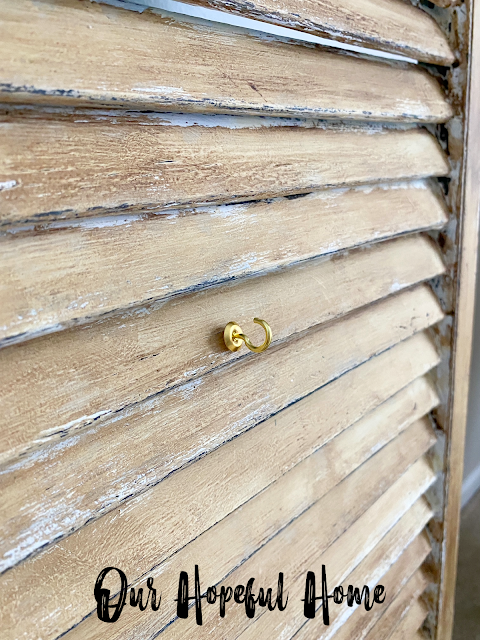
7. Not wanting to make it too permanent in case I change my mind in the future, I inconspicuously screwed two tea cup hooks into one of the wood slats and then hung the sconce from the hooks.
I toyed with the idea of waxing the whitewashed sconce to make it look a bit darker like the shutter, but I'm not sure I want it to be so matchy-matchy. I figure I can always go back and add wax if I change my mind.
8. I then placed two remote controlled LED tea lights into the sconce's candle holders.
But it was still missing something.
9. So I picked up an ornate wooden applique onlay at Hobby Lobby (similar applique onlay here) that I thought would be perfect as an added French detail to the top of the plain shutter.
10. I screwed in another tea cup hook further down on the shutter so that I could hang other things on it as the seasons progress.
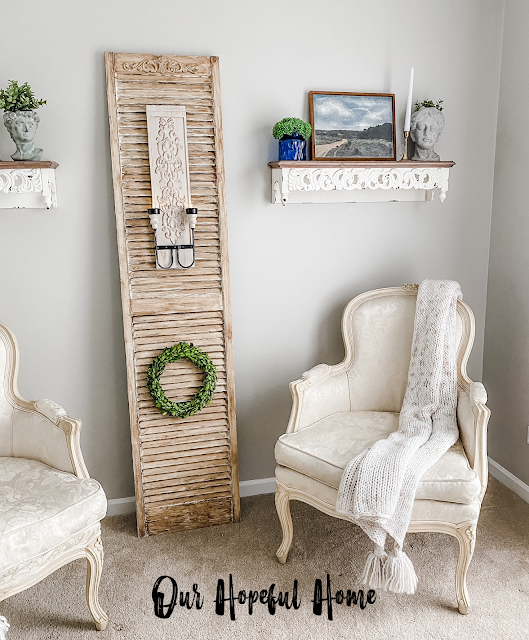
For now I think my boxwood wreath adds just the right touch to finish it off.
I'm still working on the styling of the shelves but for now I think I'm done.
Adding the thrifted vintage French Bergere chairs to this side of the room completes the look.
I'm super happy with how the DIY painted and distressed vintage antique wax shutter turned out. So much so that I'm going to make another one so that I have a pair of them to enjoy!
I hope you've enjoyed reading about my
DIY Vintage Shutter Turned French-Inspired Candle Sconce
Be sure to stay in touch:
Click HERE to subscribe.




.jpg)










.png)

This is brilliant!
ReplyDeleteAmalia
xo
I think this is one of the most faves I have seen you do. This is amazing and beautiful. I love the mixing of the paints to get that patina wood look. I might try this on a cabinet I have. Thanks for sharing.
ReplyDeleteHugs,
Kris