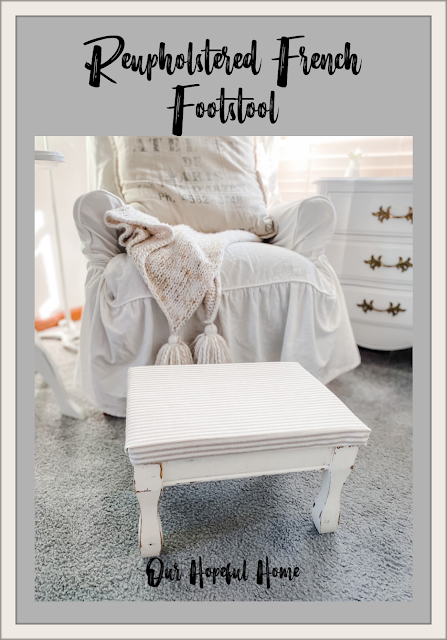
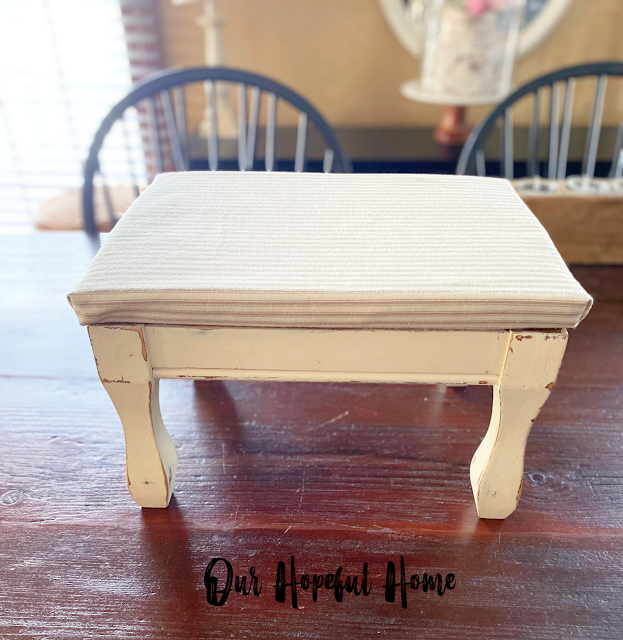
Today I'm sharing how I took a vintage footstool from frumpy to French farmhouse with new ticking fabric upholstery. There's also a sneak peek at my early spring primary bedroom decor!
This post contains affiliate links. A purchase of any one of these items helps to support this blog and its creative efforts at no cost to you. To read more, please see my disclosure page
The footstool in question is ancient. Well, ancient by my standards at least. My then-boyfriend, now-husband, purchased it for a song back when we were dating. That makes it over 30 years old. Today you can find footstools like this one in thrift stores and at estate sales.
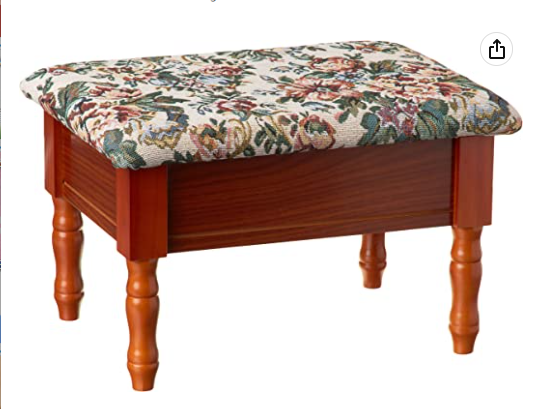
It served us well over the years, but eventually the fabric and wood just seemed dated. So I decided to rip off the old fabric and reupholster it. But not until I painted the base white first. Not knowing I would eventually blog about it, I didn't take any "before" pictures. But it looked eerily similar to this footstool I found after doing a google search for vintage footstools.
Supplies For Reupholstering A Footstool
1. footstool (preferably thrifted)
2. replacement upholstery fabric (your choice)
3. paint and paint brush
4. sand paper
7. flat edged screwdriver (to remove staples)
8. pinking shears (optional)
How To Reupholster A Footstool
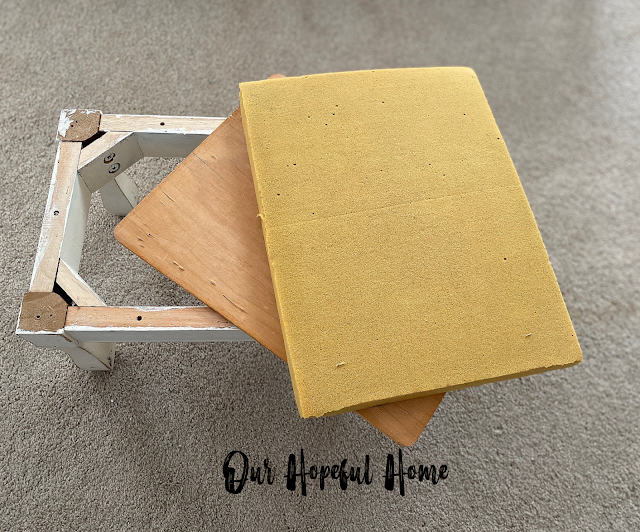
1. Remove the original upholstered section (along with any wood and/or foam insert) from the base of the footstool by removing the screws on the underside of the footstool. This one has six screws.
My footstool consisted of the wooden base, a foam insert, a flat piece of wood (which will give it stability) and the old tapestry-like fabric (not shown, as I removed it a long time ago without taking a picture of it).
Meet my assistant, Riley.
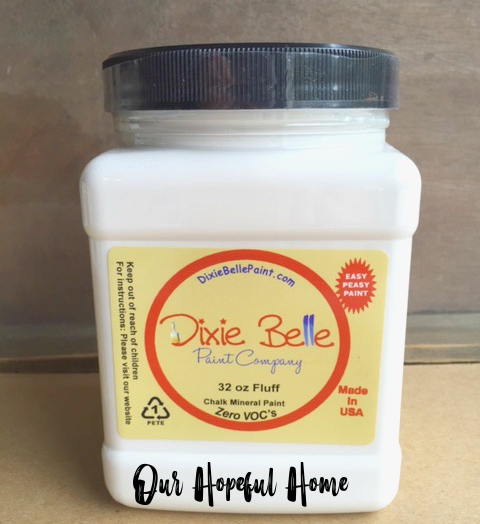
Assuming your original fabric is stapled to the wood base (which it usually is) you'll need to remove the staples with a flat edged screwdriver before you can remove the fabric. Save the old fabric to use as a template.I painted the footstool base with one of my favorite paints -- Dixie Belle chalk mineral paint in Fluff.
4. Using the old fabric as a template, cut out a new piece of fabric to the same dimensions with pinking shears to keep the fabric from fraying. I didn't have the old fabric so I eyeballed it, cutting my fabric approximately 3 inches extra on each of the four sides, ensuring that I would have enough fabric all around to fold and staple. You can always make it smaller.
5. Iron your new fabric, if necessary.
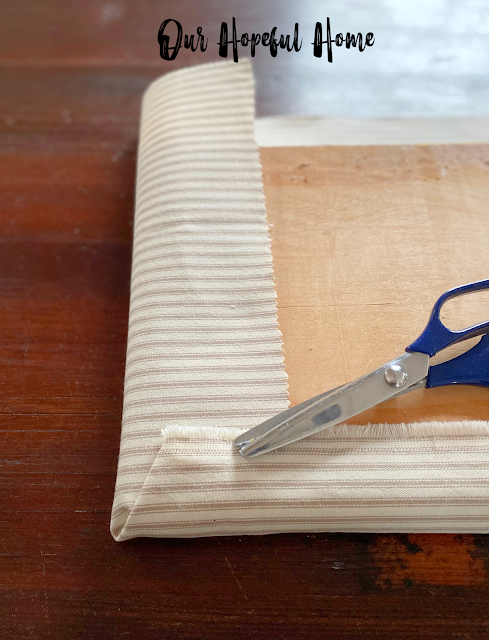
7. Now attach your new fabric to the wood panel using the staple gun. Begin by stapling the two longer sides first, making sure to pull the fabric taut.
Here it is after I finished stapling the corners for a second time. Lesson learned: When folding the corner fabric to make those "hospital corners," be sure to make your corner folds two at a time. In other words, fold over two corners at a time as you would when wrapping a gift box. This ensures that the folds turn out consistent and neat.
While you can do this by yourself, it doesn't hurt to have two sets of hands to complete this step.
9. Once all four corners of fabric have been tightly stapled onto the wood, place your newly upholstered cushion on top of the footstool base and re-insert any previously removed screws to secure the newly covered cushion onto the footstool base.
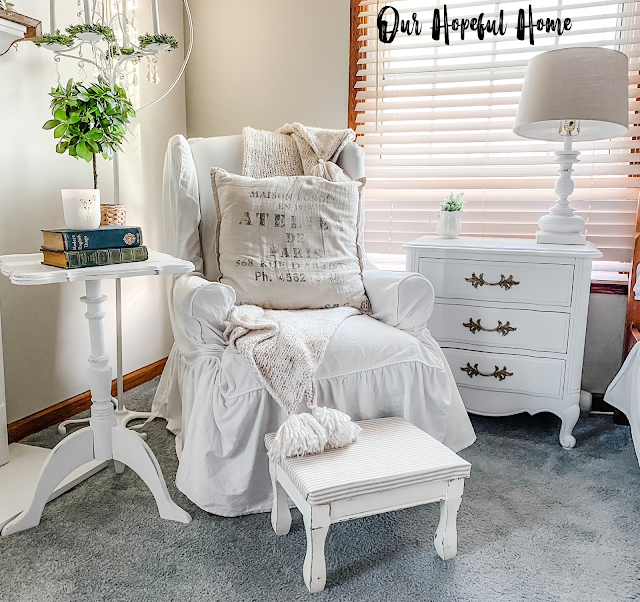
With just a few changes this old footstool has been given new life. It even inspired me to redecorate the primary bedroom with a few spring touches.
This flea market side table (it was was originally light blue) is currently stacked with vintage books, a faux topiary and a heavenly smelling wood wick candle that's just perfect for relaxing and reading before bed.
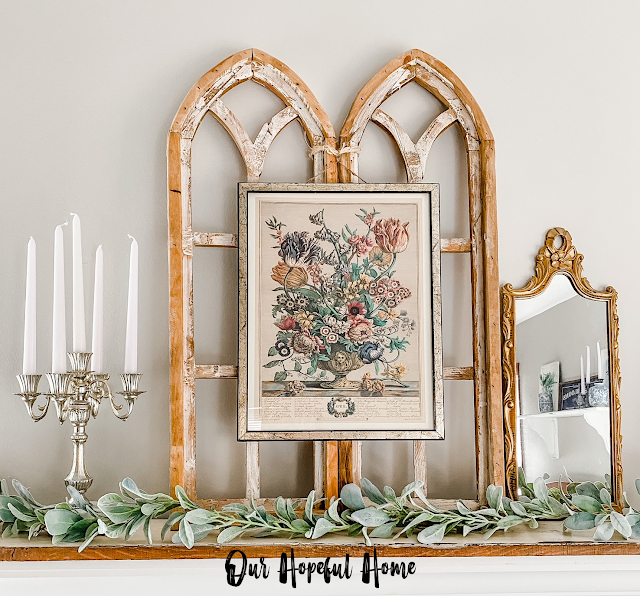
This entire side of the room is one of my favorite places to decorate. The faux fireplace allows me to implement many of my seasonal decorating ideas. Right now it's post-Christmas but not yet fully spring.
I love using baskets in my decor because they add warmth and texture to any display.
I hope you've enjoyed reading about my
Vintage French Footstool Makeover
With Ticking Fabric And Sneak Peek At Some
Early Spring Decor In The Bedroom






.png)





.png)


Leave a Comment!
This is so cute. Love easy peasy projects like this. I love your sweet assistant helping you too. Have a great week. Hugs. Kris
Your "new" footstool looks really nice in your reading nook. Great makeover!
Love your footstool update. I was given a beat up gliding footstool; this would be a great way to refinish it! Really enjoyed seeing your spring bedroom touches. In Maine, we are still in the throes of winter with lots of snow expected this week. Time to break out the silk daffodils! Kathy A
Great job with the stool, Your little corner is so nice and cozy.
Post a Comment