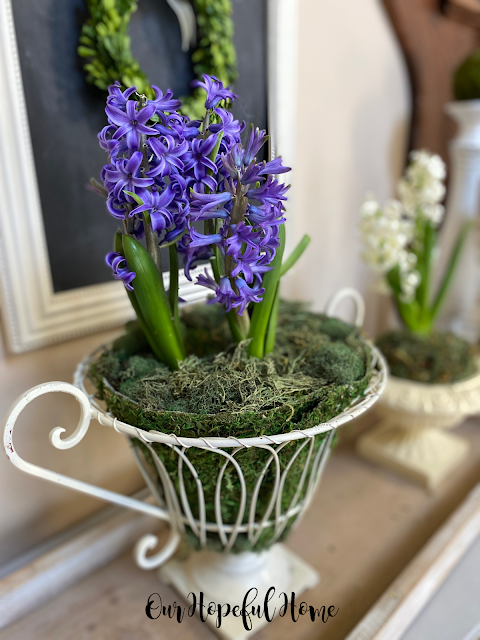
Today I'm sharing how I created a mossy garden urn filled with spring flowers.
This post contains affiliate links. A purchase of any one of these items helps to support this blog and its creative efforts at no cost to you. To read more, please see my disclosure page.
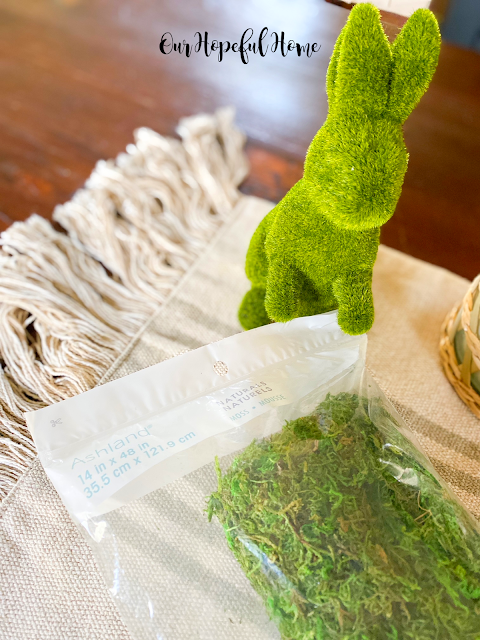
I started off with a moss roll from Michaels -- it's a 14" long x 48" wide roll. My photo only shows the top of the roll in the package but it is actually 14" long. If you can't find it at your local Michael's there's a super similar Super Moss All Purpose Moss Runner you can order from Amazon.
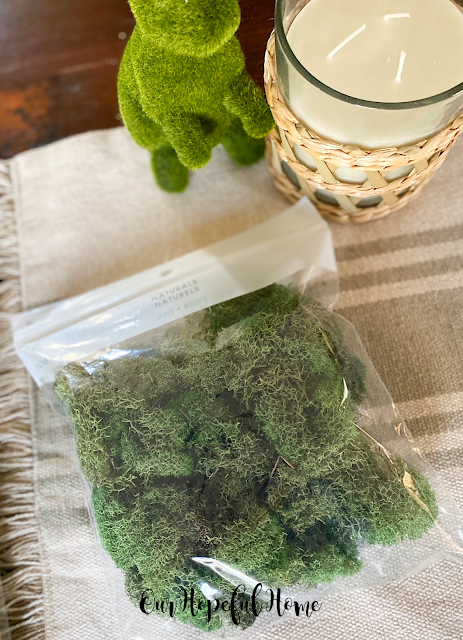
I knew I'd need more and different types of mosses so I also picked up a bag of loose moss for filler from Michael's
And last but not least I picked up an 11.5" wide x 8" high Better Homes & Gardens moss sheet from Wal-Mart.
The Easter moss bunny figurine came from Target a few years ago. It's been discontinued, so I've included an Amazon link for a set of similar moss bunnies.
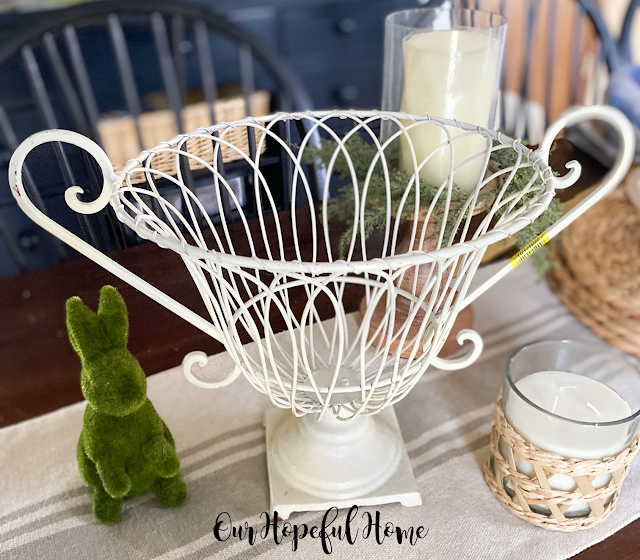
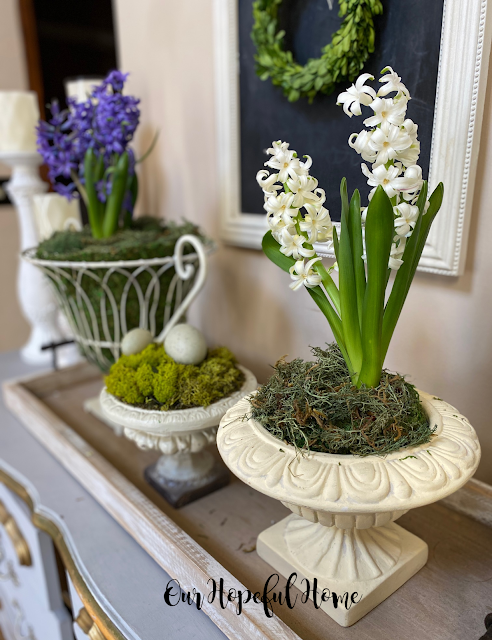
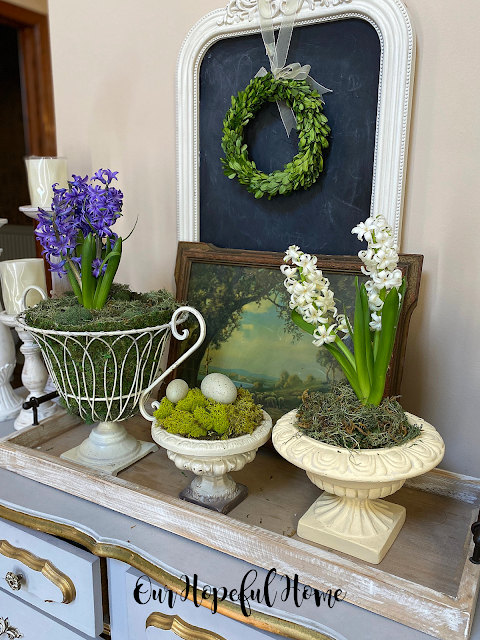
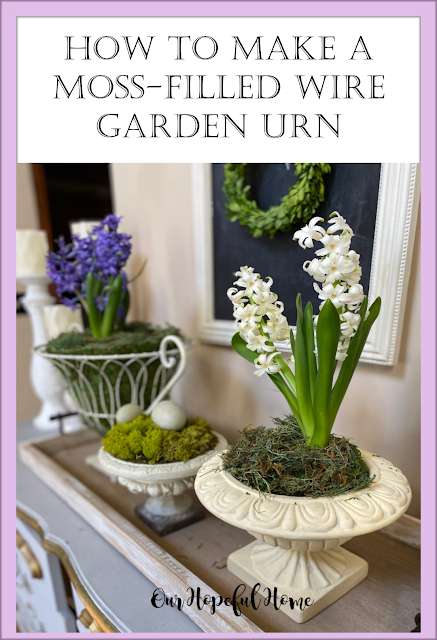
I picked out these purple hyacinths for the wire urn.
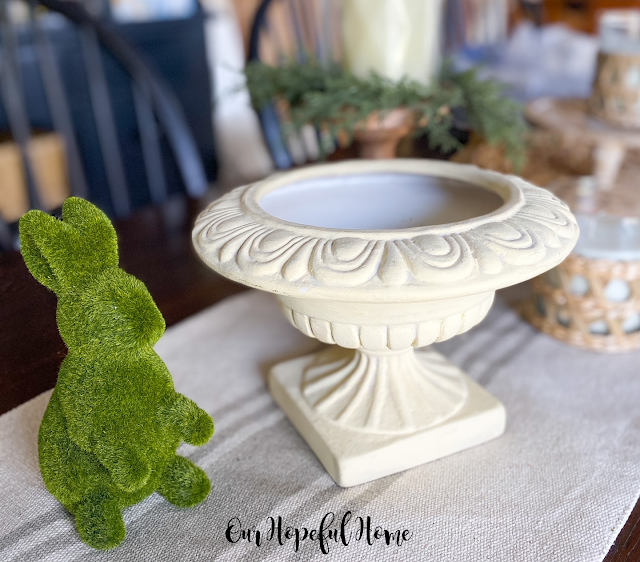
The other urn for this foyer decor project is a concrete garden urn I also picked up at Goodwill a number of years ago.
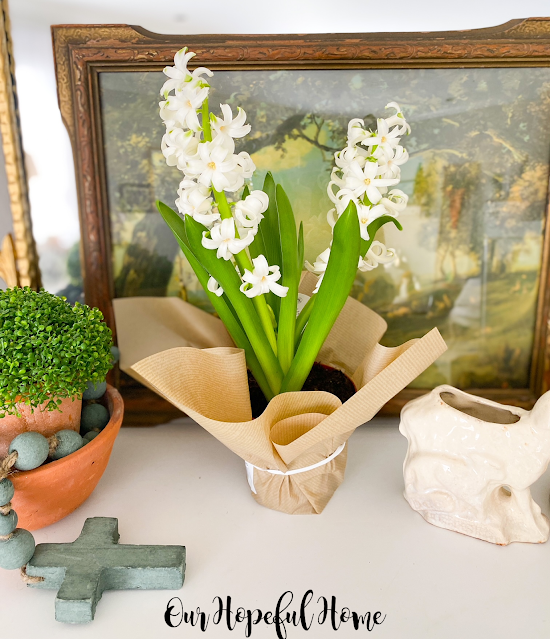
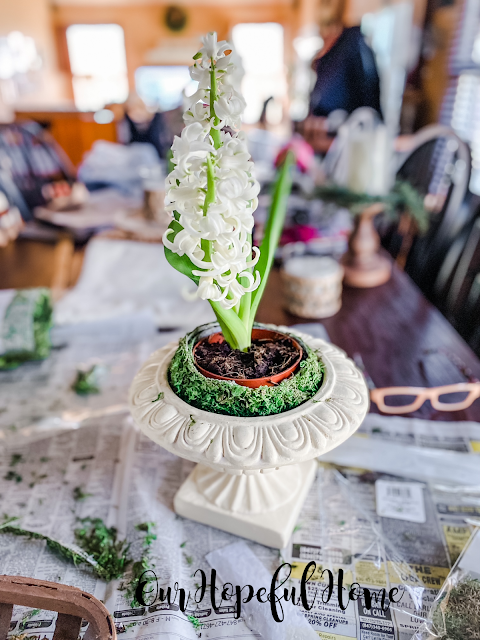
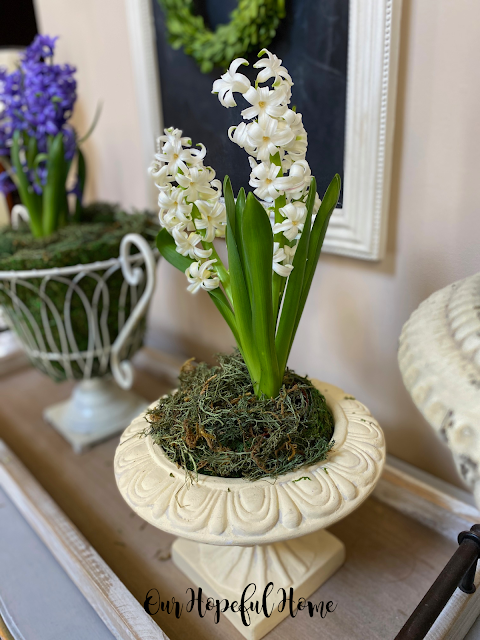
I thought this white hyacinth would look beautiful in it.
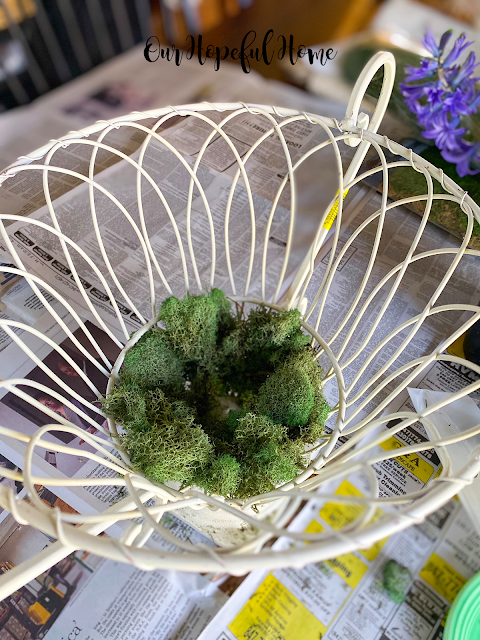
I realized that the circumference of the wire urn was approximately as large as a dinner plate. So I rolled out the moss mat and placed the plate on it to be sure it was wide enough to fill the urn. I thought it was, so I estimated the length needed and cut the mat down, making sure to round the corners.
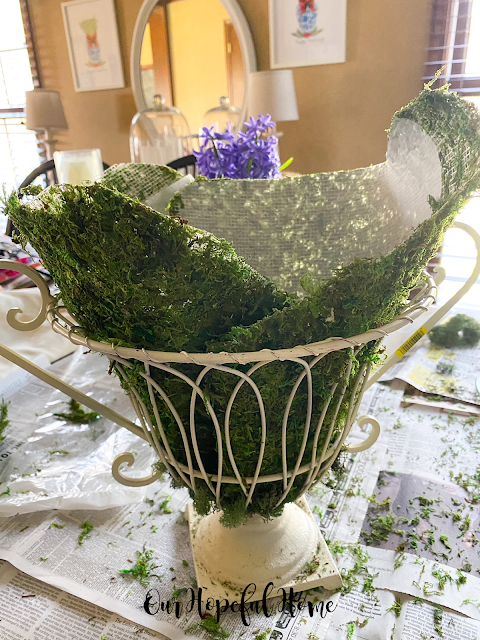
I stuffed the moss sheet into the urn and then scrunched it down to try and make it fit. Then I started cutting off the extra moss that was spilling over the top.
I placed the white hyacinth plant into the second thrifted ceramic urn and wrapped the plastic pot with some moss sheet remnants.
I thought the three urns created a beautiful spring vignette.
I hope you've enjoyed reading about
How To Make A Moss-Filled Wire Garden Urn
and that I've inspired you in some way.
Don't Forget To Pin It!
Be sure to stay in touch:












Leave a Comment!
I love mossy projects, too, and your urn looks beautiful!
Love this
Post a Comment