Using a wood riser is an excellent way to showcase some of your favorite seasonal home decor items. You can certainly buy a riser, but why not make one? It's cheaper, and you'll get a sense of satisfaction seeing it displayed in your home.
Today I'm sharing how I made a truly simple DIY round wood riser out of nothing more than dollar tree craft supplies, acrylic paint and antique wax. Why pay more when you can make it yourself?
This post contains affiliate links. A purchase of any one of these items helps to support this blog and its creative efforts at no cost to you. To read more, please see my disclosure page.
Not long ago I DIY'd a distressed wooden riser with beaded trim. That, too, was made out of Dollar Tree craft supplies. But my latest DIY riser requires even less (mostly) Dollar Tree supplies.
SUPPLIES FOR ROUND DIY DOLLAR TREE WOOD RISER
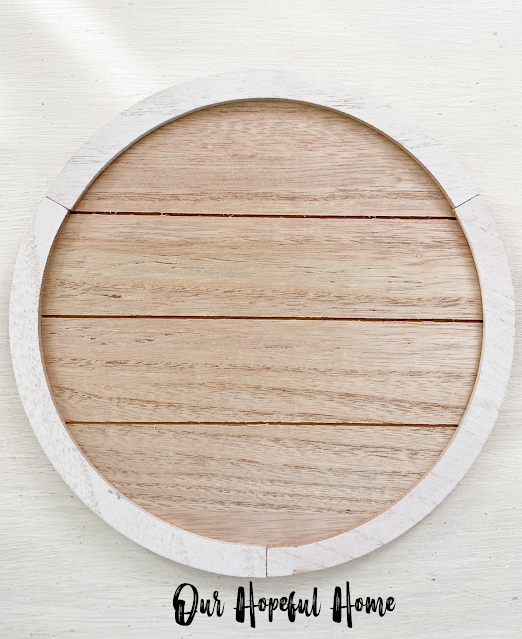
1. Dollar Tree Crafter's Square Hanging Beaded Round (no longer available online).
3. acrylic paint in your choice of color(s):
I used Waverly Inspirations Water Based Antique Wax (Wal-Mart)
6. cotton rag or clean, old t-shirt
9. small wood slices (I got mine at Dollar Tree, but they don't sell them online. In the event your Dollar Tree doesn't have them, I've provided another online link. You might also want to check out craft stores but that can sometimes be the most expensive option.)
How To Make A Round Wood Riser
1. Remove the wood bead handle from the wood round by lifting the staples off the back side of the round. I used a flat head screwdriver for this. Set beads aside for another project.
2. Paint the wood round with white paint, including the edges.
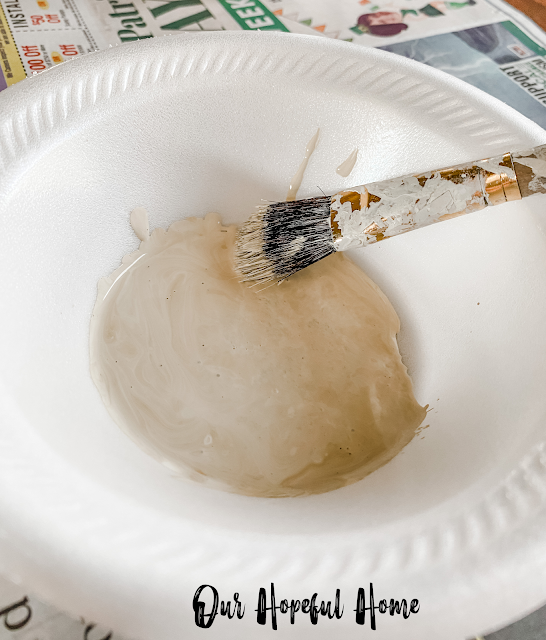
3. Once the white paint is dry, dry brush*** the wood round with the custom mix of sheepskin and khaki acrylic paint.
***The term "dry brushing" means that after you put paint on the brush, you then remove most of the paint, before gently dabbing the now fairly dry brush onto your piece of furniture or whatever you're painting. This usually gives your piece a mottled and/or vintage/rustic look, which I love.
I mixed approximately three parts sheepskin to one part khaki.
4. Once that dries, apply antique wax with a paint brush by sections, immediately going back over each section. wiping away any excess wax with a cotton rag or old T-shirt.
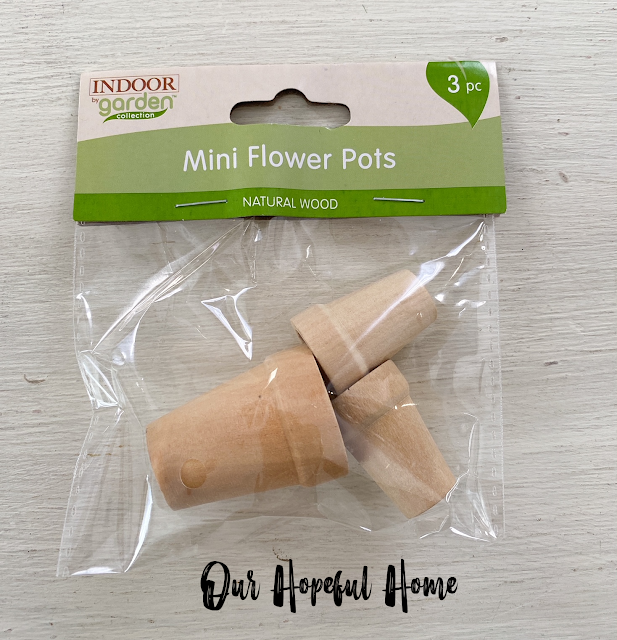
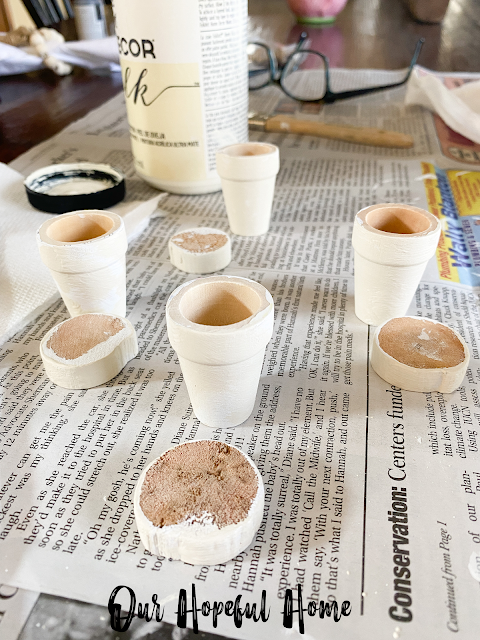
5. Do the same (painting steps 1-3) to three flower pots and three wood slices (I tried to match the size of the wood slices to the opening of each pot for a good fit.) Here are the pots and rounds after painting them white and then dry brushing them with my customized mix of sheepskin and khaki. It all looks whiter in this photo than in reality (see finished product below).
6. Now it's time to add the feet. First, measure the size of your wood round and divide by 3. That's the number of inches apart your feet should be placed. My round was 30 inches around so I placed the feet at 10 inch intervals, essentially creating a triangle.
7. Now glue your three new "feet" to the riser with Gorilla Wood Glue.
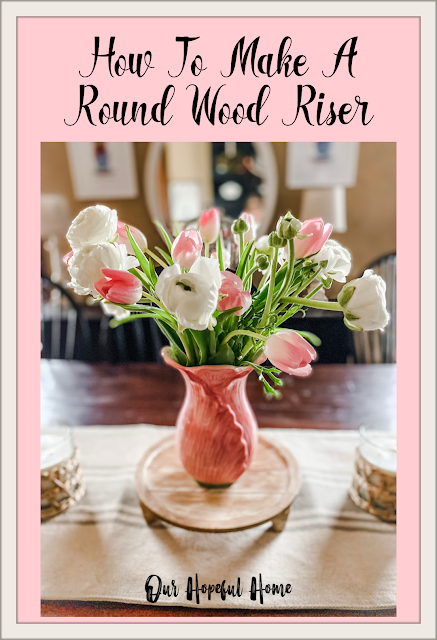
And here's my DIY round wood riser, completed. I absolutely love how it turned out. I was able to create that worn, rustic look I was going for.

The round wood riser blended in beautifully with my neutral table runner and sea grass placemats.
I treated myself to Trader Joe's tulips and ranunculus and placed them in my pink ceramic vase.
It sits beautifully on my new DIY round wood riser.
I used this round wood riser as the inspiration for my neutral Easter tablescape. While it worked well for Easter, I know it will continue to be the anchor for many a beautiful table -- whether the dining table or the coffee table. In fact, I made a second round wood riser since this one turned out so well!
Well, that's it for today, friends!
I hope you've enjoyed reading about
How To Make A Round Wood Riser
and that I've inspired you in some way.
Don't Forget To Pin It!
Be sure to stay in touch:
Don’t miss another thrifty,
DIY home décor post!







.png)


Leave a Comment!
wow, you really used your creative noggin, Kathleen. Love the paint finish patina, too! those tiny flowerpots are adorable!
The riser looks great!
Love these ideas! They're such an easy way to add something very effective to a look. Thanks for sharing! ;)
Cool tutorial
Post a Comment