Today I'm sharing how to make a flower frog using clear tape. It's a quick, inexpensive and easy way to create a stunning floral arrangement, no matter the size or type of flowers or vase.
This post contains affiliate links. A purchase of any one of these items helps to support this blog and its creative efforts at no cost to you. To read more, please see my disclosure page.
But first, I'd like to introduce you to flower frogs in general.
I'm a collector of many things, including flower frogs. While original flower frogs are from a very different era, they're still being made and used today.
What Is A Flower Frog And What Does It Do?
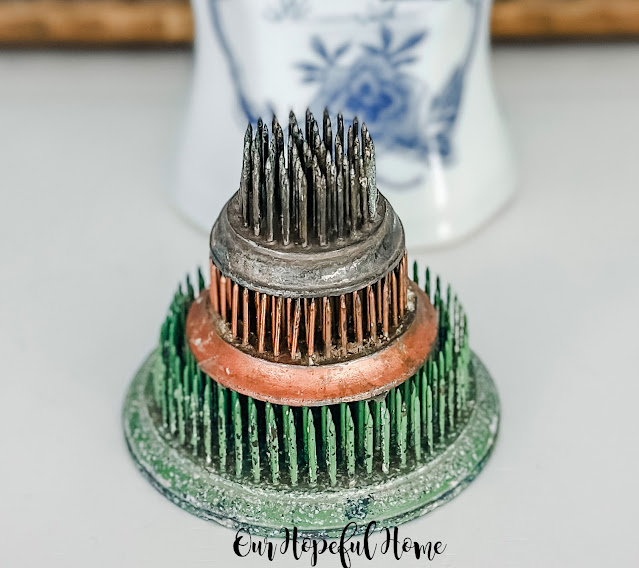
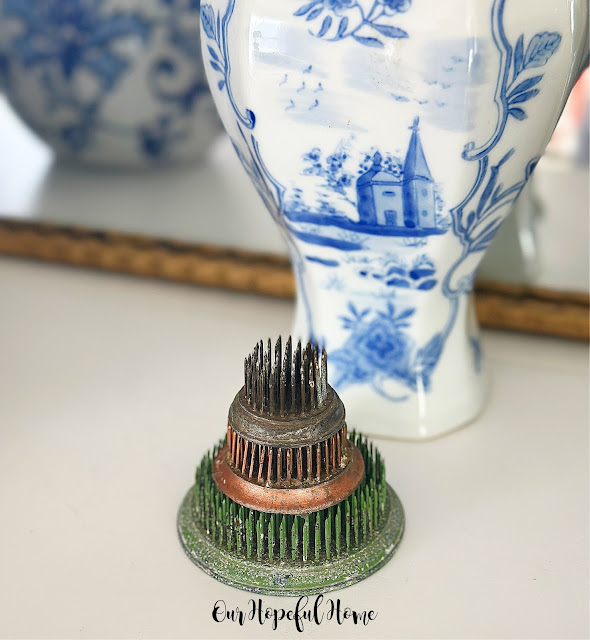
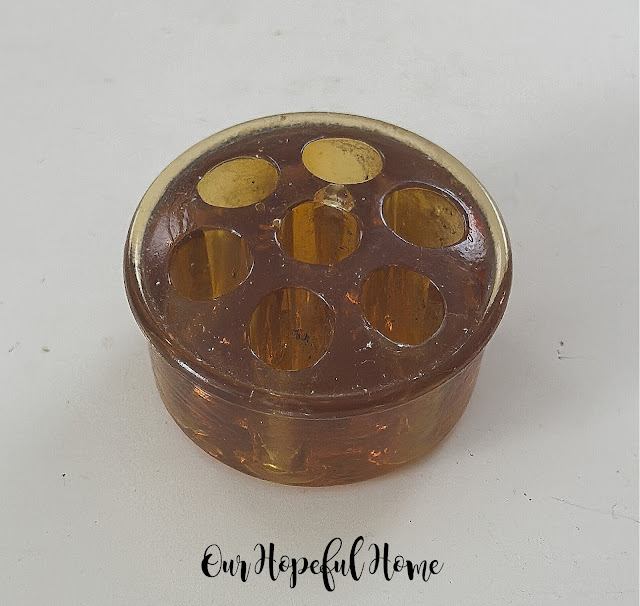
Types Of Flower Frogs
The glass flower frog with holes fits right inside the top of the etched glass bowl to create a beautiful unit.
Where Can I Find Flower Frogs?
History of Flower Frogs
Flower frogs have been around for centuries, as far back as the 14th century in Japan. They are usually associated with Ikebana = the joyful art of flower arranging. I don't think I could describe it better -- because that's what I get when I work on a flower arrangement filled with beautiful blooms: pure joy.
How Do I Make A Flower Frog?
While having flower frogs on hand is great, you might not always have just the right size and type of flower frog to assist you, depending on the vessel you are using and the particular flowers in the arrangement. That's when this flower frog hack comes in super handy!
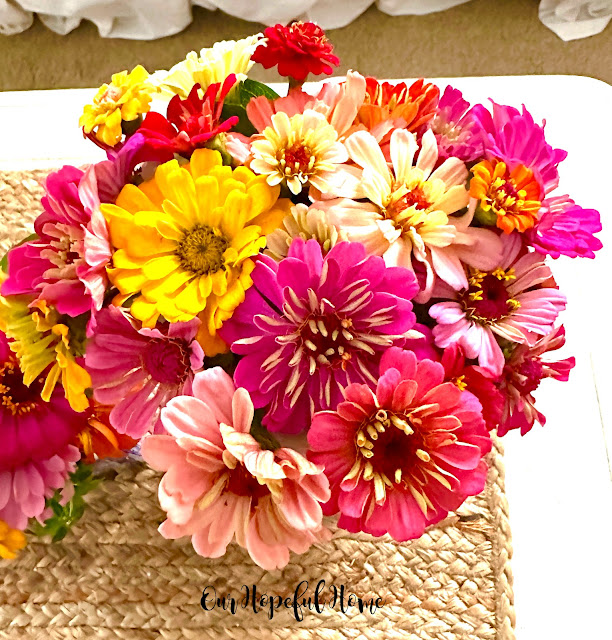
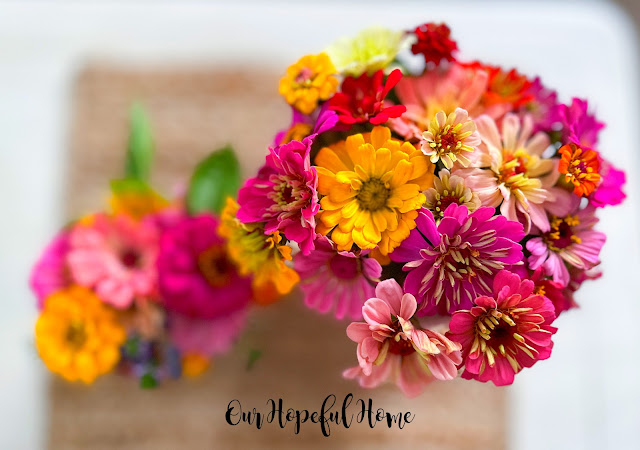
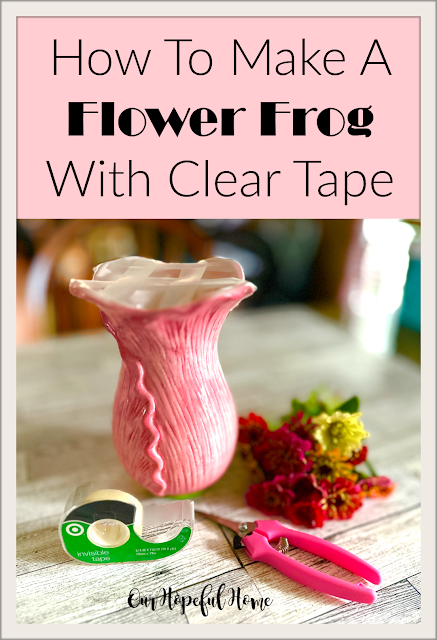
This pink tulip vase is one of my absolute favorite vases, and these garden zinnias are some of my favorite flowers. The only problem is that to fill the large mouth of this vase with zinnias, I need an awful lot of them! So in order to limit the number of blooms needed to create an arrangement in this vase, I rely on this flower frog hack:
First, fill your container with the appropriate amount of water and any flower preservative you may be using. Be sure to then dry the vase around the rim so the tape will stick to it properly.
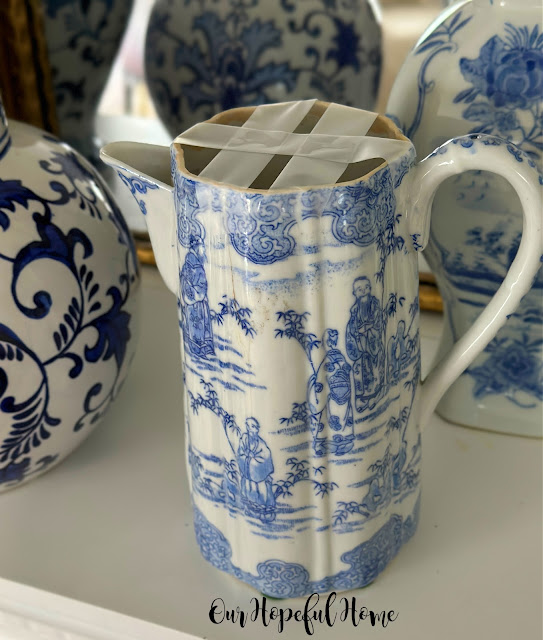
Then use your clear tape to create a “grid” across the top of the vase. How much tape you’ll need depends on the size of the vase as well as the size of the flowers you’re using for your bouquet. I used three strips of tape going across the mouth of the vase in one direction and two pieces of tape going across the mouth of the vase in the other direction.
It allows me to spread the flowers out across the mouth of the vase and give the arrangement a fuller look than it would have without using the tape grid. It serves as a scaffold, if you will, for the flower arrangement.
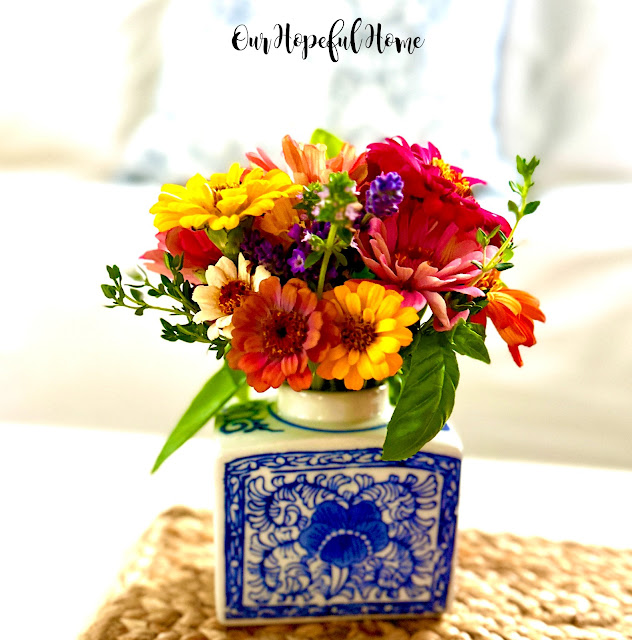
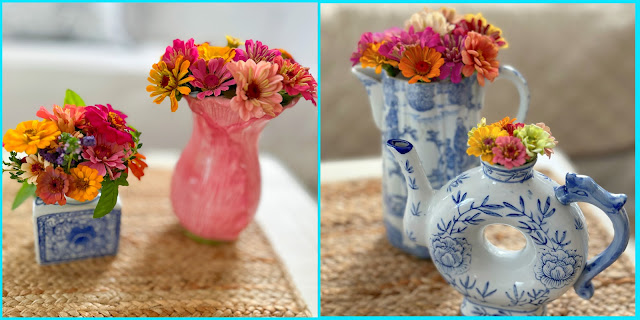
In smaller vases like this one (with smaller openings) I don't need to use the flower frog hack. My zinnia bouquet fits inside this vase perfectly. I also added some garden basil, thyme and lavender to fill out the arrangement.
I loved the look so much that I also created another flower frog with clear tape atop one of my favorite vintage chinoiserie pieces -- a tall chinoiserie tea pot, sans lid.
The tape grid helped me arrange the tallest of my zinnias into a cohesive bouquet, avoiding it merely being a grouping of some long, lanky flowers.
Like the smaller, square-shaped chinoiserie vase above, this donut teapot does not require a flower frog grid made of clear tape. The opening is so small that my semi-dwarf zinnias fit perfectly inside it.



.png)
.png)
.png)




.png)

Love the simple tutorial for making a scotch tape frog. The history of the floral frog was very interesting. Thank you Kathleen.
ReplyDelete