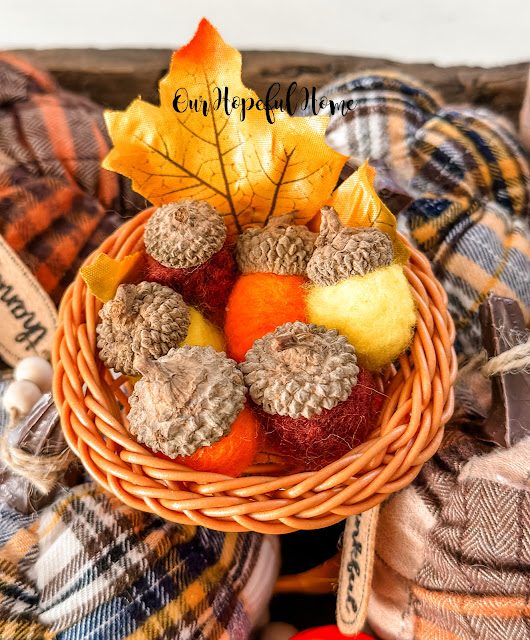
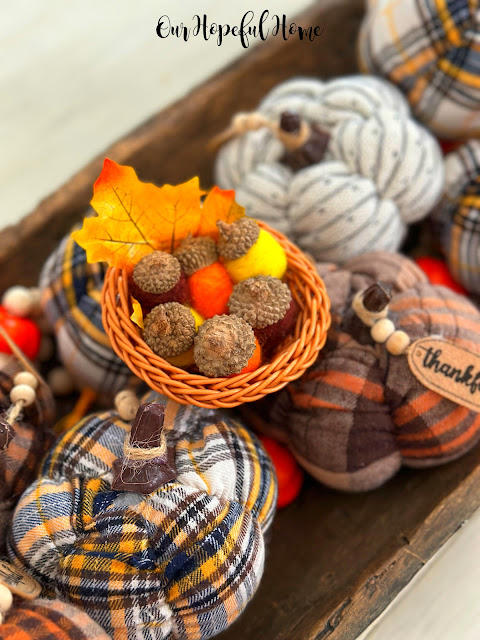
Today I'm sharing how I tackled a very new-to-me craft: needle felted wool acorns ~ just in time for fall!
While I'm certainly no expert needle felter (a beginner, actually), I'm happy to share how I made my needle felted acorns, as well as what I learned along the way.
This post contains affiliate links. A purchase of any one of these items helps to support this blog and its creative efforts at no cost to you. To read more, please see my disclosure page.
I'm embarrassed to say that I got this felting "Grab 'n Go Kit" from my local library almost one year ago. And it sat. Honestly, I almost forgot about it. But I'm glad I remembered I had it so that I could finally try my hand at needle felted wool. And what better project than needle felted wool ACORNS at this time of year?
Supplies For Making Needle Felted Wool Acorns
Wool roving in yellow, orange and brown
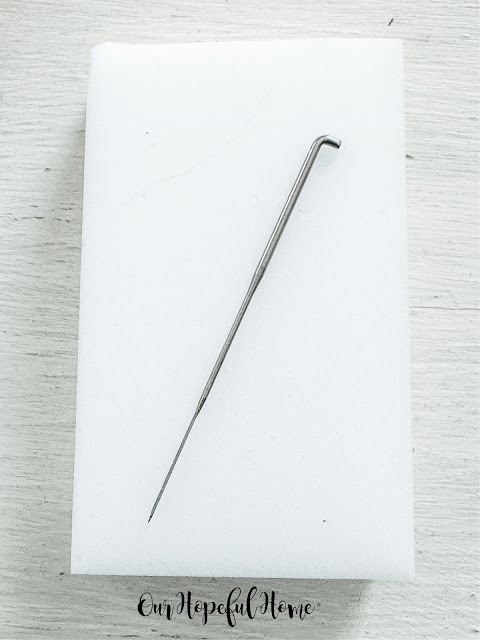
barbed felting needle
foam pad
Elmer's glue
6 acorn tops
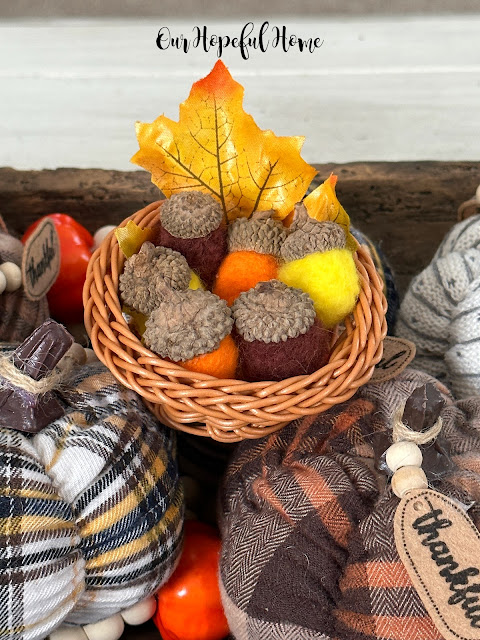
mini woven basket
Also needed:
Scissors
Luckily they provided written instructions, as well as a video recording, to guide me through the project. I learned that making these felted wool acorns was really pretty simple. You can find tons of video tutorials for yourself on YouTube.
How To Make Felted Wool Acorns
1. Roll the wool roving around in your palms to create a rough "ball."
2. Set the ball on top of the sponge, gently (and carefully!) poking the felting needle into the wool from all angles, continuing to turn the ball over and over as you poke all sides.
3. You are basically turning a formless mass of fluff (wool roving) into a more dense mass (matted felt) as you shape it into something out of nothing. The key is to poke the areas that are still too "fluffy" in the hopes of making the desired area more dense.
This is the felting needle and sponge I used for the craft. Sometimes it's called a felting pad or cushion or mat. You can also use a felting brush as well for your base. (Links to supplies can be found at the end of this post).
A felting needle has small barbs on the end of it that, when stabbed through the wool roving, catch on the scales of the fiber and push them together. The more you stab, the more the fibers mat together, slowly turning your wool roving into solid felt.
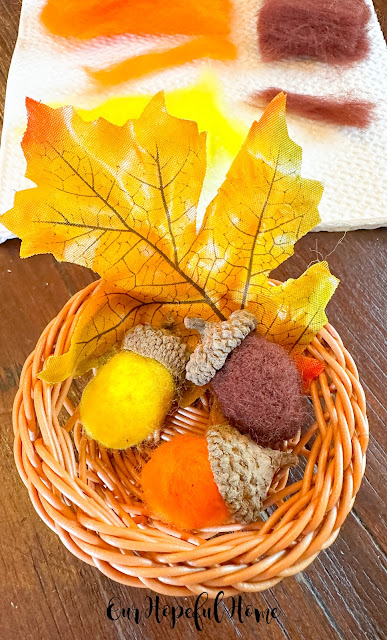
This is my orange felted wool acorn in progress.
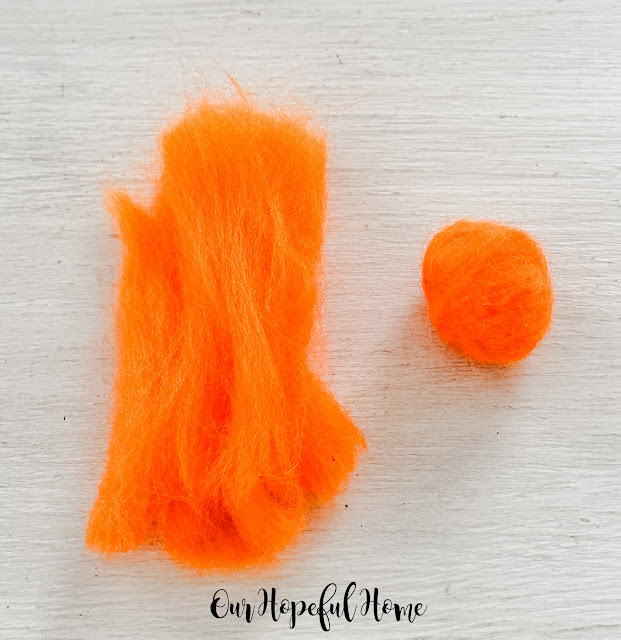
Here's the orange wool roving I used on the left, and the final felted wool ball I created out of it on the right. As you can see, there's a big difference between the "in progress" acorn, sitting on the sponge above, and this nicely finished roly-poly acorn.
Sources For Felted Wool Project Supplies
Well, that's it for today, friends!
I hope you enjoyed reading about my
DIY Needle Felted Wool Acorns For Fall
and that I've inspired you in some way.
Don't forget to Pin It!






.png)


Leave a Comment!
These are adorable, Kathleen! Blessings, Cecilia @My Thrift Store Addiction
I am in the process of making these cute acorns too. We went to Scotland in May & I met a felting artist who does beautiful work. Her felt pieces look like paintings. She demonstrated the process to me & I got excited to try it. So, I ordered a kit to give it a try. I loved it & had plenty of roving left to make the acorns. I don't really understand how it works but it sure is fun.
Super cute. Stay cool this week. Happy Wednesday. Hugs. Kris
Your acorns are adorable, Kathleen. It's so much fun to discover a new craft!
Those are beautiful! I L🧡VE them!!
Hi friend, Cool craft the acorns turned out great!
Post a Comment