Pumpkins, pumpkins and more pumpkins. It's fall, y'all, so what better time to decorate with pumpkins than right now?
I've already shared one cool way of decorating with pumpkins for fall -- can you say pumpkin topiary? Today I'm going to share one more way to use pumpkins and gourds in your everyday fall decor.
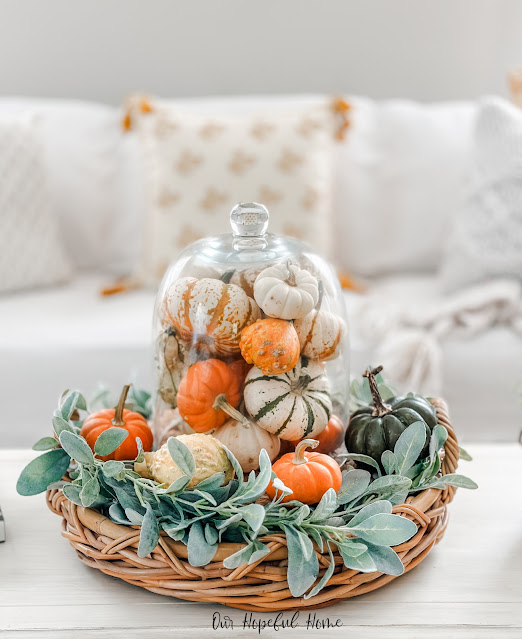
I'm a huge cloche lover. Cloches are great for all kinds of displays. And some of the larger cloches, like this one, are just perfect for displaying -- you guessed it -- pumpkins!
Filling a cloche with pumpkins (and gourds) can prove to be a bit of a challenge, but as you can see it is doable -- so read on!
HOW TO FILL A CLOCHE WITH PUMPKINS
Step 1. Hold your cloche upside down with one hand. (If your cloche is large, like mine, you can sit down and place the cloche upside down in your lap for stability.)
Step 2. Carefully place your pumpkins and/or gourds into the cloche, arranging them one by one until it's filled.
Step 3. Place the base of the cloche (whatever that may be, I used a rattan tray but it could also just as easily be a cake stand or something else) on top of the cloche opening.
Step 4. Carefully flip the cloche and base over. And voila.
Granted, it was not as easy as I thought it would be, having to flip that big cloche over onto the rattan tray -- but I did it! You might need someone to help you, depending on the size of the cloche. My large cloche was already heavy with NOTHING in it! So be careful if you're filling something large and/or your pumpkins are heavy.
TIP: However, you can always use faux pumpkins and they tend to be much lighter than real ones!
What did I use to fill the cloche? I used munchkin pumpkins (small orange), baby boo pumpkins (small white), tiger striped pumpkins and various gourds. You can pick all kinds of cute pumpkins and gourds at your local grocery store, Wal-Mart, Trader Joe's, etc. for a very reasonable price.
You might also need to readjust the position of the pumpkins a few times, depending on how they look once you turn the whole thing over. I had to rearrange mine twice before I got them just where I wanted them. But this is supposed to look somewhat rustic and natural, right? Perfection is by no means required!
I wrapped the cloche with a lambs ear garland and added some more pumpkins and gourds on the outside of the cloche for effect.
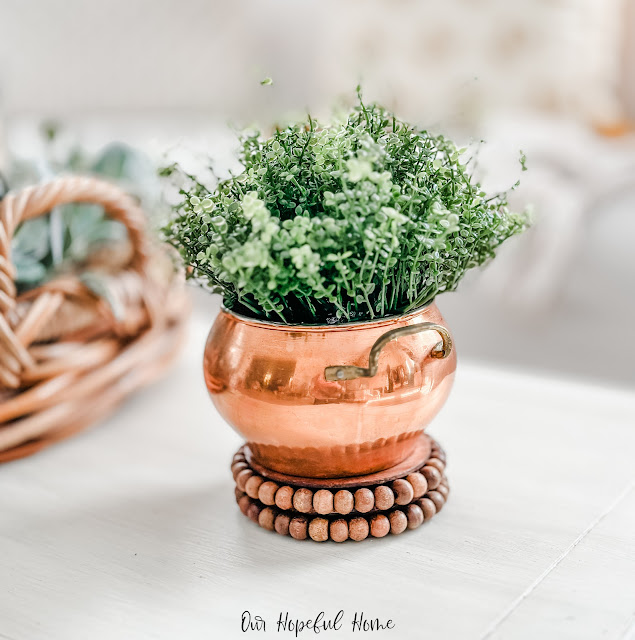
Adding color and texture to a vignette, as I did with this copper cache pot and faux greenery, can really elevate your overall look.
One caveat I'll add -- I've never put real pumpkins and gourds under a cloche and left them there indefinitely, so I can't speak to their longevity, versus if they were stored outside the cloche. My guess is that they might deteriorate quicker under the cloche but I can't be sure. Time will tell!
Well, that's it for today, friends!
I hope you enjoyed reading about
How to Make A Pumpkin Cloche
and that I've inspired you in some way.
Don't forget to Pin It!
Be sure to stay in touch:
Click HERE to subscribe.


.png)

Good morning Kathleen. This is so cute and festive. I have a question for you. What kind of camera are you using? I love the way your pictures come out. Or maybe a better question is what editing program do you use. I use be funky and my pics seem so washed out when I edit them. I just use my 14 I phone camera that is a good camera but just not liking the pictures I post. Yours seem very clear.
ReplyDeleteHugs,
Kris
You are so right about checking the pumpkins/gourds. I should think that under the cloche, moisture would be more liable to collect and start spoilage. I learned the hard way to never place a pumpkin or gourd directly on wood furniture. Fortunately, a plate under a pumpkin is hardly noticable! I scored so little velvet pumpkins and tiny glittered ones at Hobby Lobby for 75% off. They'd be cute under glass, too! Kathy A
ReplyDelete