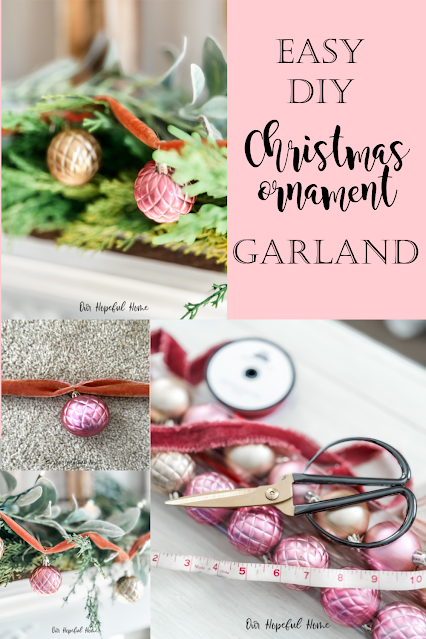
Reluctant to spend a fortune on one of those popular Christmas ornament garlands? I get it. That's why I'm sharing how I made my own velvet ribboned Christmas ornament garland quickly, easily and pretty inexpensively.
All it takes is a few tubes of Dollar Tree Christmas ornaments, your favorite twine or ribbon, measuring tape and scissors. If you can tie a knot you can make this ornament garland!
Normally I decorate with "traditional" Christmas colors, but this year I've really been feeling the pinks, golds and rose golds. In other words, I'll be sharing even more Christmas decor using these colors in the weeks ahead.
SUPPLIES FOR MAKING CHRISTMAS ORNAMENT GARLAND
1. pink and/or rose gold ornaments
2. velvet ribbon or twine
3. measuring tape
4. scissors
5. gold thread/string (my ornaments came with gold string for hanging; Dollar Tree sells thin gold floral wire that would work just as well)
6. faux or real pine garland for layering (optional; hopefully you already have some traditional pine garland you can use -- I know Amazon is pricey for this but they're outrageously pricey everywhere!)
7. lambs ear garland for even more layerin (optional; I already have 4 of these garlands and layer them on top of all my Christmas garlands!)
8. 3-M Command Decorating Clips for hanging (optional -- or you could use any other type of clips to attach your DIY garland to the mantel as well).
NOTE: I actually found that the 3-M Clips worked great for attaching my evergreen garland to the mantel and keeping it held securely in place.
While my supply photo shows velvet ribbon in the color Marsala (on sale from Hobby Lobby), I actually ended up using velvet ribbon in the color Terracotta from Amazon. Amazon is definitely pricier, but the color really is beautiful, and it came in a three yard roll which is exactly the size I needed! Therefore, the link provided above is for the Terracotta velvet ribbon.
NOTE: You can always use inexpensive twine instead of velvet ribbon - I think twine would look great!
HOW TO MAKE A CHRISTMAS ORNAMENT GARLAND
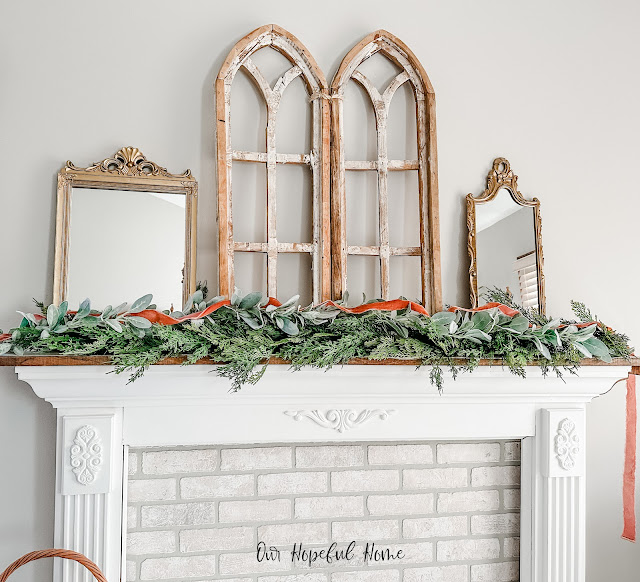
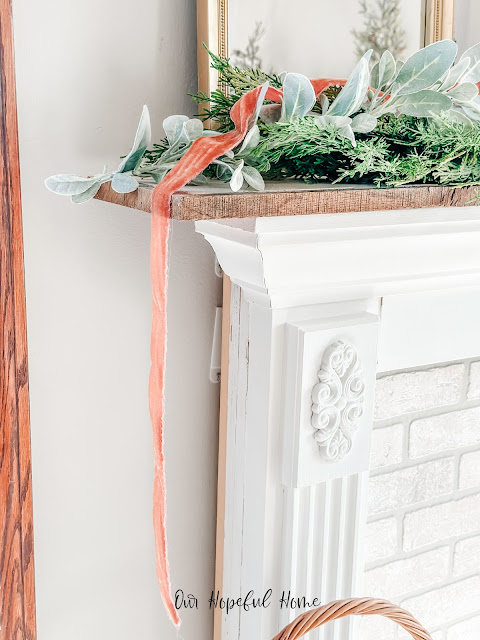
First, I measured our bedroom mantel's length which is 67 inches long. I knew I wanted to drape the ornament garland over a faux evergreen garland and eucalyptus garland, so I opted for using the whole 3 yards of velvet ribbon without cutting it (this way I can reuse it next year!) to ensure that it would be long enough to drape over everything properly.
Here it is sans ornaments.
Based on the length of the mantel and the length of the ribbon, I left approximately 18 inches to hang off either end of the mantel. I knew I could drape it all back up to hide it once the "fluffing" of the garland was done.
I then laid the ribbon out on the floor and laid out the ornaments, spacing them fairly evenly across the ribbon.
I ended up spacing them about 6 inches apart.
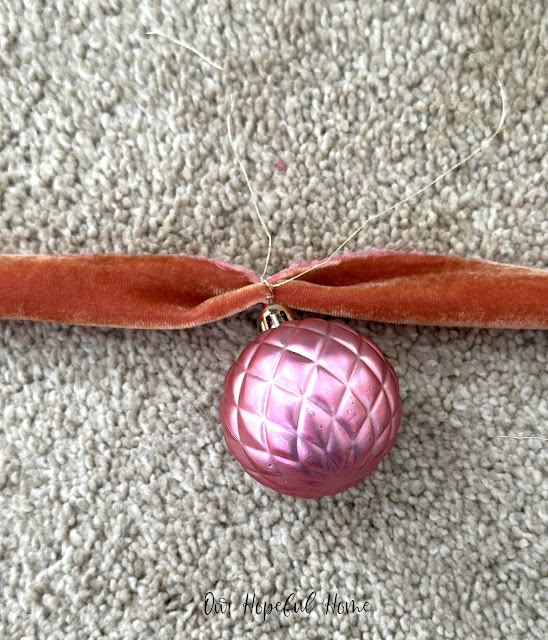
Finally, I used the gold thread provided with the ornaments to tie each ornament onto the ribbon. A basic knot was all it needed. I made them loose knots so as not to scrunch up the ribbon too much.
Once it was done I couldn't wait to drape it over the evergreen and lambs ear garlands. I was thrilled with how the new Christmas ornament garland looked on my mantel -- just gorgeous!
One I added some Christmas lights the mantel was complete!
The lights add such a warm and romantic ambience to the room. I've designed a wreath for over the mental that I'll be sharing in a later post, along with some other decorative holiday touches.


.jpg)












.png)

Kathleen, this is absolutely gorgeous!! So easy too. Just what I need. Your photos are beautiful!
ReplyDeleteVery beautiful, the lights look so pretty.
ReplyDeleteGorgeous and elegant!
ReplyDeleteLooks so pretty. Have a great Thanksgiving. Hugs. Kris
ReplyDeleteI agree with everyone else ~ gorgeous!!
ReplyDeleteSuch a pretty and easy garland! I'll be featuring your post at Tuesday Turn About this week! Pinned!
ReplyDelete