I've always loved Christmas scroll wall hangings, but hesitated to buy them
because: 1) they can cost a fortune, and 2) I knew I could make one myself for
way less!
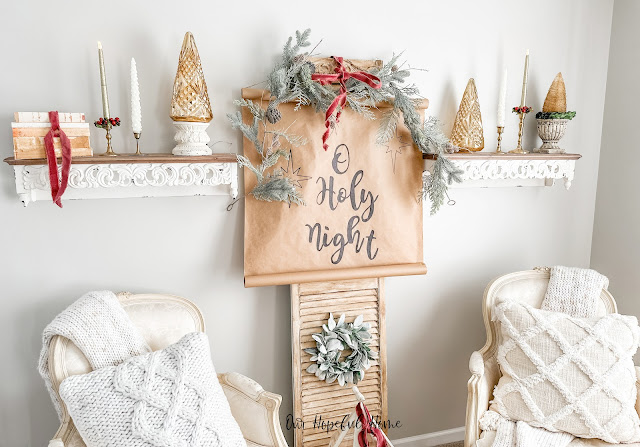
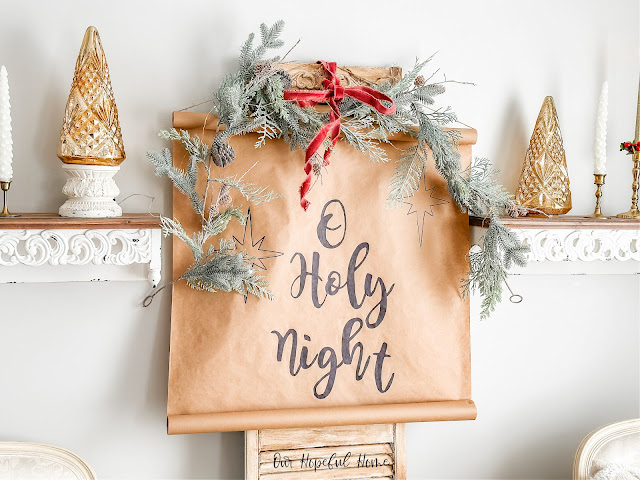
Today my vision came together and I DIY'd my own farmhouse Christmas scroll
wall hanging for mere pennies.
This post contains affiliate links. A purchase of any one of these
items helps to support this blog and its creative efforts at no cost to
you. To read more, please see my disclosure page.
While I was making a gingerbread house garland
recently, I had an epiphany: the roll of kraft paper from Dollar Tree that
I used on this project would also work perfectly for a farmhouse Christmas
scroll wall hanging! I've had rolls of Dollar Tree kraft paper in my
studio for years and I was so ready to use one for this DIY Christmas
scroll project!
For reference, I'm basing this project on 1) a blog post I wrote back in
2020 -- DIY Farmhouse Christmas Sign With Wood Bead Handle -- which you can always reference for more detail; and 2) another
reverse transfer post I wrote back in 2017 (although that one
explained the reverse CHALK transfer method) -- DIY Farmhouse Christmas Chalkboard Tutorial.
So let's get started!
HOW TO SET UP YOUR SCROLL BEFORE APPLYING YOUR GRAPHICS
I set up my scroll by starting out with a brand new roll of kraft paper
laid horizontally and flat on the table. Then I pulled the sheet downwards
toward me and stopped when I thought the "scroll" was the right length for
my project.
You can then use either: 1) double sided tape or 2) staples to turn the
bottom roll into a "scroll." This is what makes it actually look like a scroll! I used both -- first I used the double sided tape to
adhere the roll to the paper itself so as not to roll up and then I added
staples for added security.
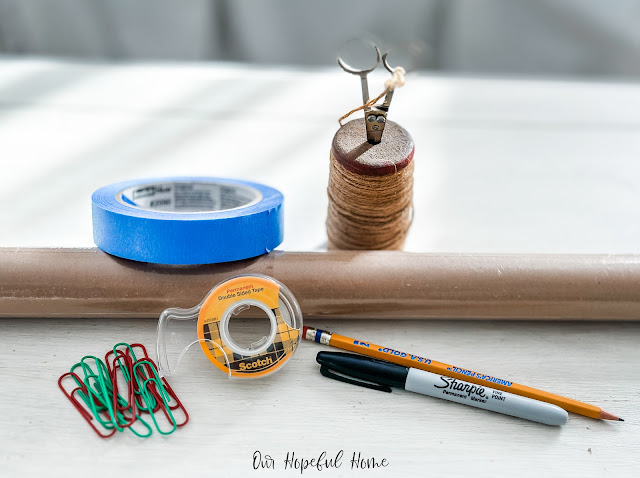
SUPPLIES FOR MAKING A CHRISTMAS SCROLL WALL HANGING
1. roll of kraft paper (Dollar Tree kraft paper or
Amazon kraft paper)
2. twine for hanging (Dollar Tree twine or
Amazon twine)
3.
stapler -- not shown -- (staples) and/or
double sided tape
4. Sharpie Permanent Marker
5. pencil
6.
painter's tape
7. scissors
8. Christmas saying printed out in Word (sized to your kraft paper)
HOW TO MAKE A FARMHOUSE CHRISTMAS SCROLL WALL HANGING
Before you begin you need to decide what quote you want to use, what font
you want to use and how large the letters and/or graphics need to
be. Based on the size of my kraft paper roll, I went into Word and created
the words "O Holy Night" in the font Magnolia Sky, sized to 300. Then I
printed them out (it took 6 pieces of paper) and set them on the table
next to each other to see how they looked.
Here you can see a bit more clearly that only so many letters are printed
on a page at any given time, depending on the font and size of the
letters.
When you get to the 300 size fonts, it'll print out one, maybe two, letters
per page. Then you have to improvise and cut the paper down so that you can
tape all the letters together with scotch tape to form the words so that it
appears that the all the letters and words go seamlessly together.
Next you'll place the printed words directly onto the craft paper to figure
out spacing. Once you've figured out placement you just follow the reverse
transfer method below.
REVERSE GRAPHIC TRANSFER METHOD
1.Turn the printed words or image you want to transfer face down on the
table.
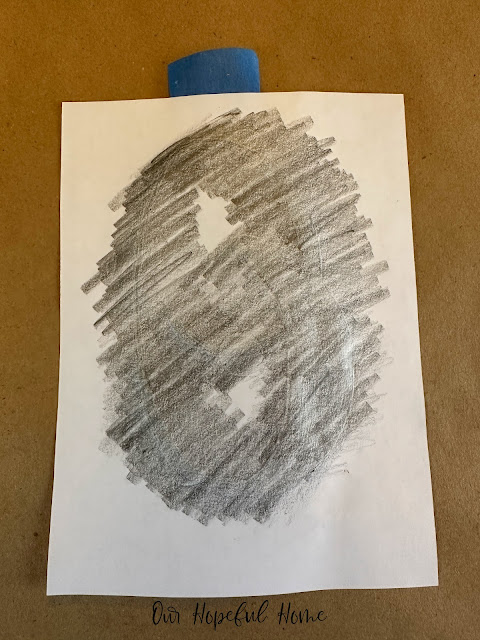
2. Rub the side of a pencil over the entire back side of it, making sure
that you cover the entire word or image. Don't be shy -- the graphite has to
be dark enough to actually transfer onto the kraft paper. If it's too light
you're essentially wasting your time. Ask me how I know. The above photo is
the back side of the letter "O."
3. Flip the image face up and place it where you want it to appear on your
project.
4. Tape it down with painter's tape so it stays in place. Only use a small
piece(s) of tape and don't press it down too hard. Remember -- you're going
to want to remove the tape without leaving any marks on the scroll.
5. Then outline each letter or image with a sharp pencil, being careful not
to press too hard and risk ripping the underlying kraft paper.
6. Now go back and "color in" the words or graphics with that sharp
pencil.
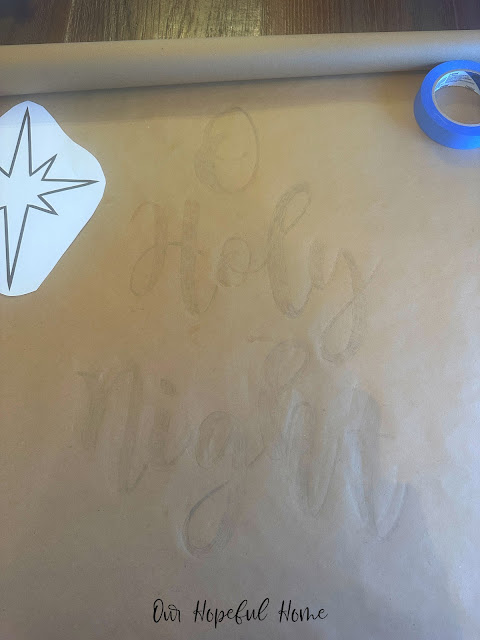
7. When you're done you can pull up the paper (carefully!) and you'll have
a faint pencil outline of the words or image to use as your guide. Gently
lift up the tape and remove your letters/words/graphics template.
NOTE: I always make sure I have really clean hands before
starting this project because, believe it or not, even clean hands can
sometimes leave greasy prints on your paper depending on how oily your
fingers are naturally. Sometimes I even wear disposable plastic gloves to guarantee no smudges.
8. Now it's time to fill in the words with your Sharpie pen or marker of
choice! Make sure to put something under the scroll before you start
coloring since the ink can go through to the back side of the scroll. I used
a basic poster board from Dollar Tree to protect my table.
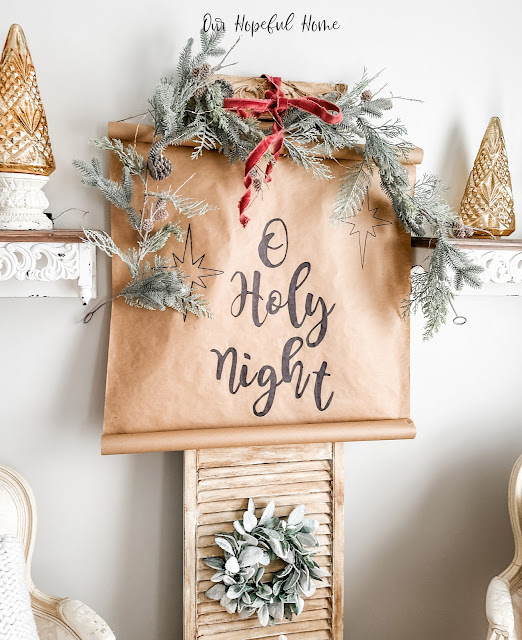
Once the graphic is finished it's time to hang the scroll!
Getting the twine through the top roll can be tricky. I came up with a
work-around by tying my twine to a pencil and securing it with painters
tape. Then (after carefully turning the scroll vertically) I dropped the
pencil into the roll and it came out the other side which enabled me to then
tie a knot, closing the loop.
Be sure that the available twine is long enough to hang your scroll
wherever, and however, you want to hang it. You can always make it shorter
later if necessary.
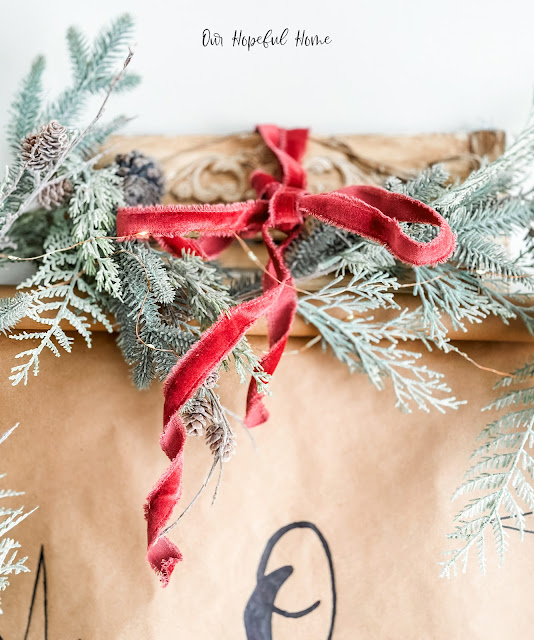
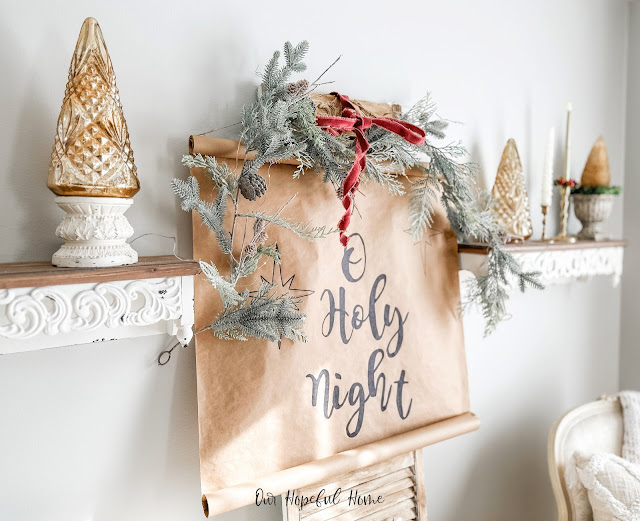
I added twinkle lights onto the garland which you can't see in the daylight but at night they create a beautiful glow.
I'm aiming for more of an elegant, timeless Christmas theme this year, and nothing says that better than gold! The gold cut glass Christmas tree also lights up and looks gorgeous at night, while the gold flickering LED taper candle adds to the warm glow. It's from Dollar Tree if you can believe it -- and yes, I bought all ten they had on the shelf!
The candlesticks were thrifted, as was the garden urn.
The berry candle wreaths are actually napkin rings I picked up for a song at our local church rummage sale.
I'm also very much into frayed velvet ribbons in muted tones this year.
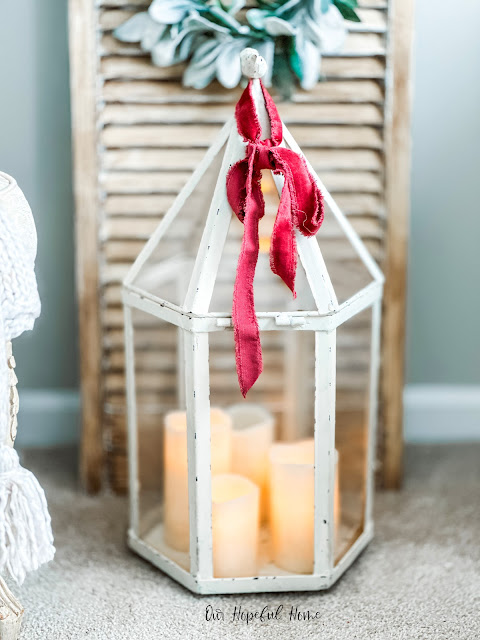
I picked up this octagonal mini greenhouse years ago when we used to live in Kansas. I've never regretted buying it! Depending on the season I can replace the candles with, well, just about anything! It has pulled Christmas duty like a champ!
Well, that's it for today, friends!
I hope you enjoyed reading about
How To Make A Farmhouse
Christmas Scroll Wall Hanging
and that I've inspired you in some way.
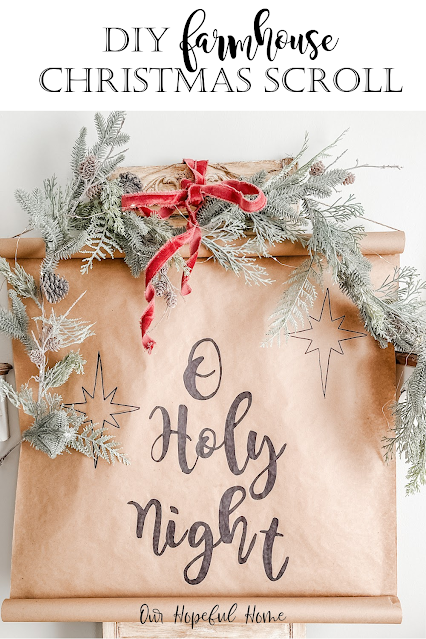
Don't Forget To Pin It!
Be sure to stay in touch:
Don’t miss another
thrifty,
DIY home décor
post!









.png)


Leave a Comment!
I made one of these several years ago--our great minds really do think alike ;) Yours is lovely and that's one of my favorite Christmas hymns!
Very nice. Happy Thanksgiving. Have a wonderful day. Hugs. Kris
Post a Comment