As one of my last outdoor projects of the season, I decided to spruce up our rusted and faded metal patio furniture with spray paint. That way, when we get it out of storage in the spring, it will be beautified and ready to withstand another summer of use.
This post contains affiliate links. A purchase of any one of these items helps to support this blog and its creative efforts at no cost to you. To read more, please see my disclosure page.
Flash Furniture Oia Commercial Grade 35.5" Square Black Indoor-Outdoor Steel Patio Table with Umbrella Hole
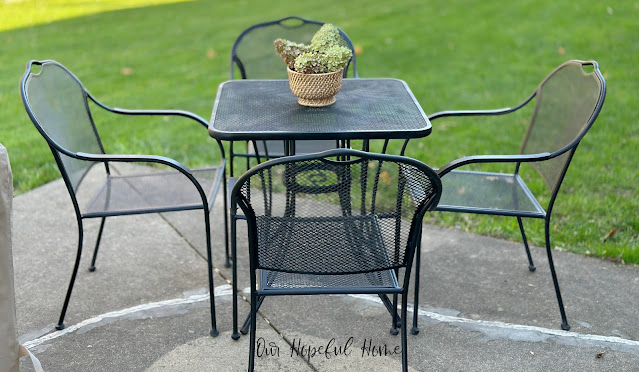
Since we don’t have a covered patio, all our outdoor furniture takes a royal beating, especially during the summer months. We’ve had a metal table and chairs for a few years now and it’s definitely seen better days. I'm sorry I didn't take an official "before" photo, but the patio set shown above is basically the one we have (with 4 chairs -- and the color was faded and rust was rampant). It was definitely time to tackle a redo!
SUPPLIES FOR PAINTING PATIO FURNITURE
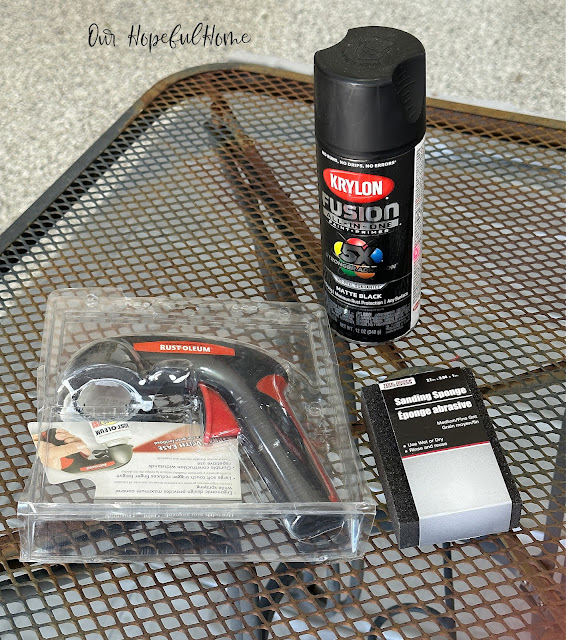
The star supply in this DIY project was Krylon Fusion All-In-One Paint and Primer from Wal-Mart in matte black.
Along with spray paint you’ll need a sanding block and sand paper, drop cloths or cheap shower curtain liners from Dollar Tree (not shown) and some work gloves to protect your hands. Optional but recommended is a Rustoleum spray paint grip and risers (not shown) to keep your furniture from touching the ground while you’re painting it.
Can you see how rusted the table was? Look closely at the top left corner of the table.
TIP: You can also use something as simple as soup cans to elevate your furniture off the ground while you paint it.
I generally spray paint in the garage (with the doors open, of course) so I won't have to worry about weather conditions.
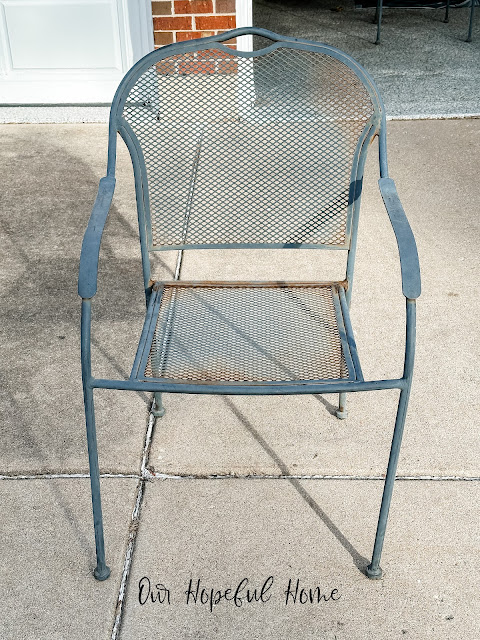
After hosing down the furniture and wiping off any obvious dirt, I inspected all the pieces for rust. As you can see there was quite a bit of rust on the chairs.
Overall the patio furniture was looking pretty bad.
I found the sanding block most helpful in sanding off the rust. You won’t get all of it off but you can certainly remove the majority of it. I found myself having to be careful not to sand through the powder coating down to naked metal. Individual pieces of sand paper came in handy as well for areas the sanding block couldn't reach.
After sanding, I wiped it all down with a damp cloth. Then the spray painting began. Using my handy dandy spray paint grip, I sprayed each piece lightly with back and forth strokes, starting with the chairs. This picture shows a chair after one light coat.
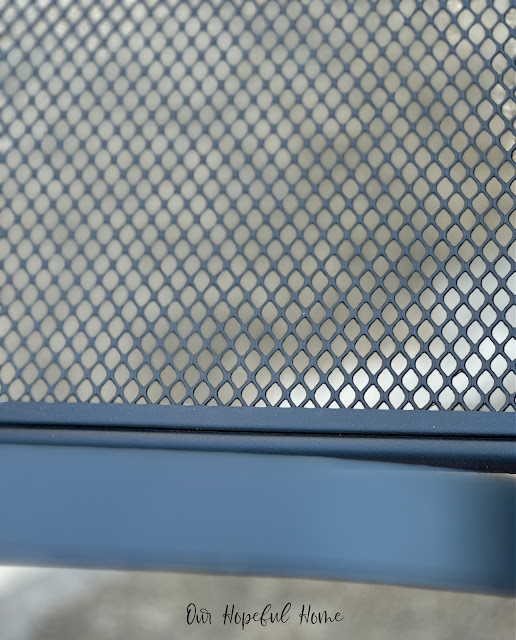
Overall I ended up applying three coats, waiting one half hour between coats. It took 4 cans of spray paint to finish the project, which, I have to admit, was more than I thought I'd need. I think that's because most of what you're painting is "holey," so much of the spray paint is lost to the air, landing on the ground or elsewhere rather than actually landing on the chair.
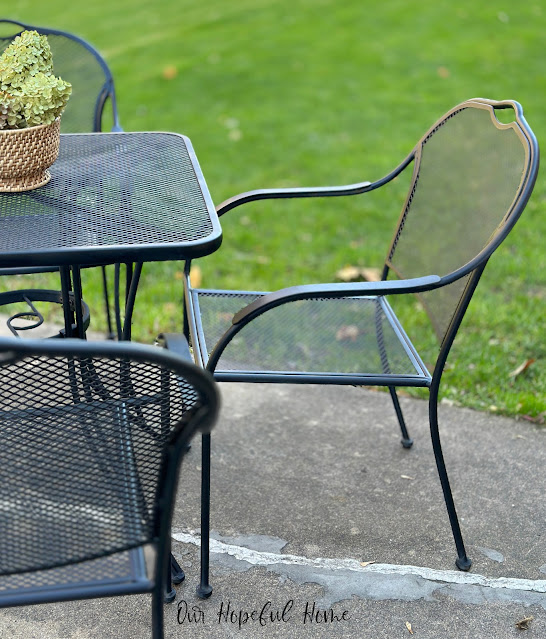
I was very happy with how it turned out. The final product was a far cry from the rusted and worn "before" patio furniture.
The rusty areas on the chairs were really transformed!
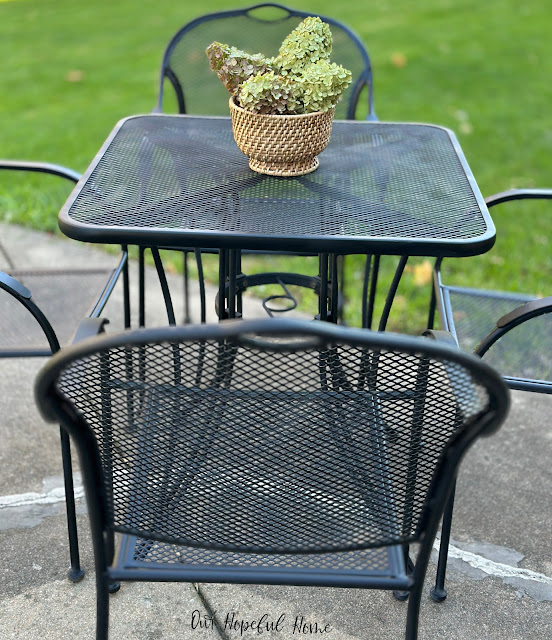
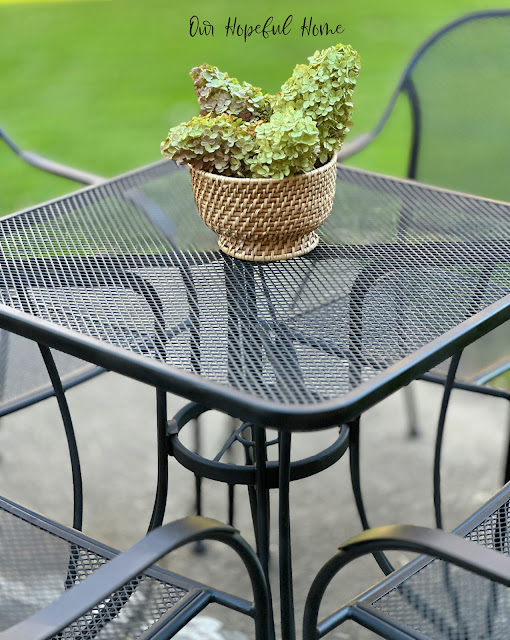
An important thing to keep in mind when spray painting a metal patio table is that you also have to spray paint the base and the legs! Since you can see right through the mesh tabletop, you have to be sure to provide good spray paint coverage for the lower half of the table.
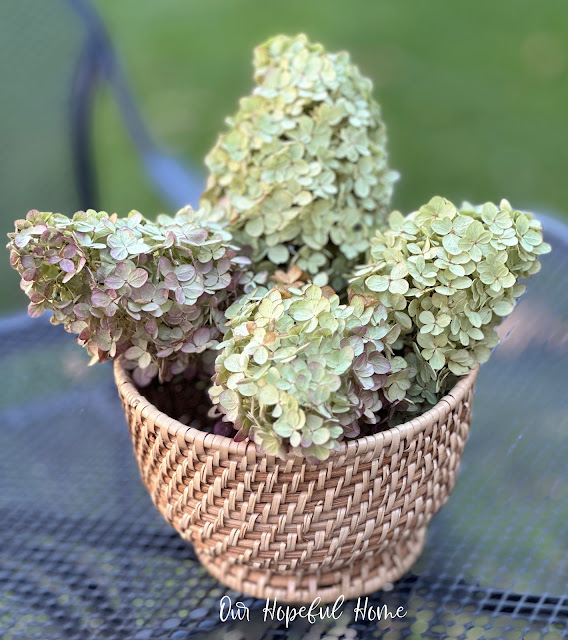
My limelight hydrangeas take center stage once again as the last of the fall garden bounty.
Well, that's it for today, friends!
I hope you enjoyed reading about
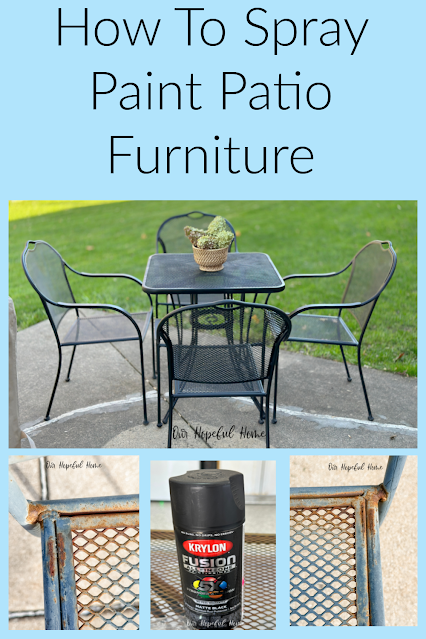
How To Spray Paint Patio Furniture
and that I've inspired you in some way.
Don't Forget To Pin It!










.png)


Leave a Comment!
Post a Comment