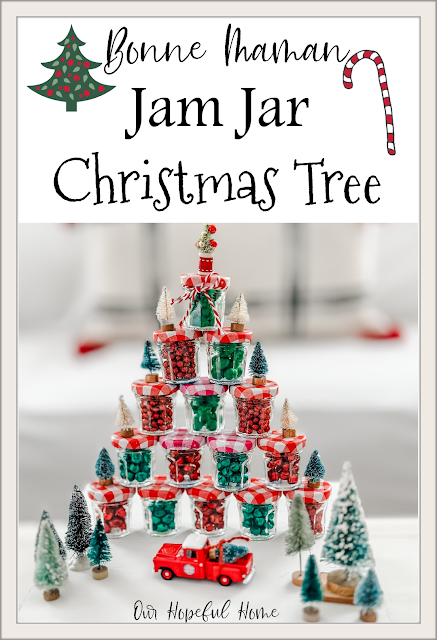
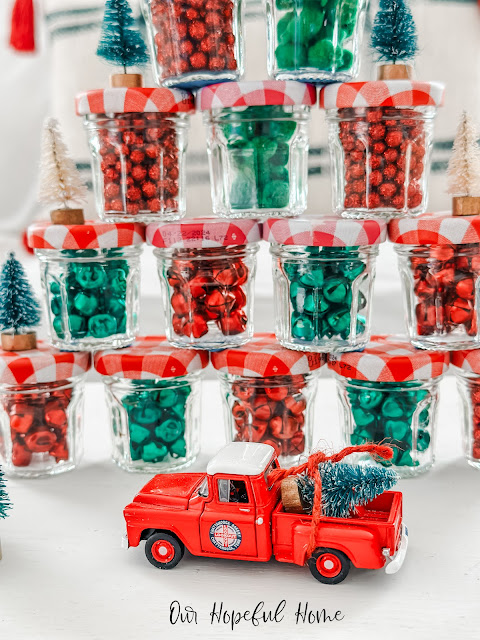
Now that Christmas is looming on the horizon (only three weeks away, eek!) I wanted to share my DIY Christmas tree made out of mini Bonne Maman jam jars. It's an adorable and fun project you can do alone, or even with the kiddos!
Nothing says Christmas quite like a Christmas tree. So why not have fun creating a unique, decorative Christmas tree you can display for the upcoming holiday and beyond?
This post contains affiliate links. A purchase of any one of these items helps to support this blog and its creative efforts at no cost to you. To read more, please see my disclosure page.
Christmas trees come in all shapes and sizes. From real trees to bottle brush trees to ceramic light-up trees, we're inundated with them every year around this time. And every year I'm on the lookout for something new I can use to create a unique one of a kind Christmas tree.
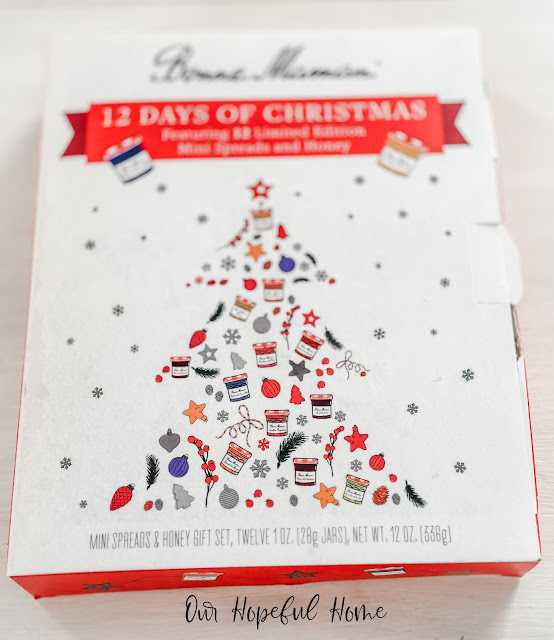
Lucky for me, my husband and daughter are huge Bonne Maman fans. Last Christmas they each got a Bonne Maman Advent calendar with 12 mini jam and honey jars in it! How cute is that?
As soon as I saw those tiny jars with their festive lids I knew they were bound for a Christmas craft. So I saved my husband's empty jars (my daughter wanted to keep hers, but I made her donate three for the cause) for a year and here we are!
Initially I wanted to use cute little miniatures like bottle brush trees and reindeer as jar fillers, but I realized since the jars aren't smooth glass -- they're more faceted -- you really can't see the cuteness inside, so I chose to go with colorful fillers instead.
SUPPLIES FOR MAKING A CHRISTMAS TREE WITH MINI BONNE MAMAN JAM JARS
1. mini Bonne Maman jam jars with lids (labels removed)
2. miniature Christmas craft supplies, the more colorful the better
I used:
- red and green mini ball ornaments (Hobby Lobby)
- red and green jingle bells (Dollar Tree)
- green felt Pom Pom balls (Dollar Tree)
- red and gold glitter pebbles/vase filler (Hobby Lobby and Dollar Tree)
3. red and white twine
4. mini bottle brush trees (some Dollar Tree, some vintage)
5. Little red pickup truck (optional)
HOW TO MAKE A CHRISTMAS TREE WITH MINI BONNE MAMAN JAM JARS
1. Eat the jam and/or honey from 15 jars. I know it might be difficult, but someone's gotta do it:)
2. Remove labels, either by soaking the jars in warm soapy water or placing them in the dishwasher. Any residue left on the jars can be removed with Goo-Gone if necessary.
3. Once the jars are empty and clean you can start the set-up process. Decide which jars you want where (there are different colored lids so you might want to set them up in a pattern to capitalize on the colors) and set them up, empty, to be sure of placement.
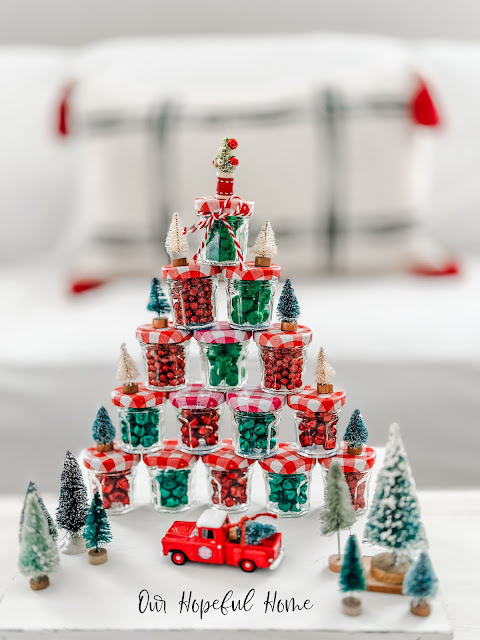
I used 5 jars on the bottom, then moving upwards I used 4, 3, 2 and 1 jar to create the tree.
I did not have enough red and white lidded jars so I had to substitute three pink and white lidded jars into the mix. I then tried to "hide" the pink lidded jars by placing them in between the red lidded jars, rather than next to each other. I think the placement helped to camouflage the pink lids somewhat.
With placement decided, you can now start filling up the jars. It's up to you as to what jar fillers you use. I decided to make it a green and red tree which dictated the fillers I used. Once the jars were filled I used Blu Tack to attach them to each other and stabilize the display.
Once the "tree" was complete I decided to keep the vignette simple. I just added some mini bottle brush trees to the outer edges of each level of the tree and on the very top, as well as on the ground in front.
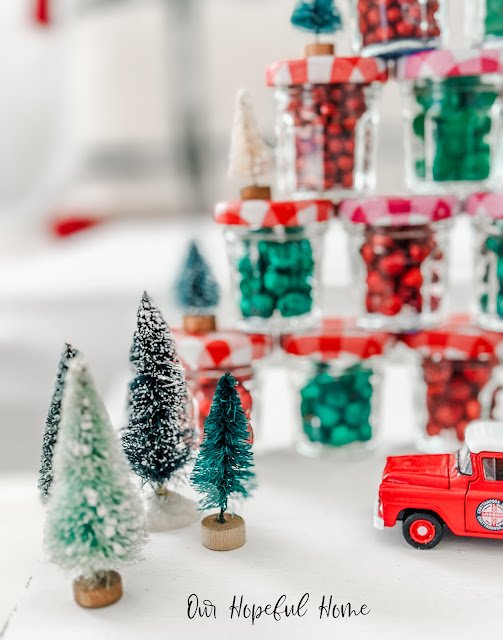
I've continued to collect bottle brush trees over the years and my favorite ones, hands down, are these teeny tiny ones. They're so versatile when it comes to making Christmas crafts.
While some are from Target, Hobby Lobby and Dollar Tree, many of my bottle brush trees are found vintage trees I've picked up at church rummage sales, flea markets, thrift stores and estate sales.
This little red matchbox pickup truck has been used in many of my Christmas vignettes. It never disappoints!
I used the red and white twine to tie a simple bow around the jar at the very top, then placed an adorable mini bottle brush tree, sitting on a spool wrapped in red ribbon, on top of its lid.
I was thrilled with how this original Christmas craft idea came to life. Let me know what you think in the comments!
Well that's it for today, friends!
I hope you enjoyed reading about my
Bonne Maman Jam Jar Christmas Tree
and that I've inspired you in some way!
Don't forget to Pin it!
Be sure to stay in touch:
Don’t miss another thrifty,
DIY home décor post!






.png)


Leave a Comment!
This is so wonderful! This is also our favorite jam.
Post a Comment