I love bringing the outdoors in this time of year, any way I can. Spring makes me feel so much better than I do in winter, and it generates a hopefulness I look forward to every year. Today I'm sharing one way I bring it in, by using preserved moss.
It's a super quick and easy spring decor trick, so let's get started!
This post contains affiliate links. A purchase of any one of these items helps to support this blog and its creative efforts at no cost to you. To read more, please see my disclosure page.
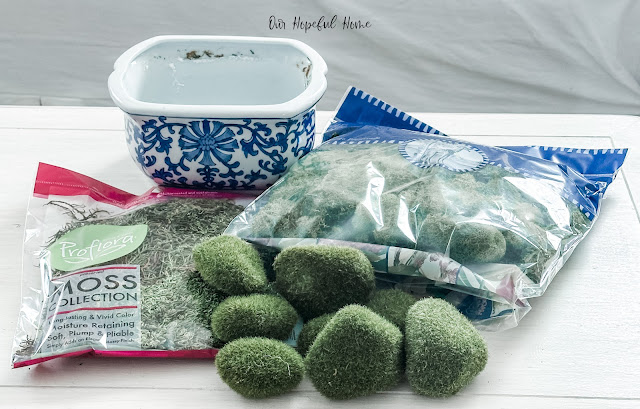
SUPPLIES FOR MAKING A MOSS BOWL
2.
Moss Rocks
(optional)
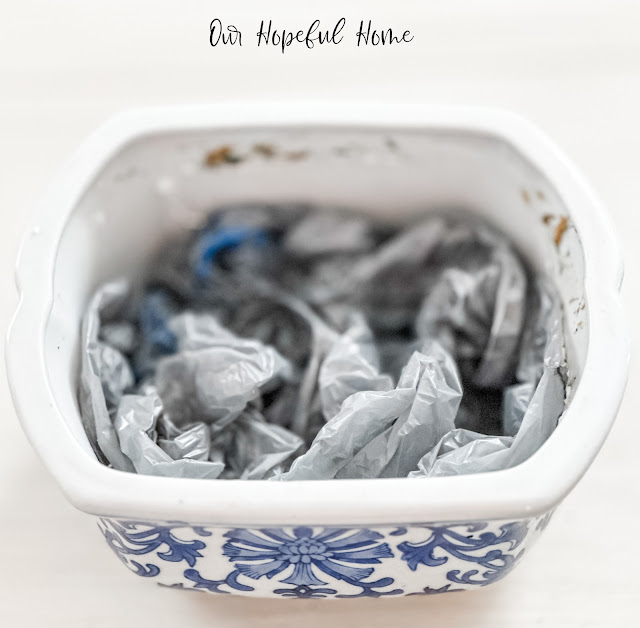
3. Plastic shopping bags or floral foam for filler (not shown)
4. Pretty container, preferably low in stature and somewhat wide
Preserved moss, while once a living thing, has been chemically altered,
or "preserved," so that it is no longer living. The beauty in that is that
your moss is now worry free -- you don't have to do anything to maintain
it (no dirt, no watering) short of not placing it in direct sunlight which
can cause it to dry out and fade in color.
Preserved moss thrives in more humid climates. If you live in a dry
climate you can freshen it up with a garment steam cleaner or by simply
misting it in the event it starts to dry out.
It also doesn't hurt to dust it occasionally, which you can do with a
hair dryer set on low heat. Preserved moss has a life span that's anywhere
from 2 to 5 years. Not bad for something you neither have to plant nor regularly water!
WHAT KIND OF PRESERVED MOSS SHOULD I USE?
You typically see three different types of preserved moss:
1.
Reindeer Moss
(what I used)
2.
Cushion (also known as Pillow, or Pole,) moss (what I wish I had used)
3. Sheet Moss
Note: I would recommend the cushion moss, as it gives the display more
of a 3-D effect with mounds of moss that really make a statement.
Unfortunately, I did not have any of this type of moss, plus I was
determined to use what I already had. So reindeer moss it was for me!
(Sheet moss would NOT be the moss to use for this project. It's more appropriate to use sheet moss when you have a large, flat area you need to
cover.)
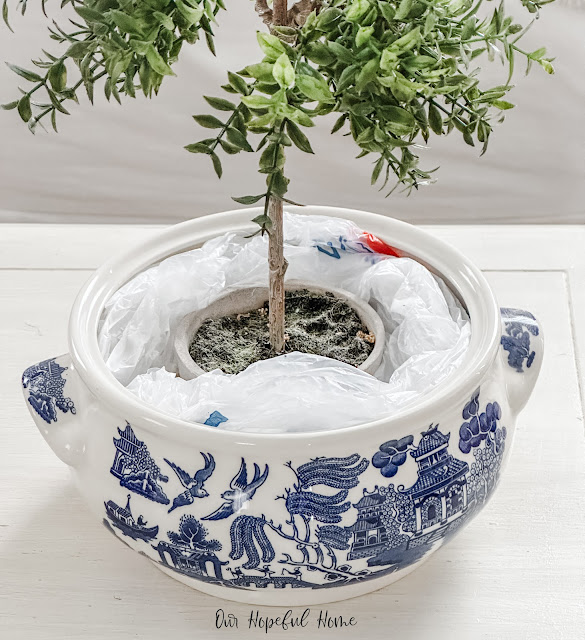
Then I placed my moss rocks on top of the bag for some more filler. If you don't have moss rocks or floral foam you can always just use more plastic bags. I just thought the moss rocks made a nice filler since they're moss-colored!
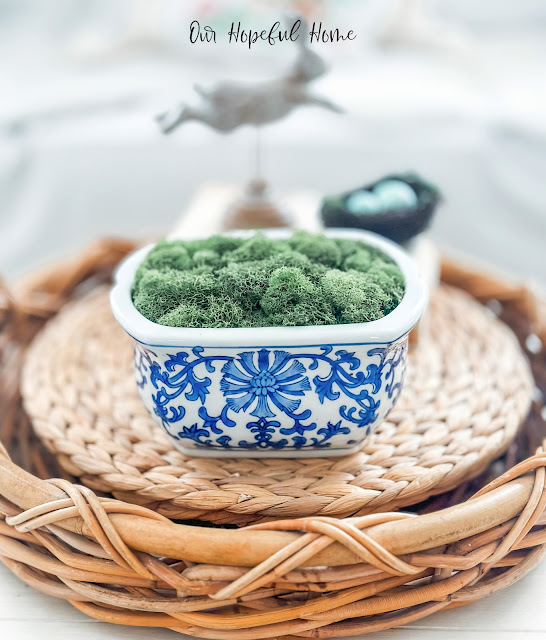
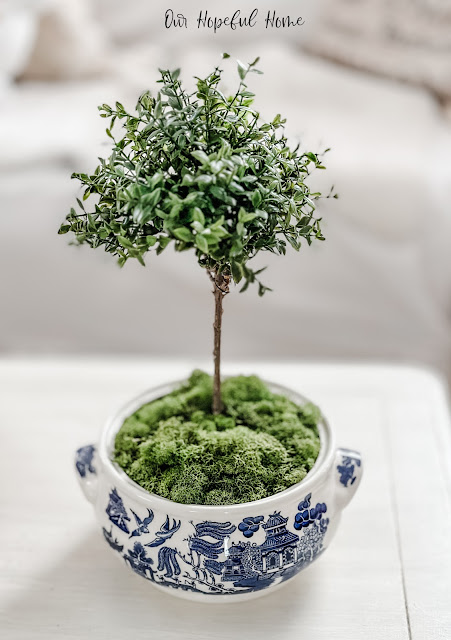
Then I literally just started placing tufts of reindeer moss on top
of that and voila -- my moss bowl was complete!
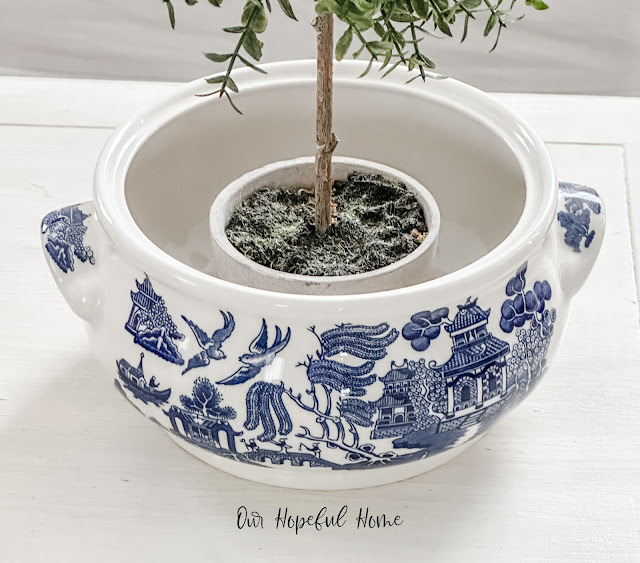
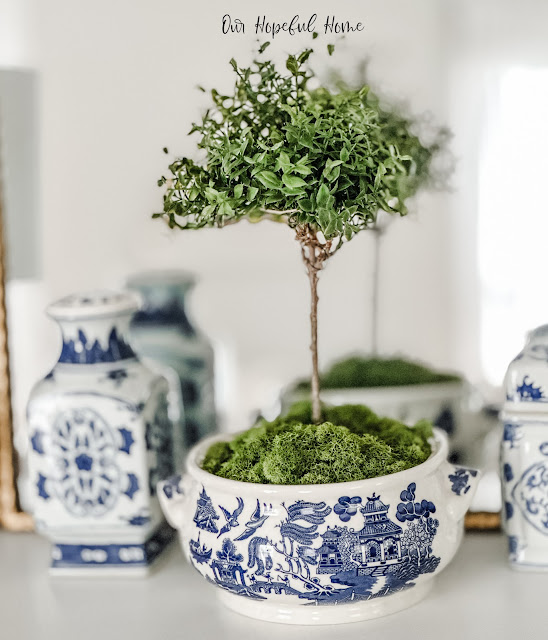
In addition to the first cachepot, I also filled another one with not only preserved reindeer moss, but a faux topiary as well! I've gotten all of my topiaries at thrifts stores and estate sales -- this one was scored at a local pop-up warehouse sale for $2.00! (As was the cachepot for $6.00!)
As with the first moss bowl, I used preserved reindeer moss -- but I really would have preferred to use cushion moss if I had had it on hand. Tip: mixing mosses of different variations in color can also help to make a
bolder statement.
If you're interested in using preserved moss for other home decor projects I've written many
other moss-related posts you can check out here:
Well, that's it for today, friends!
I hope you enjoyed reading about my
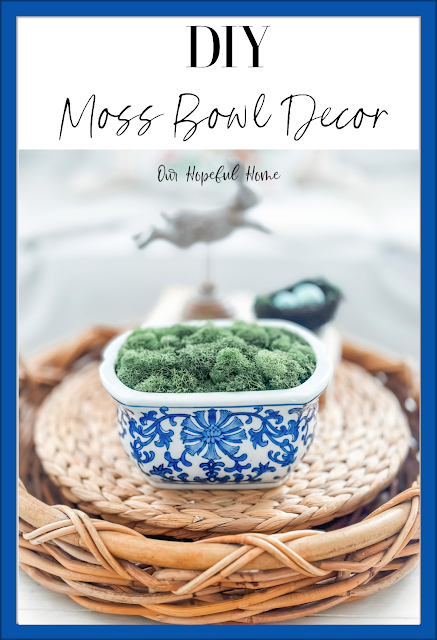
DIY Moss Bowl Decor
and that I've inspired you in some way.
Don't Forget To Pin It!
Be sure to stay in touch:
Click HERE to subscribe.





.png)

I love these mossy accents! Blessings, Cecilia @ My Thrift Store Addiction
ReplyDeleteKathleen,
ReplyDeleteThanks so much for stopping by and for your kind words in regards to Joe's passing...I gratefully appreciate it..
Hugs,
Deb
Debbie-Dabble Blog
Good Morning Kathleen. This is so cute. Have a great start to May. Hugs. Kris
ReplyDeleteGreat projects. I love how high end these containers looked with the moss in them! I'm tempted to try it!
ReplyDelete